Photographs of the work: the builds, the prints, the tests, the failures kept
honestly. Everything here was made in the course of the project and photographed by the author;
the drawings and instruments live elsewhere on the site.
August 2026
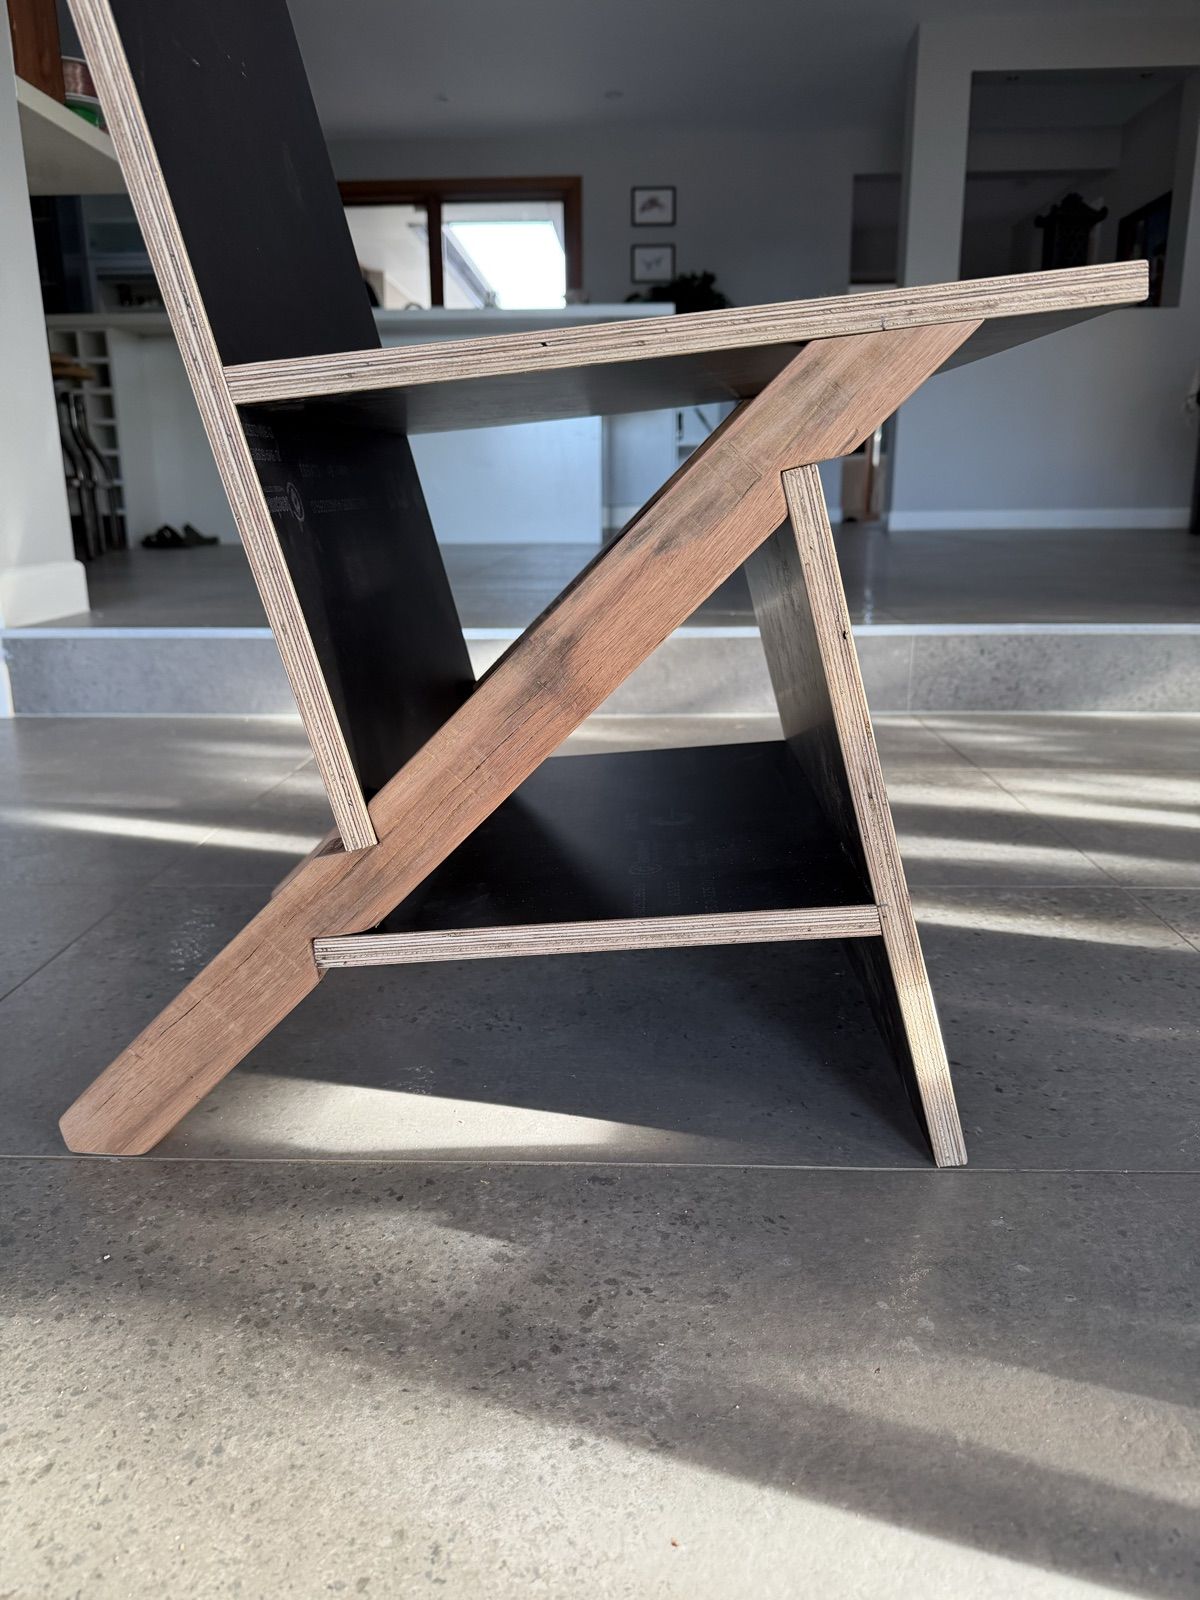
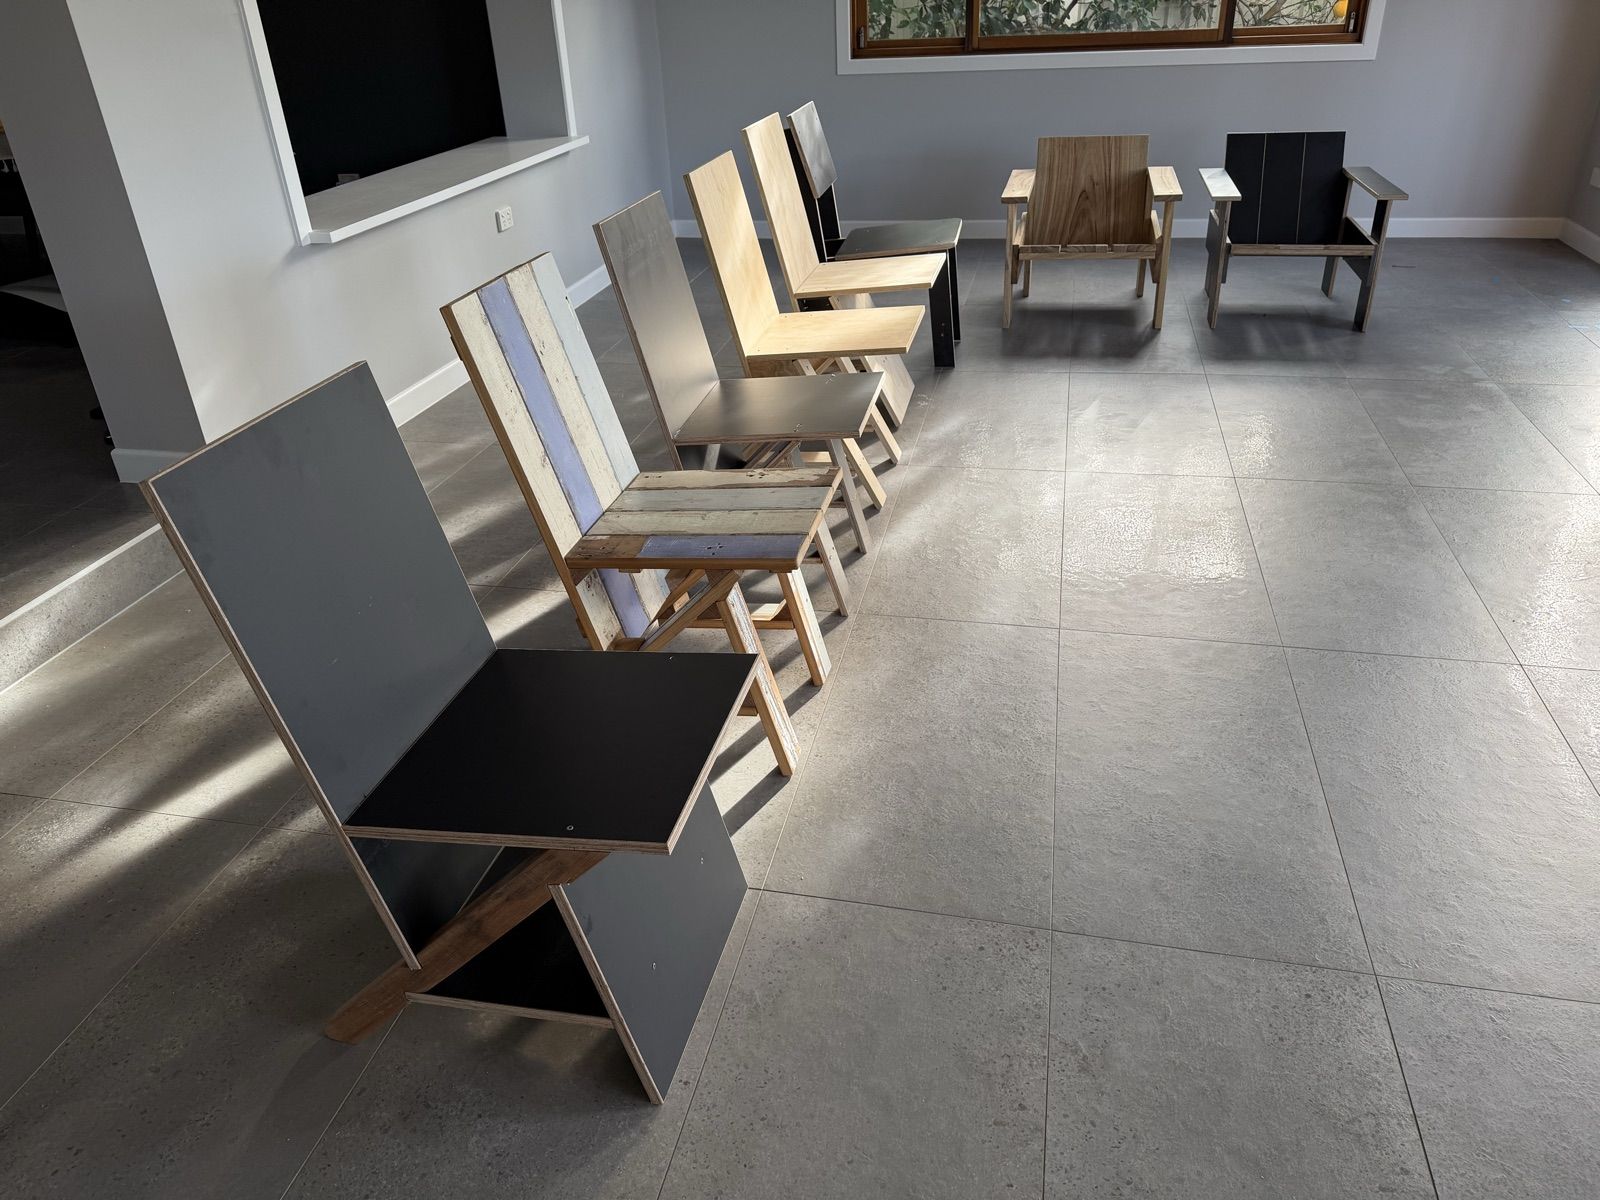
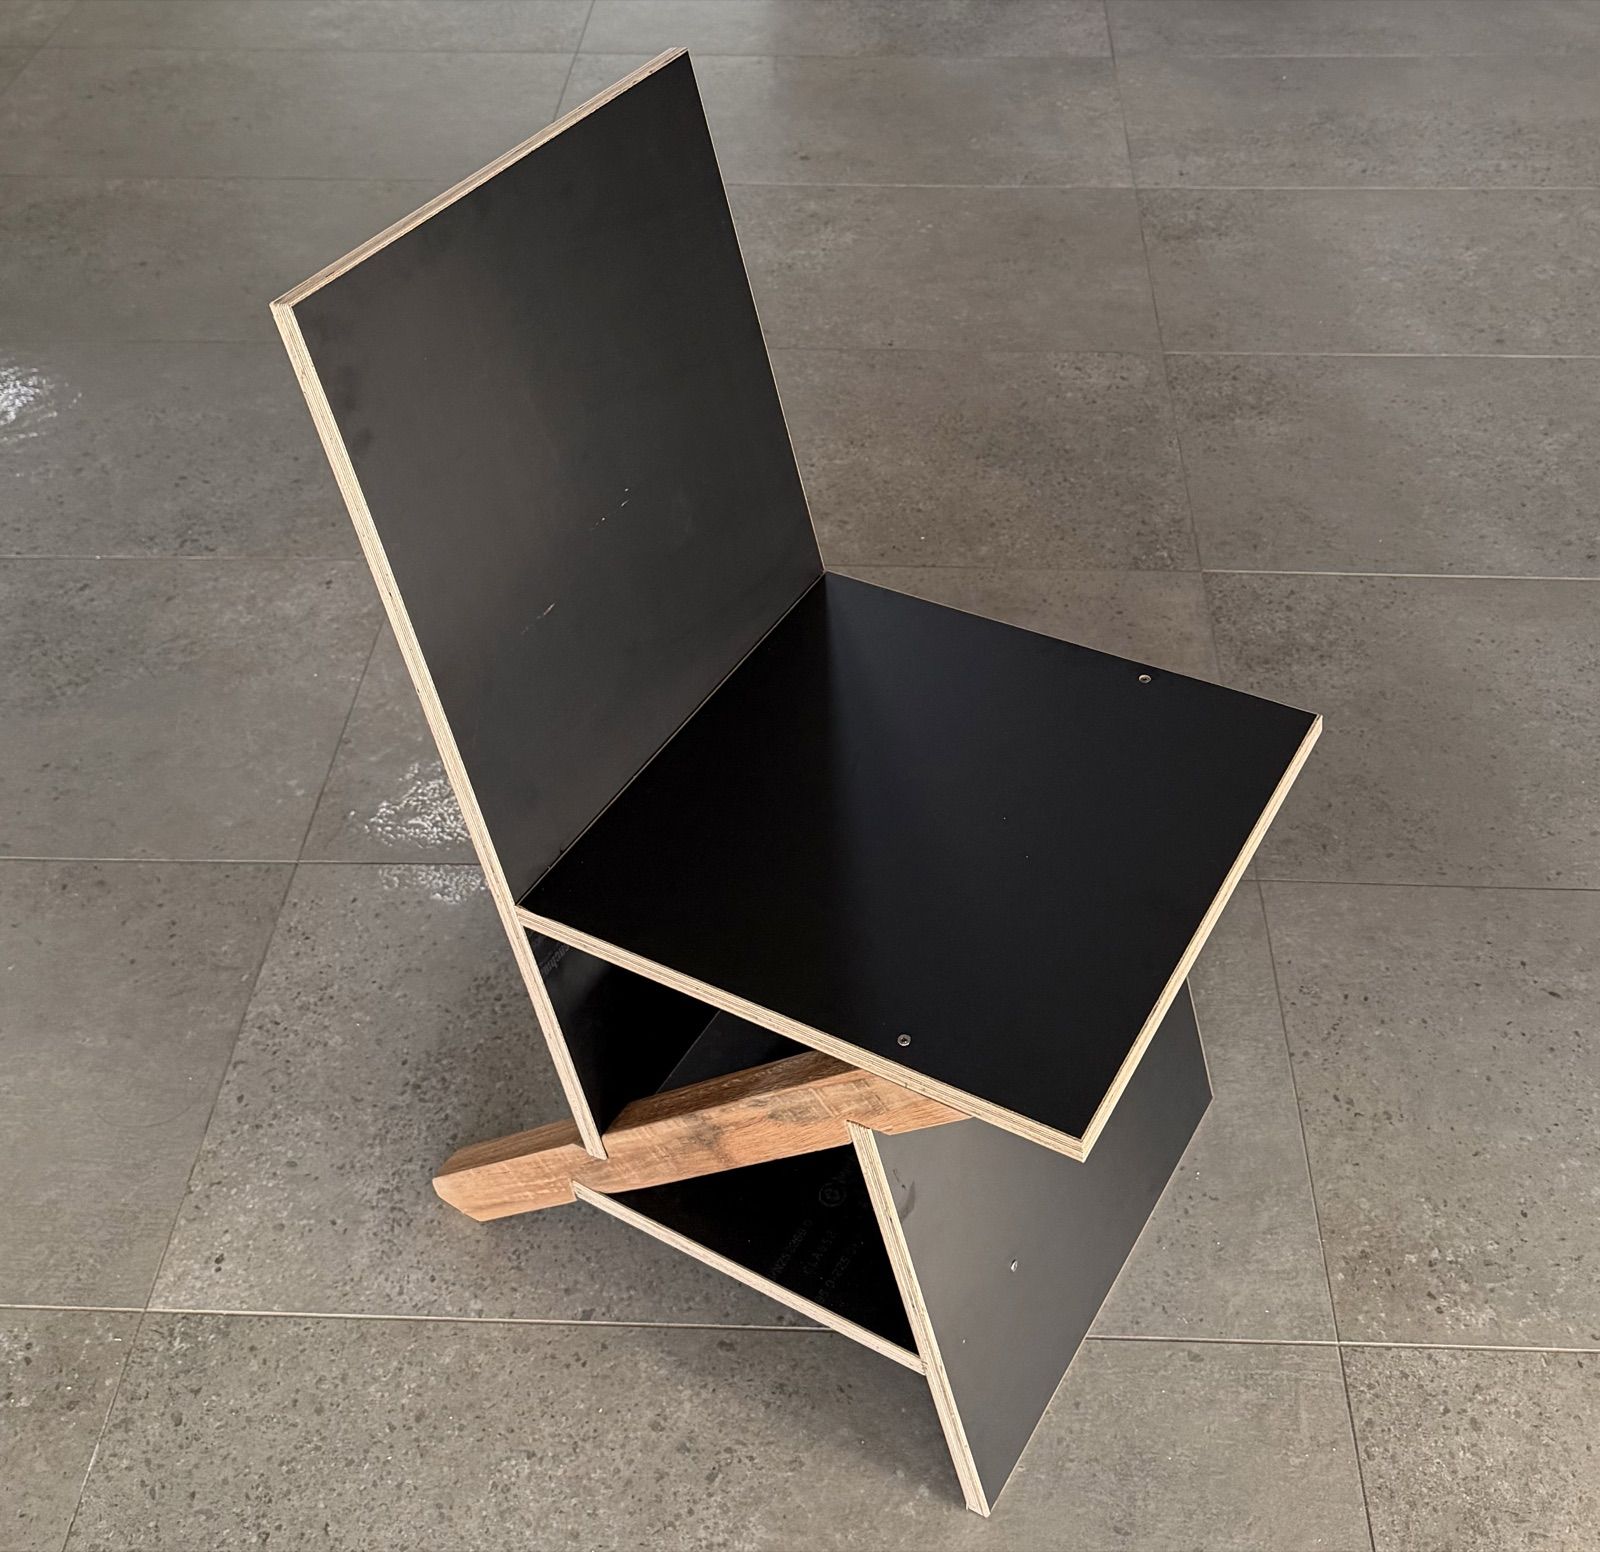
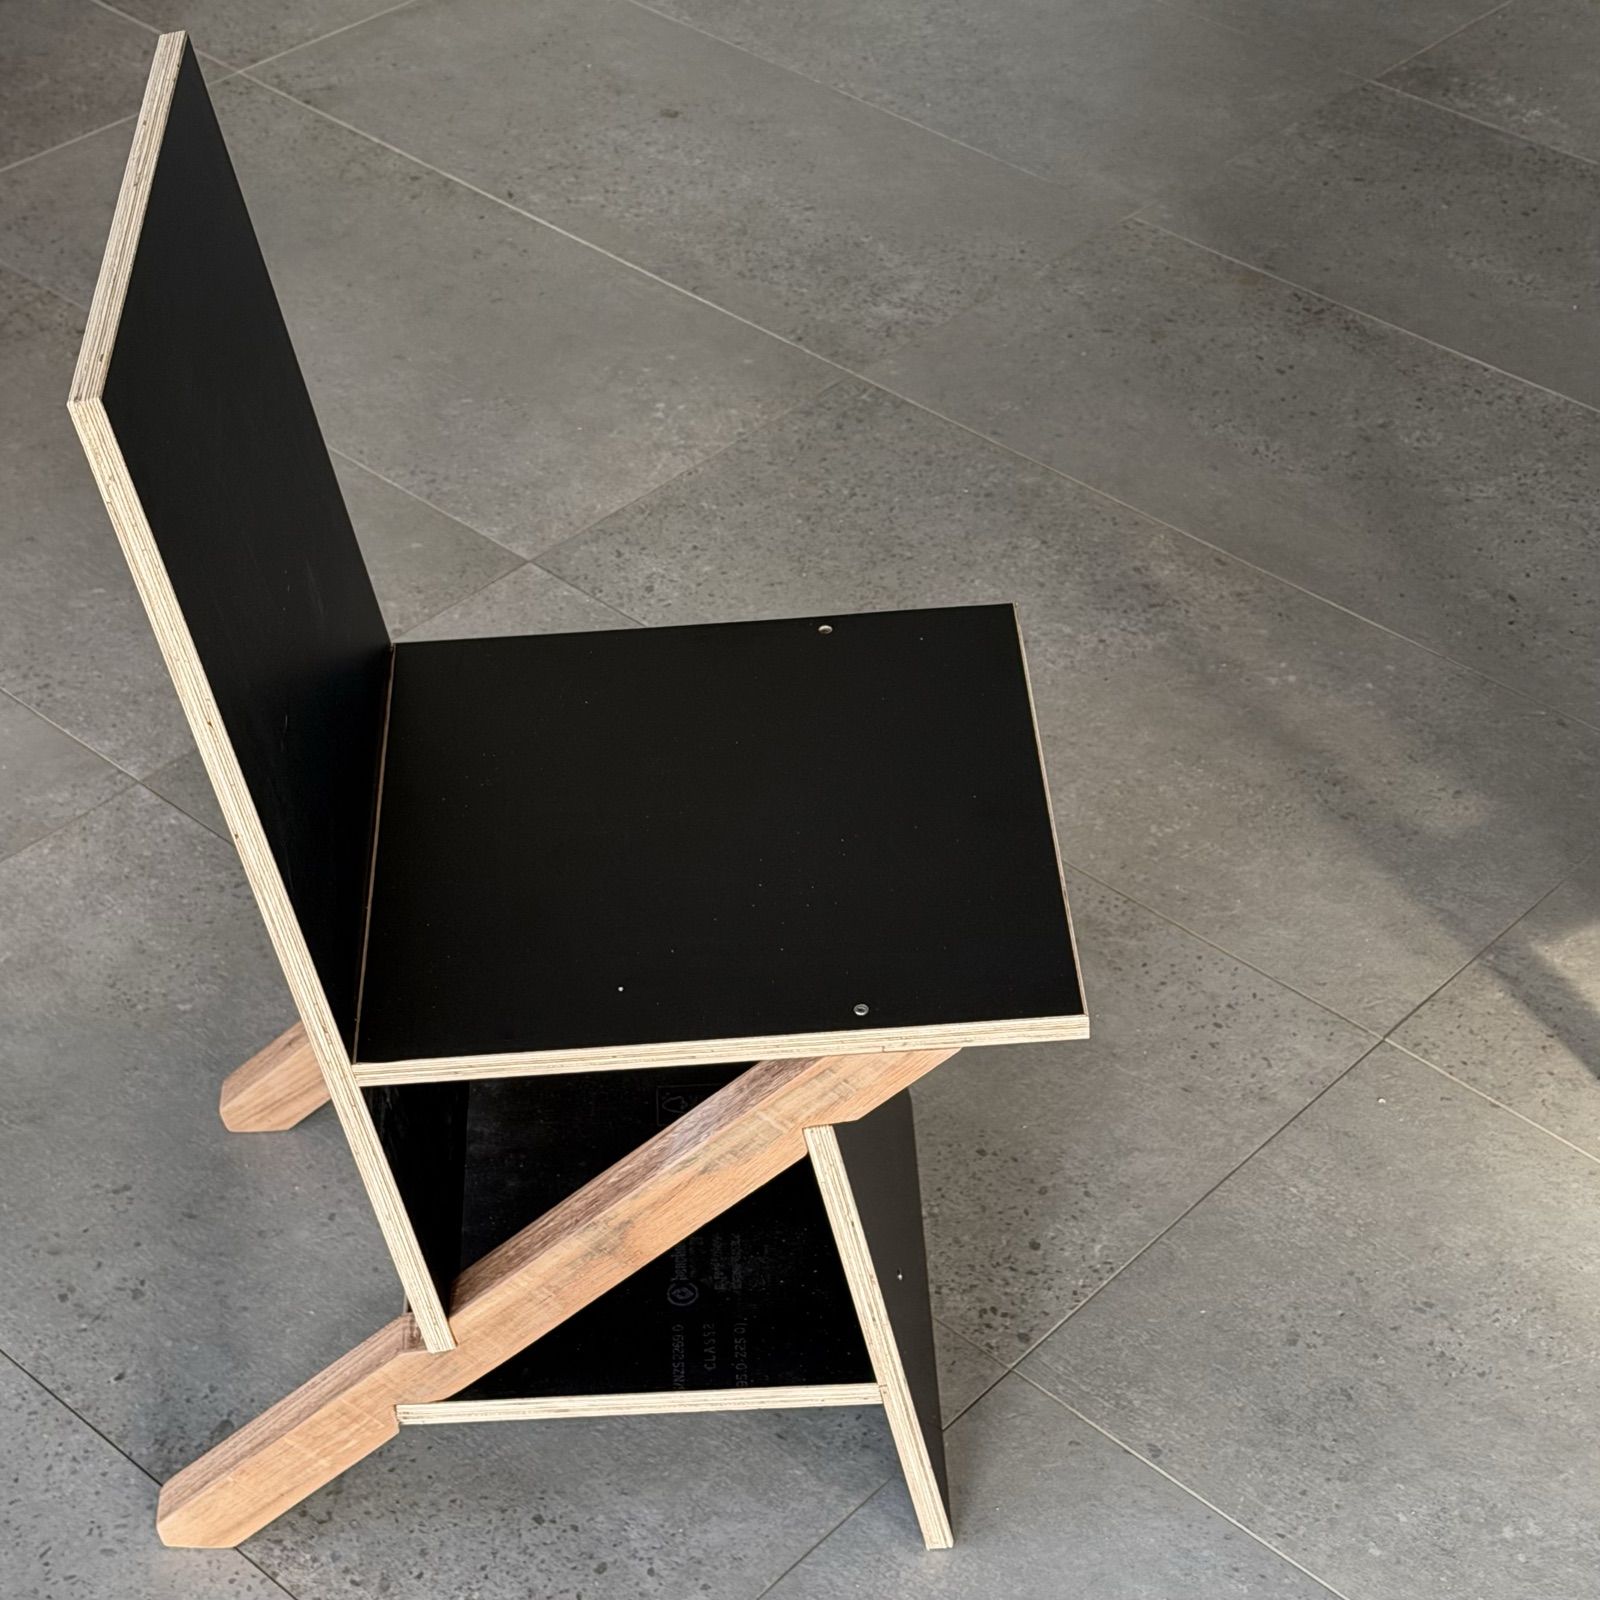
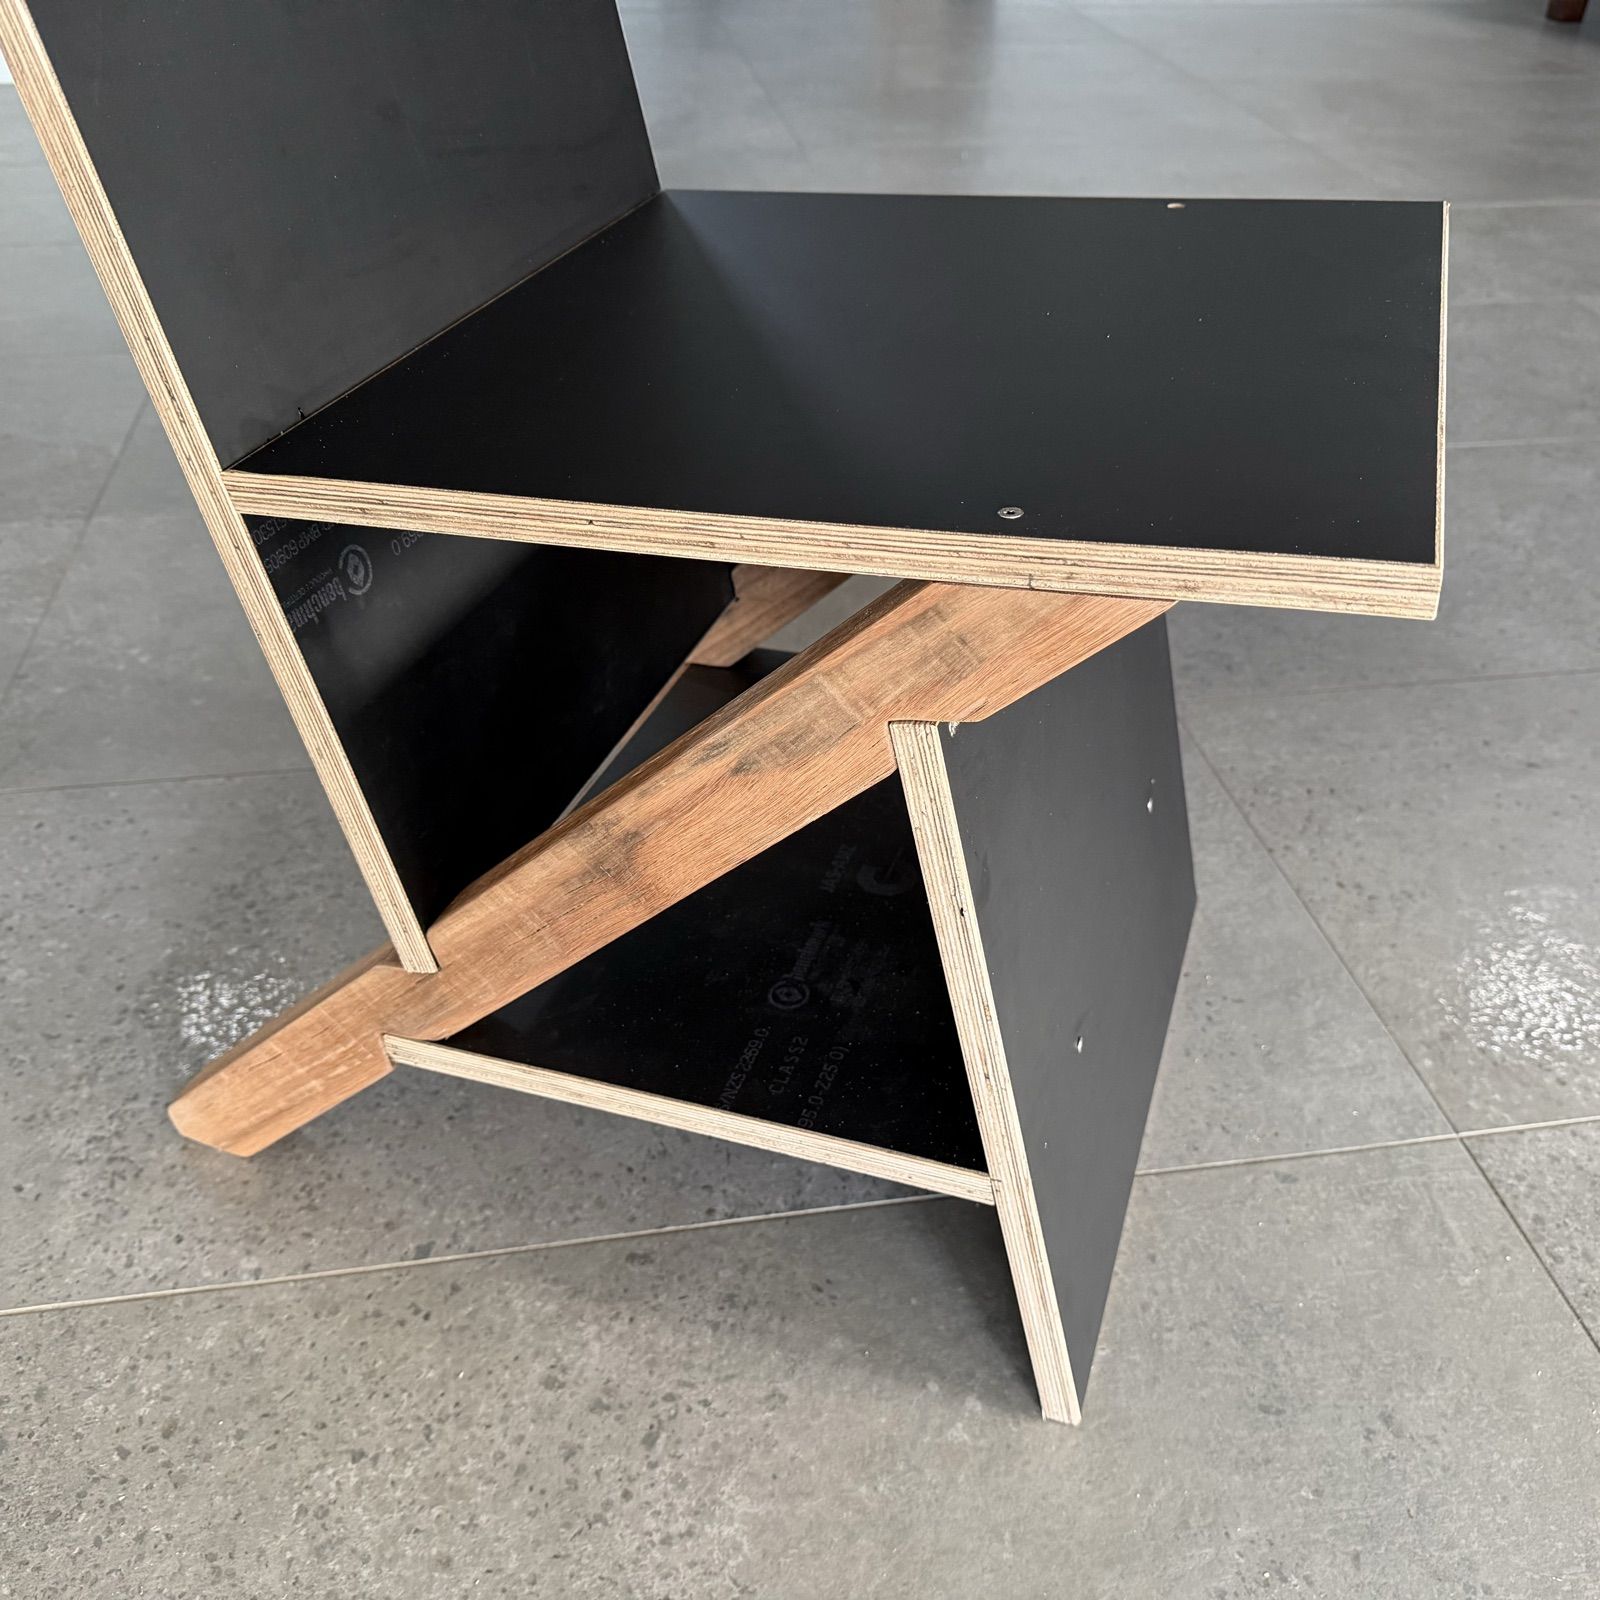
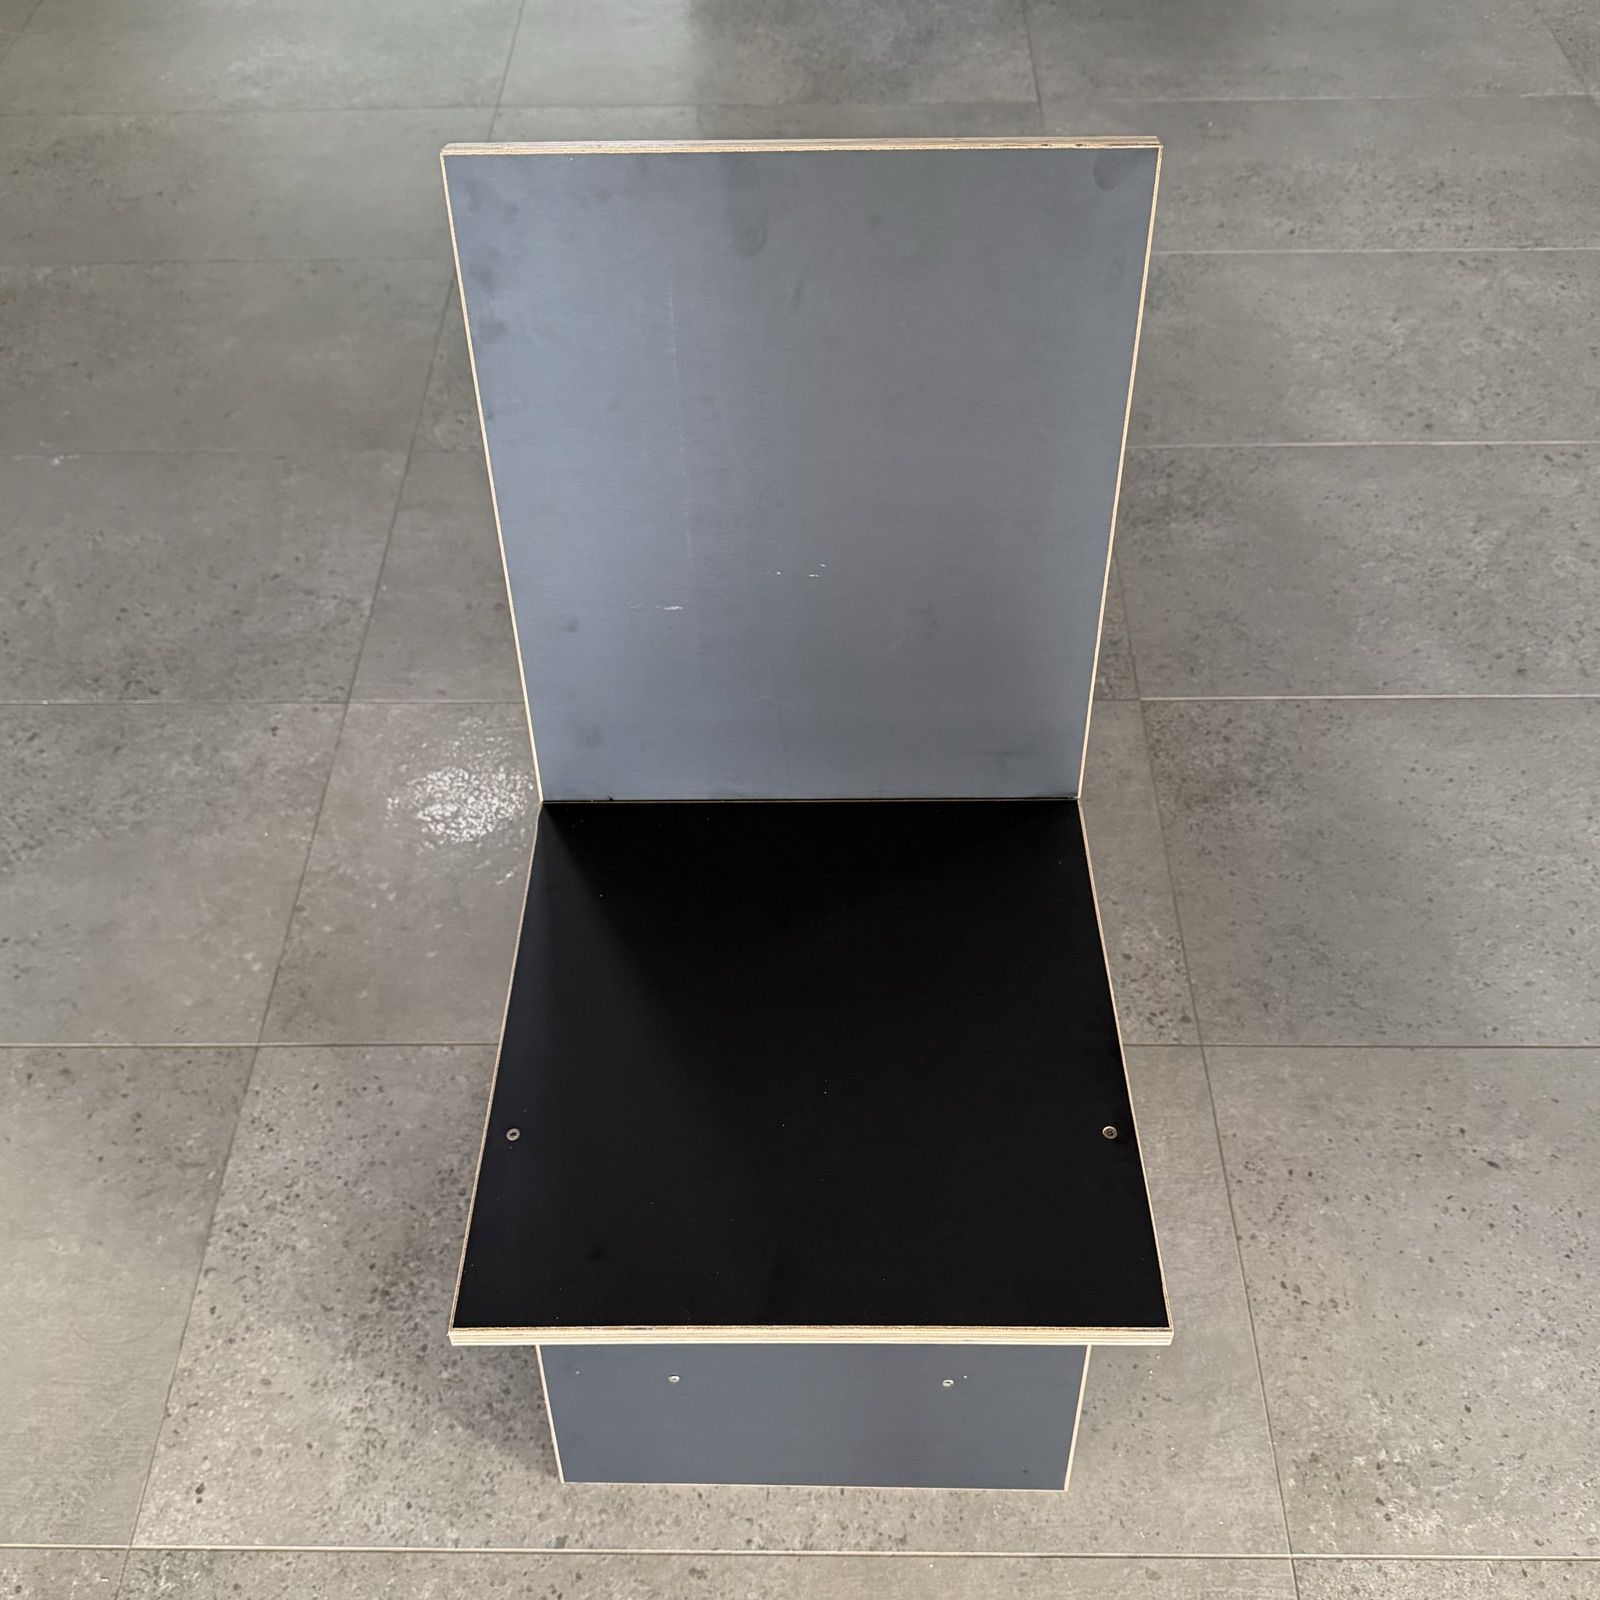
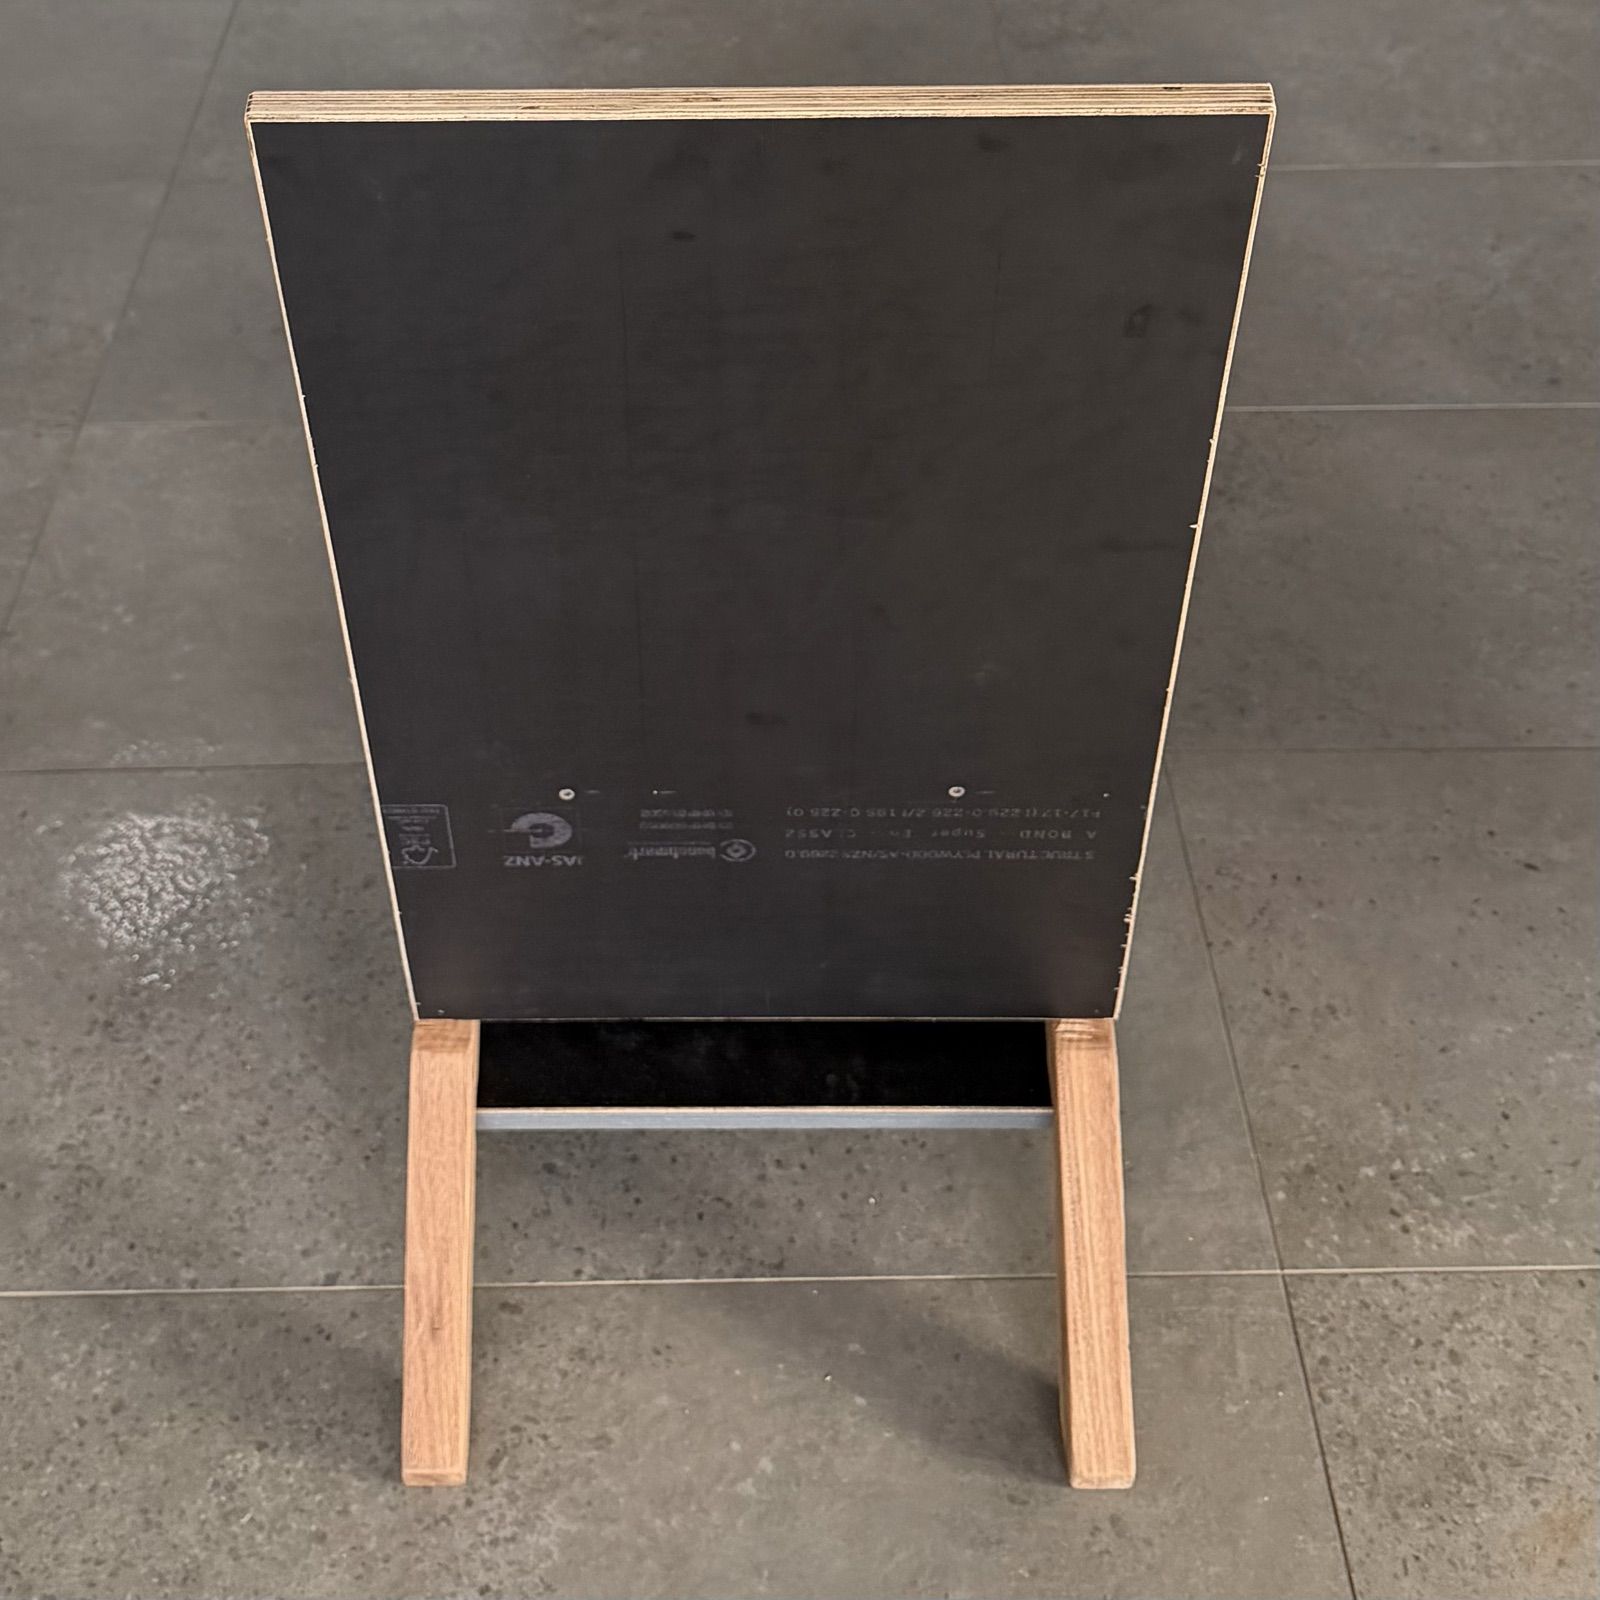
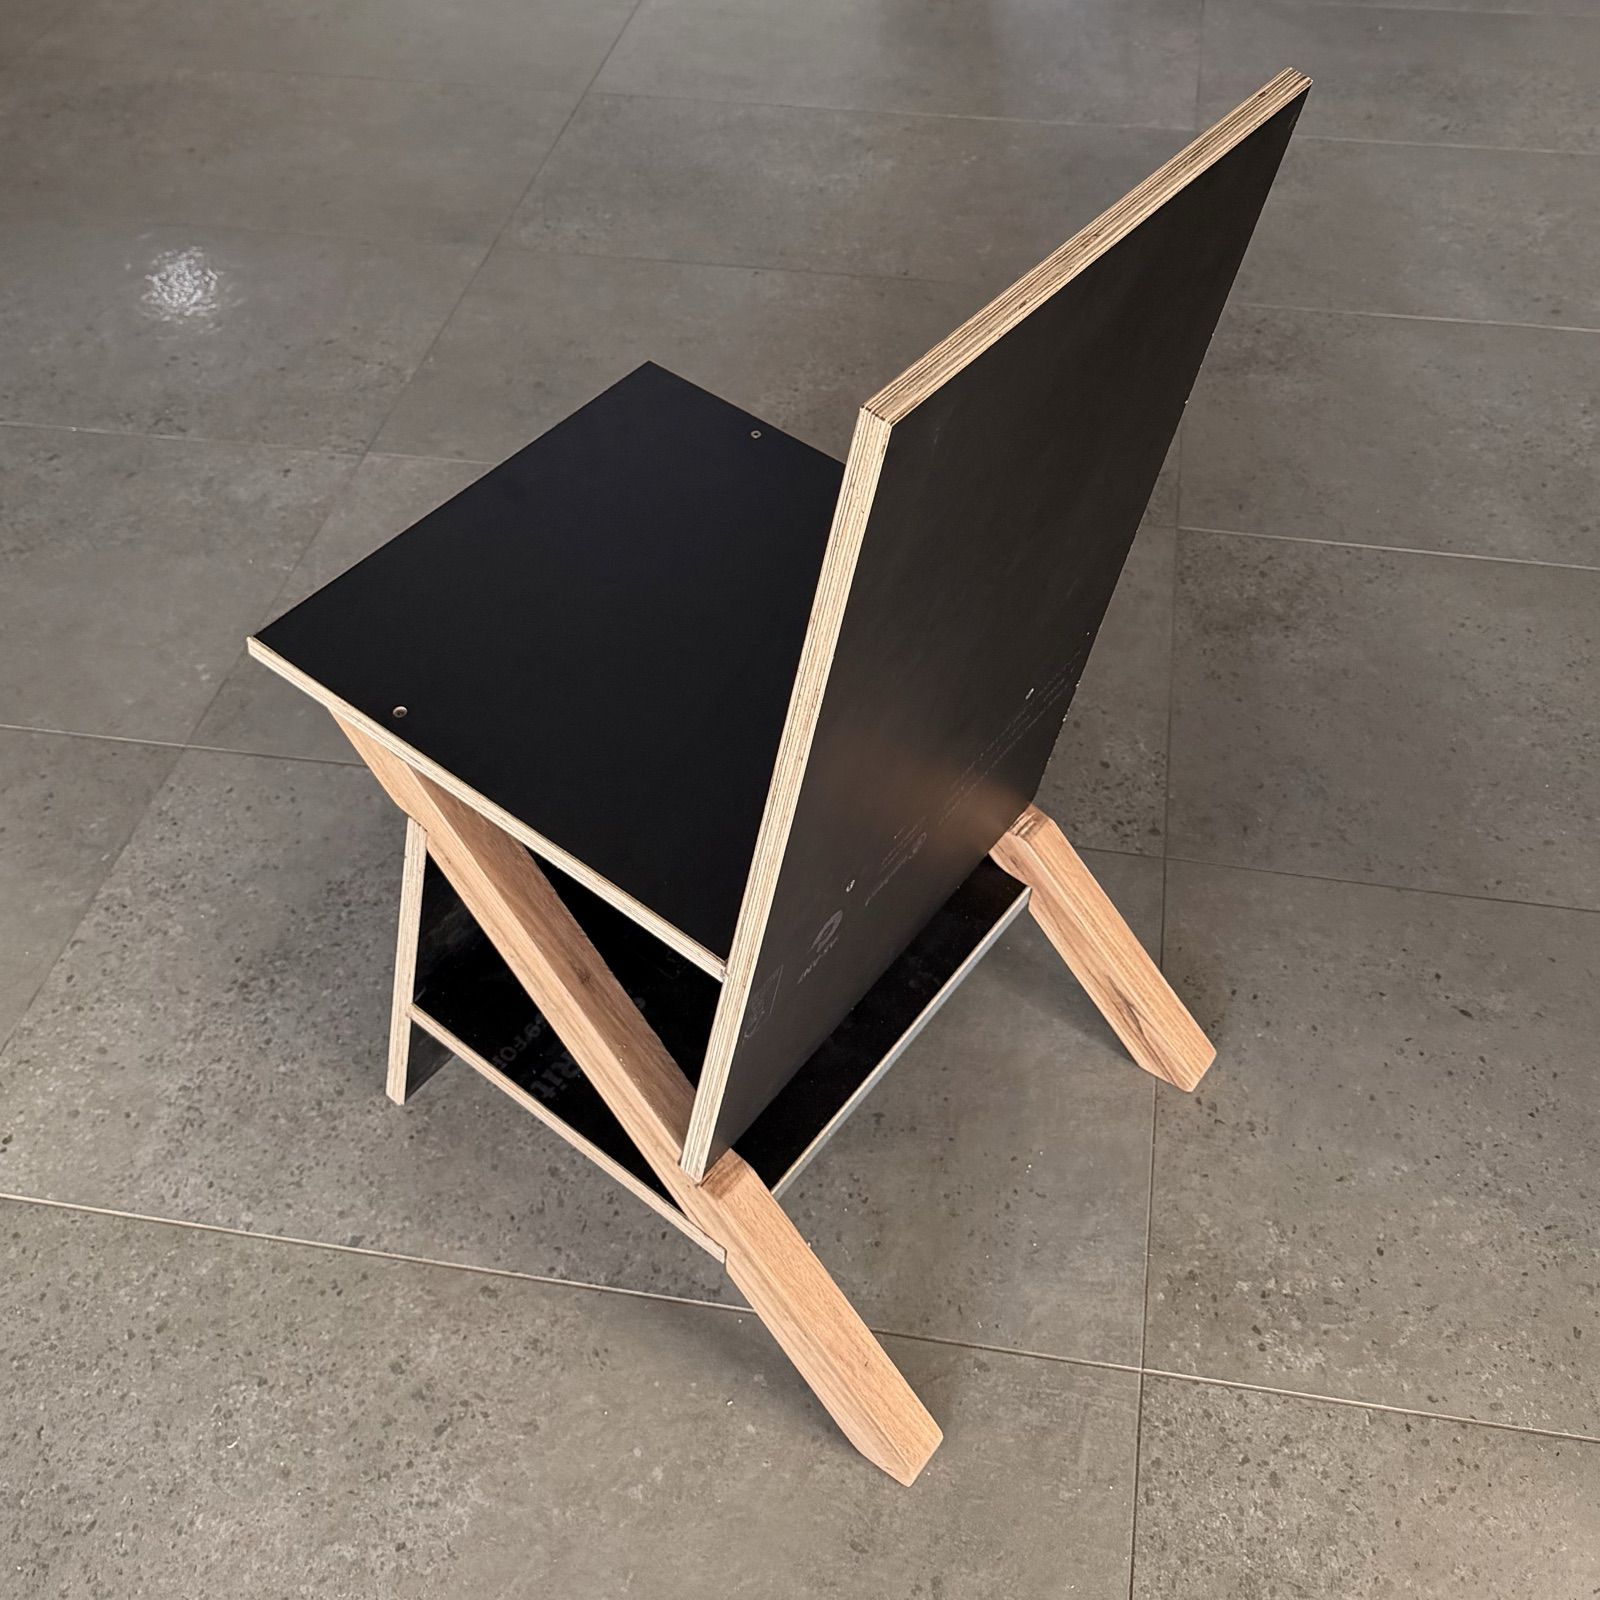
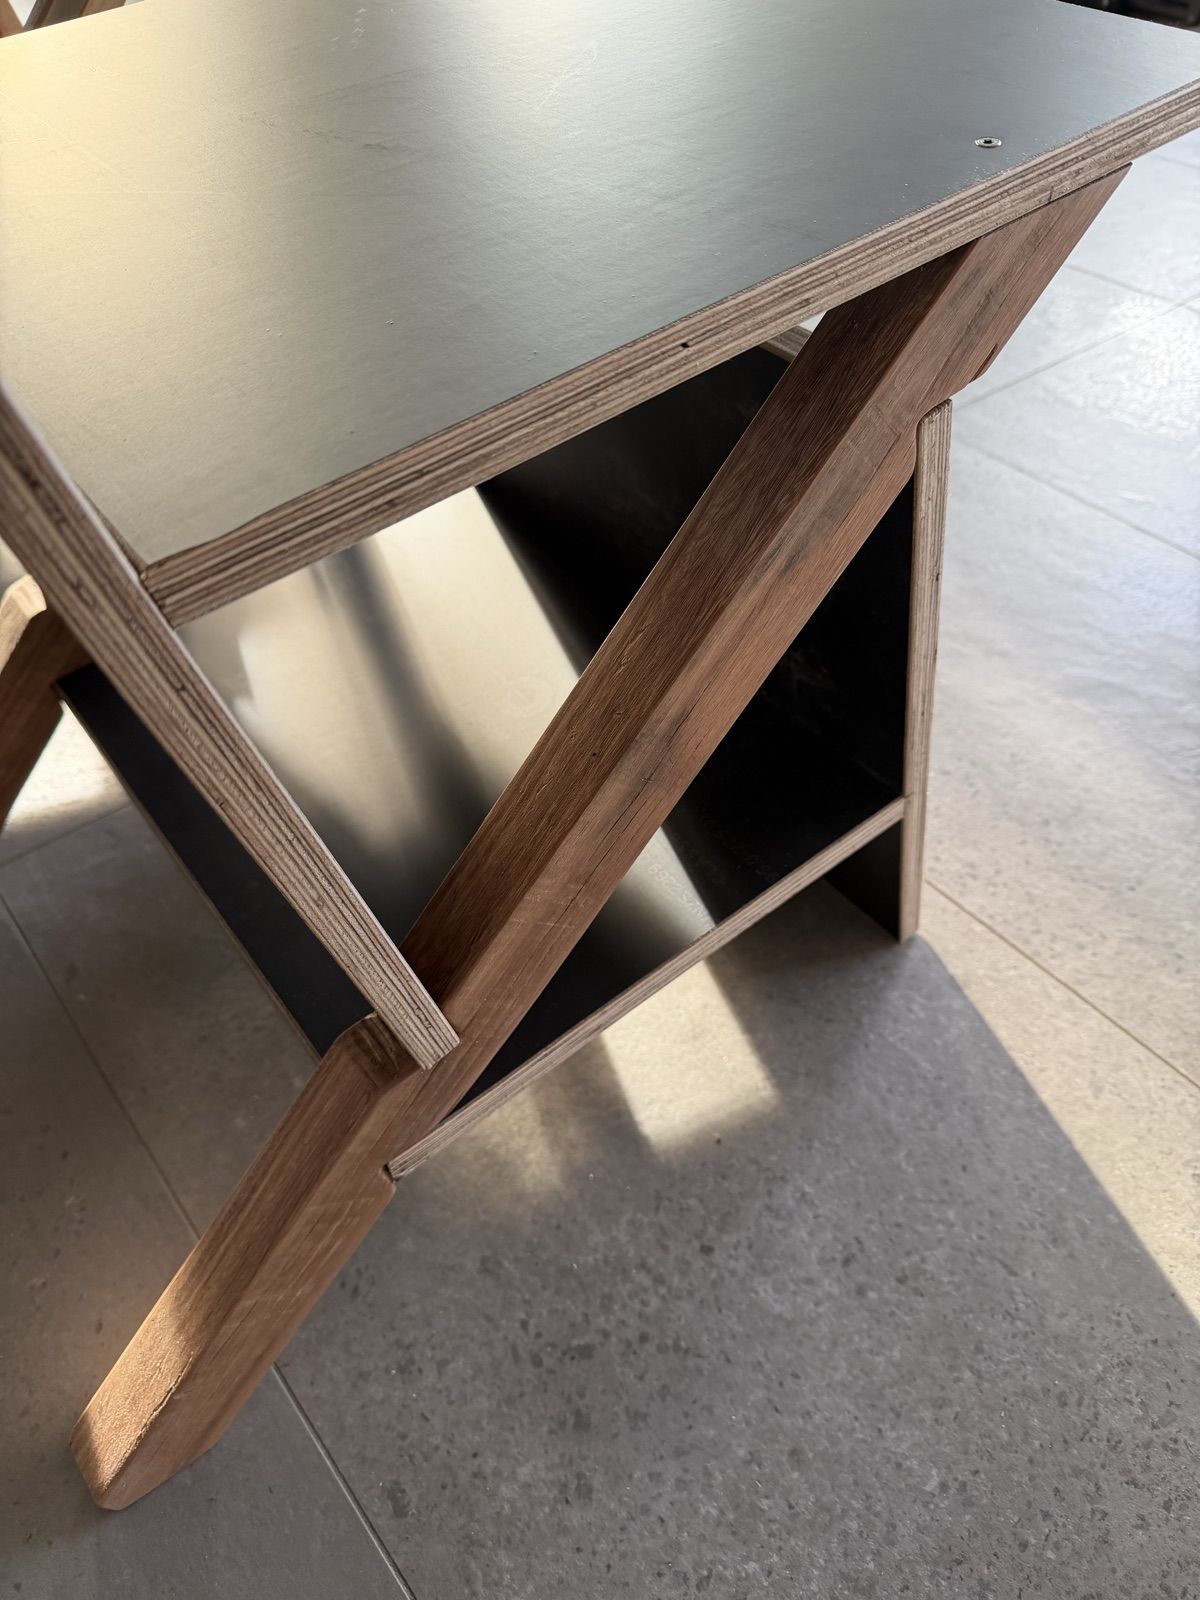
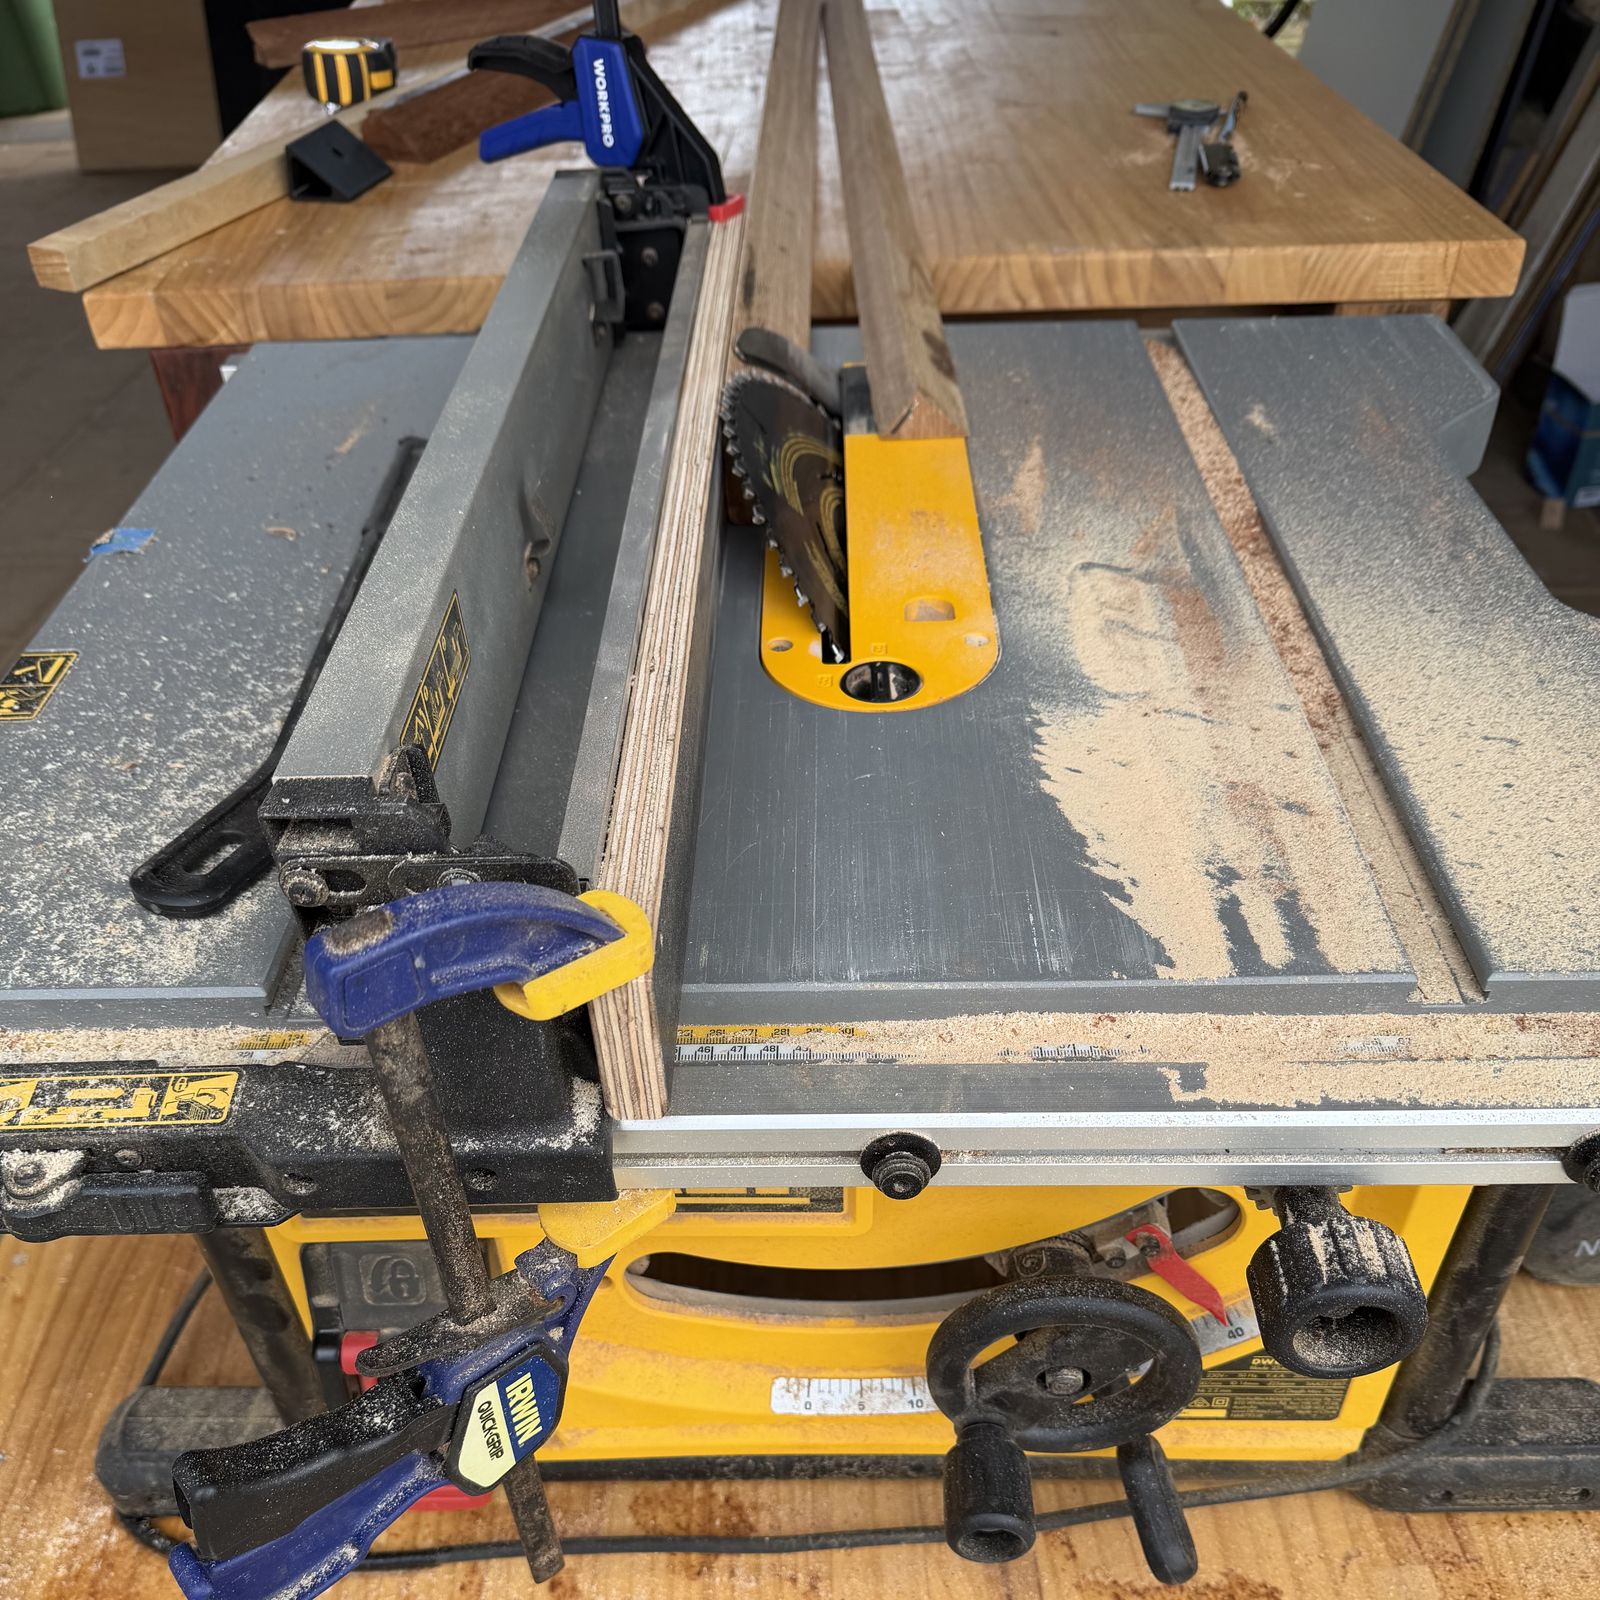
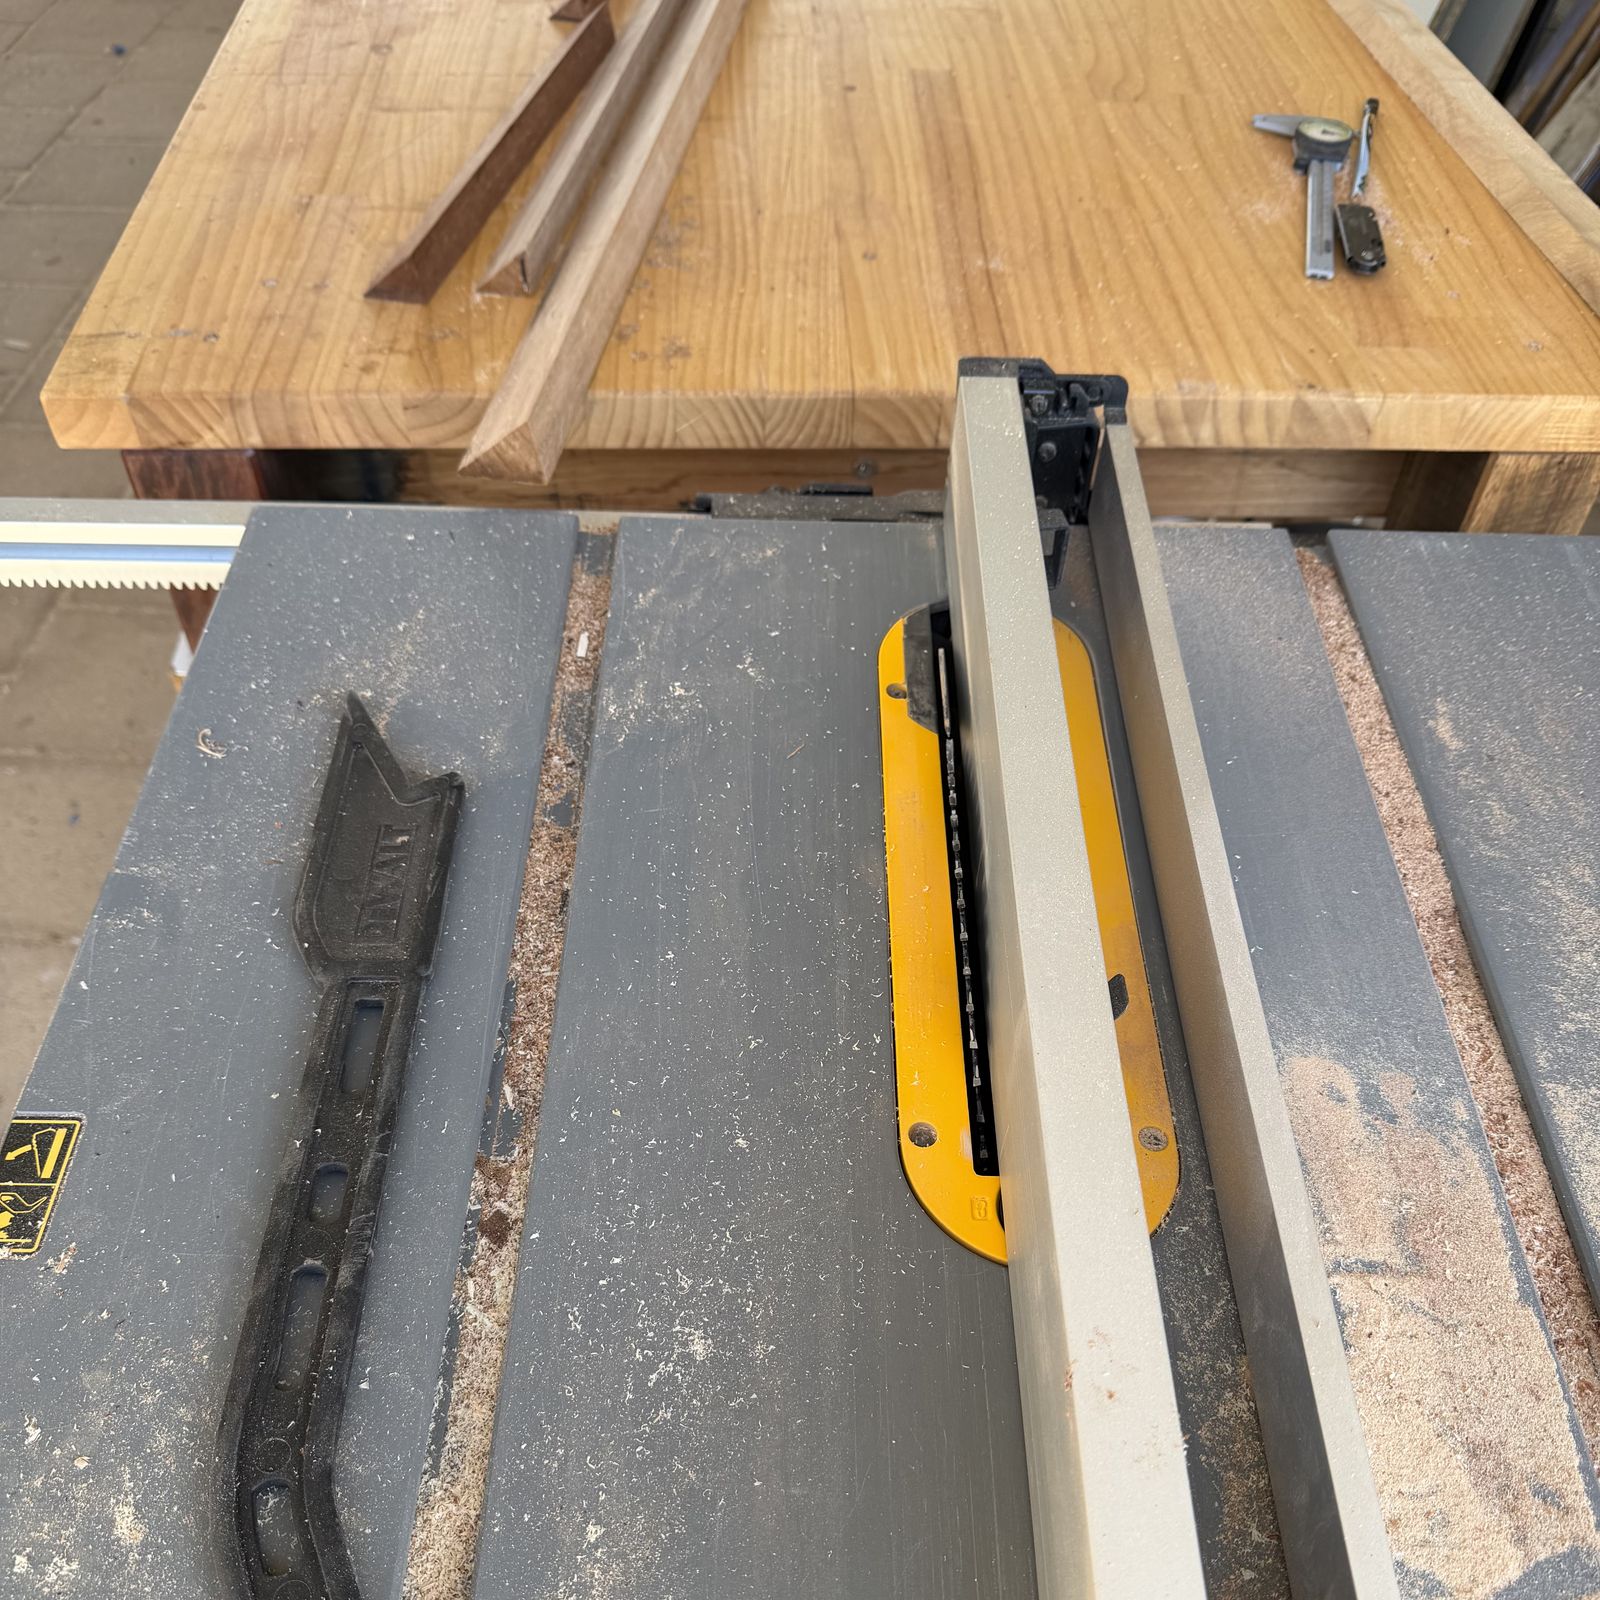
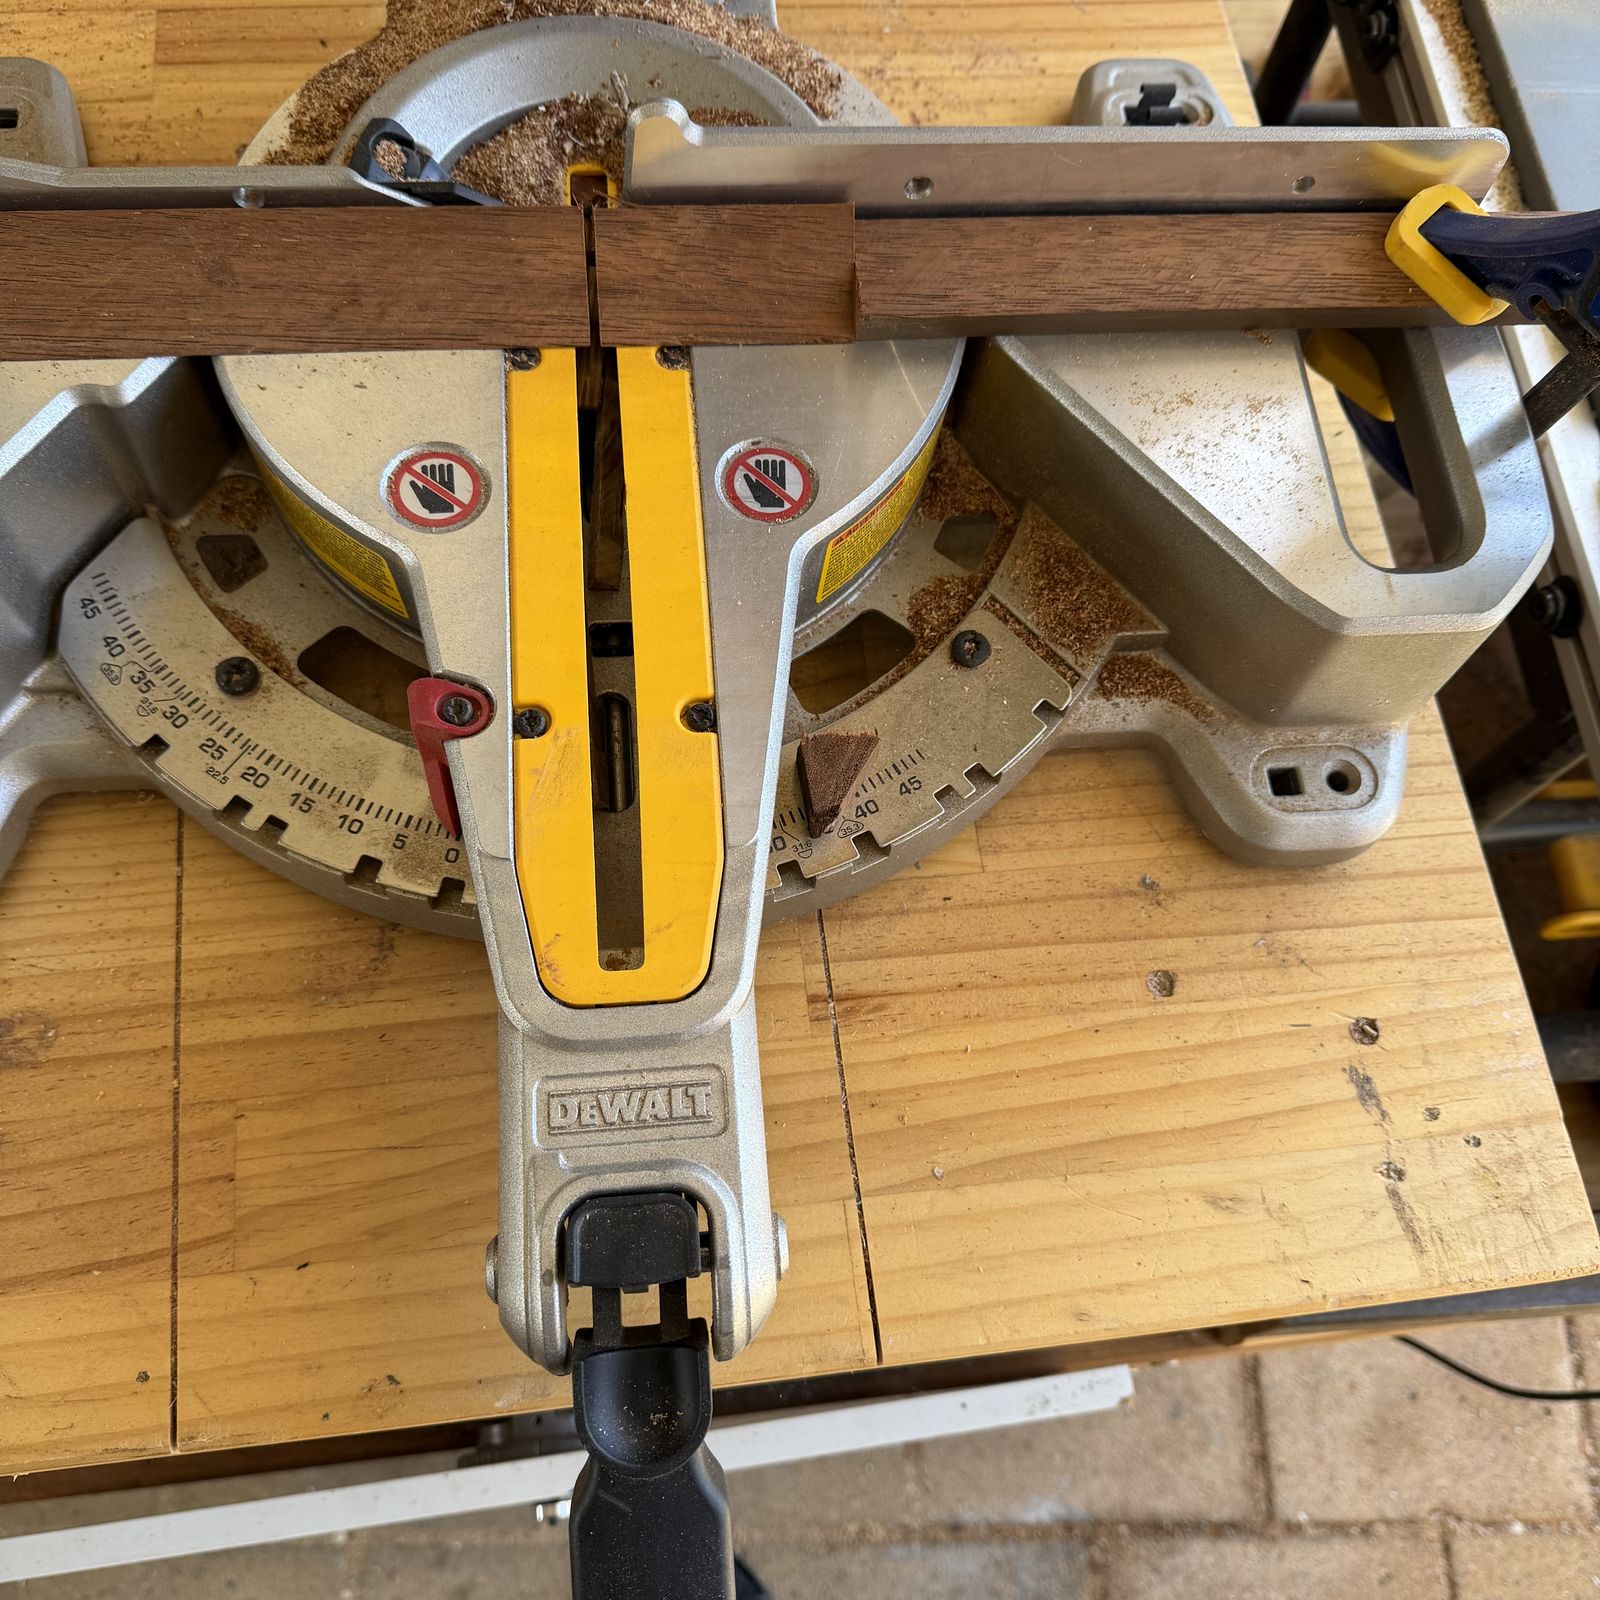
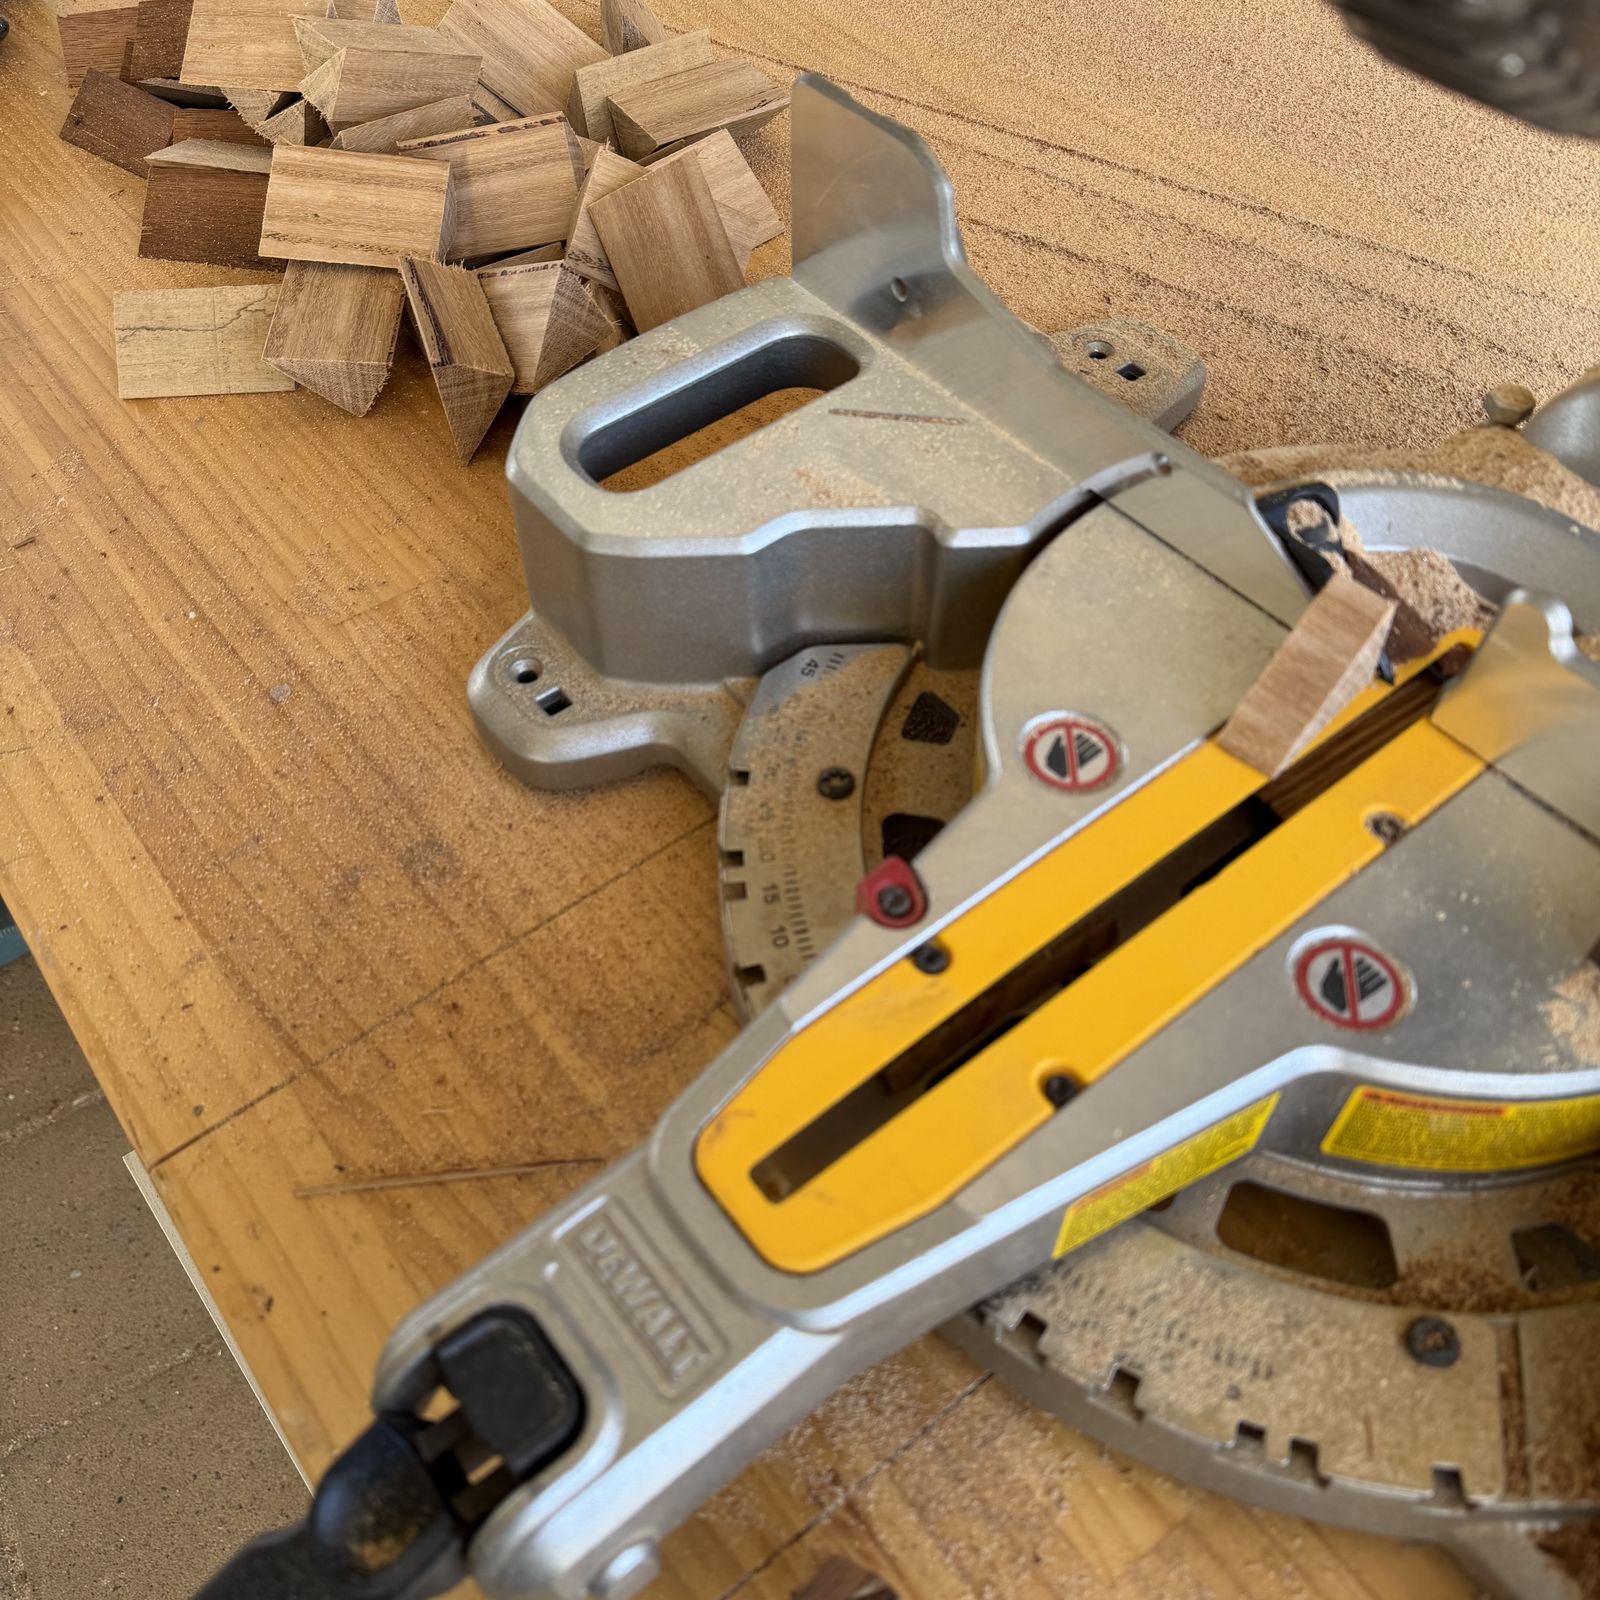
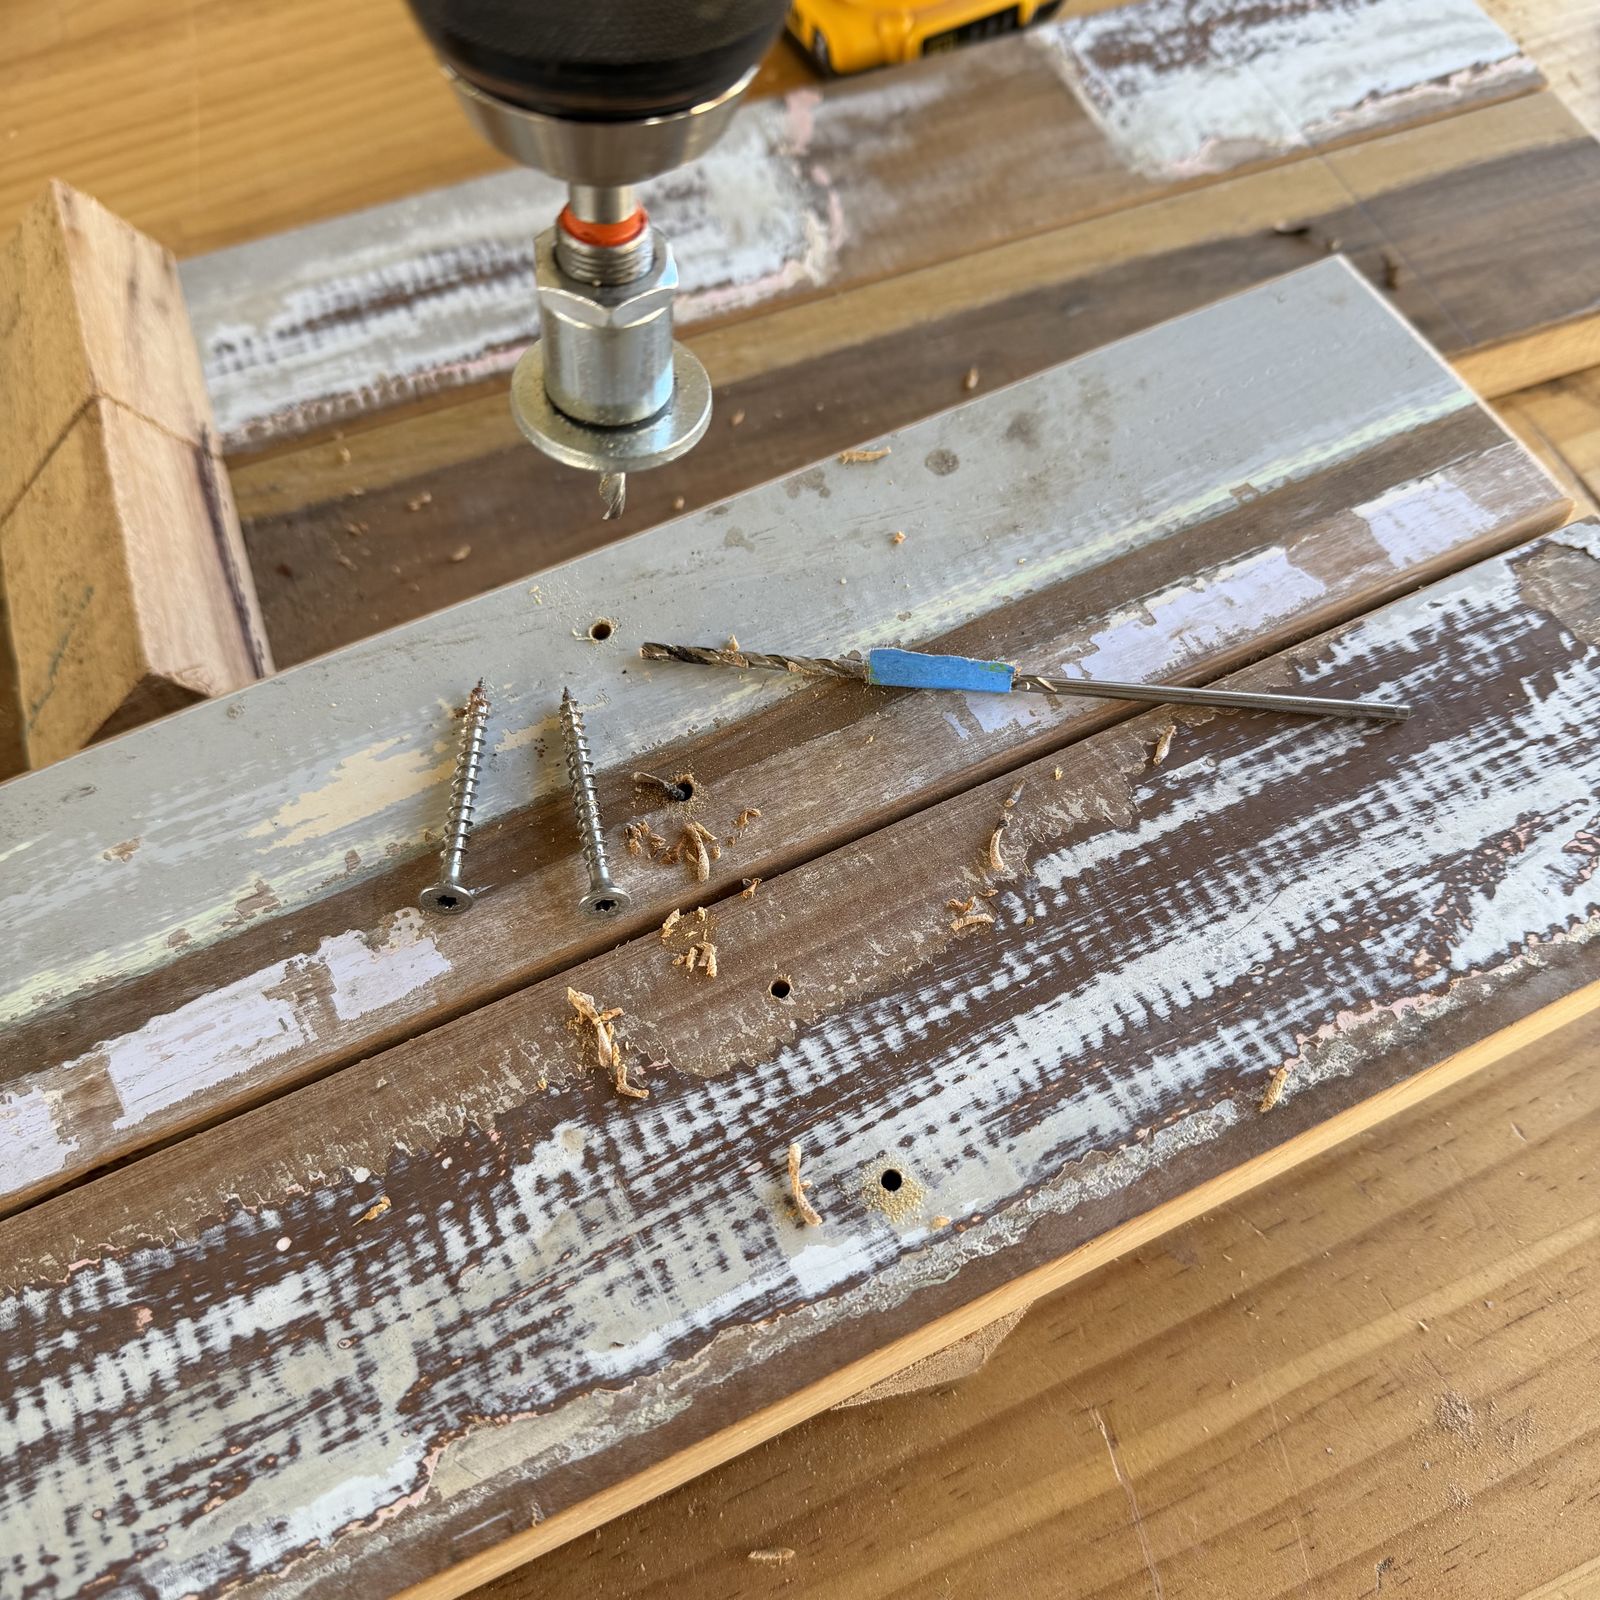
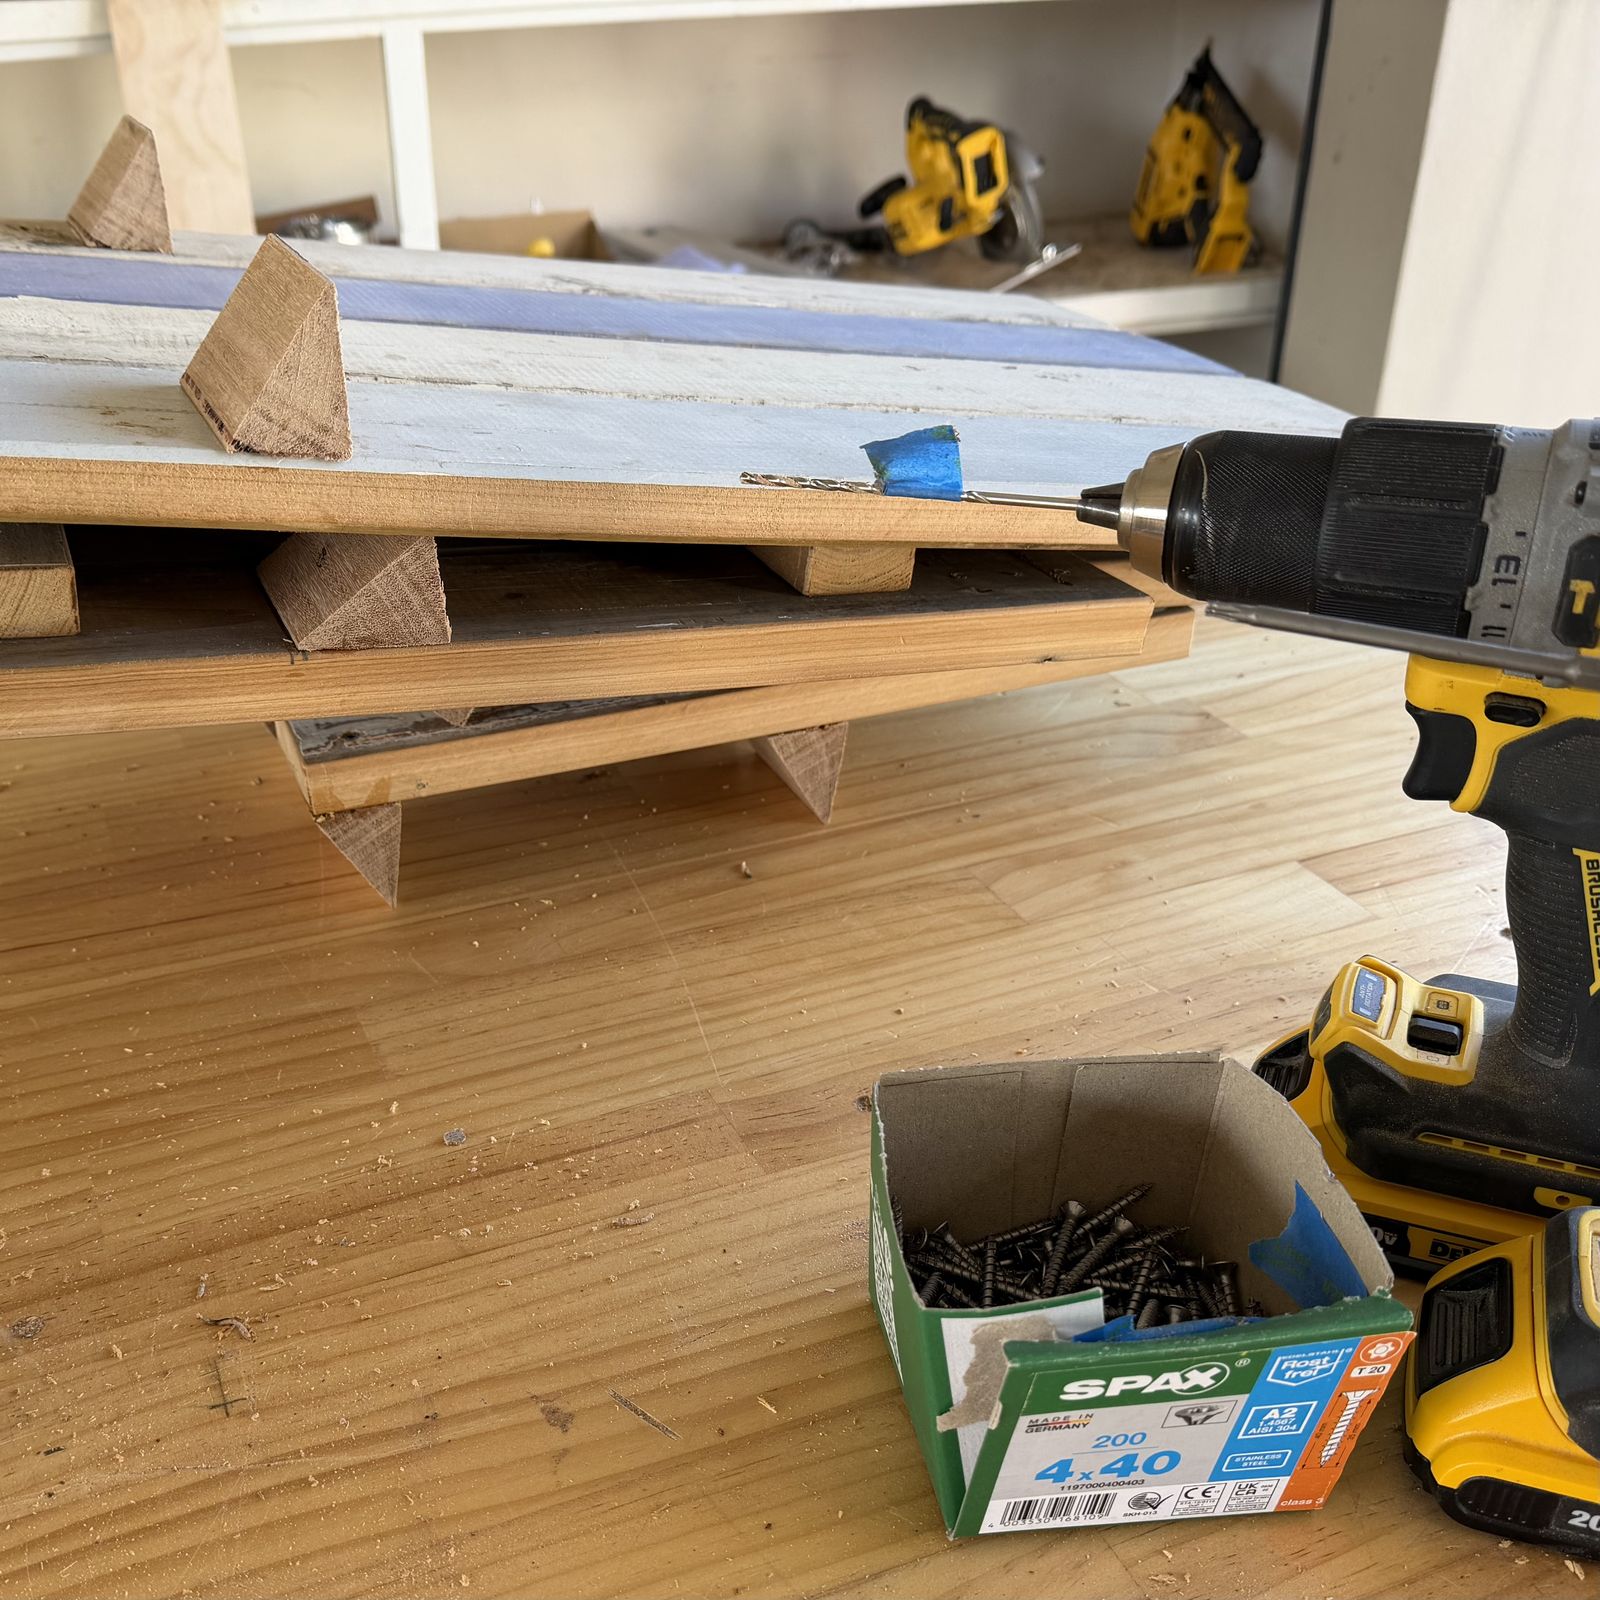
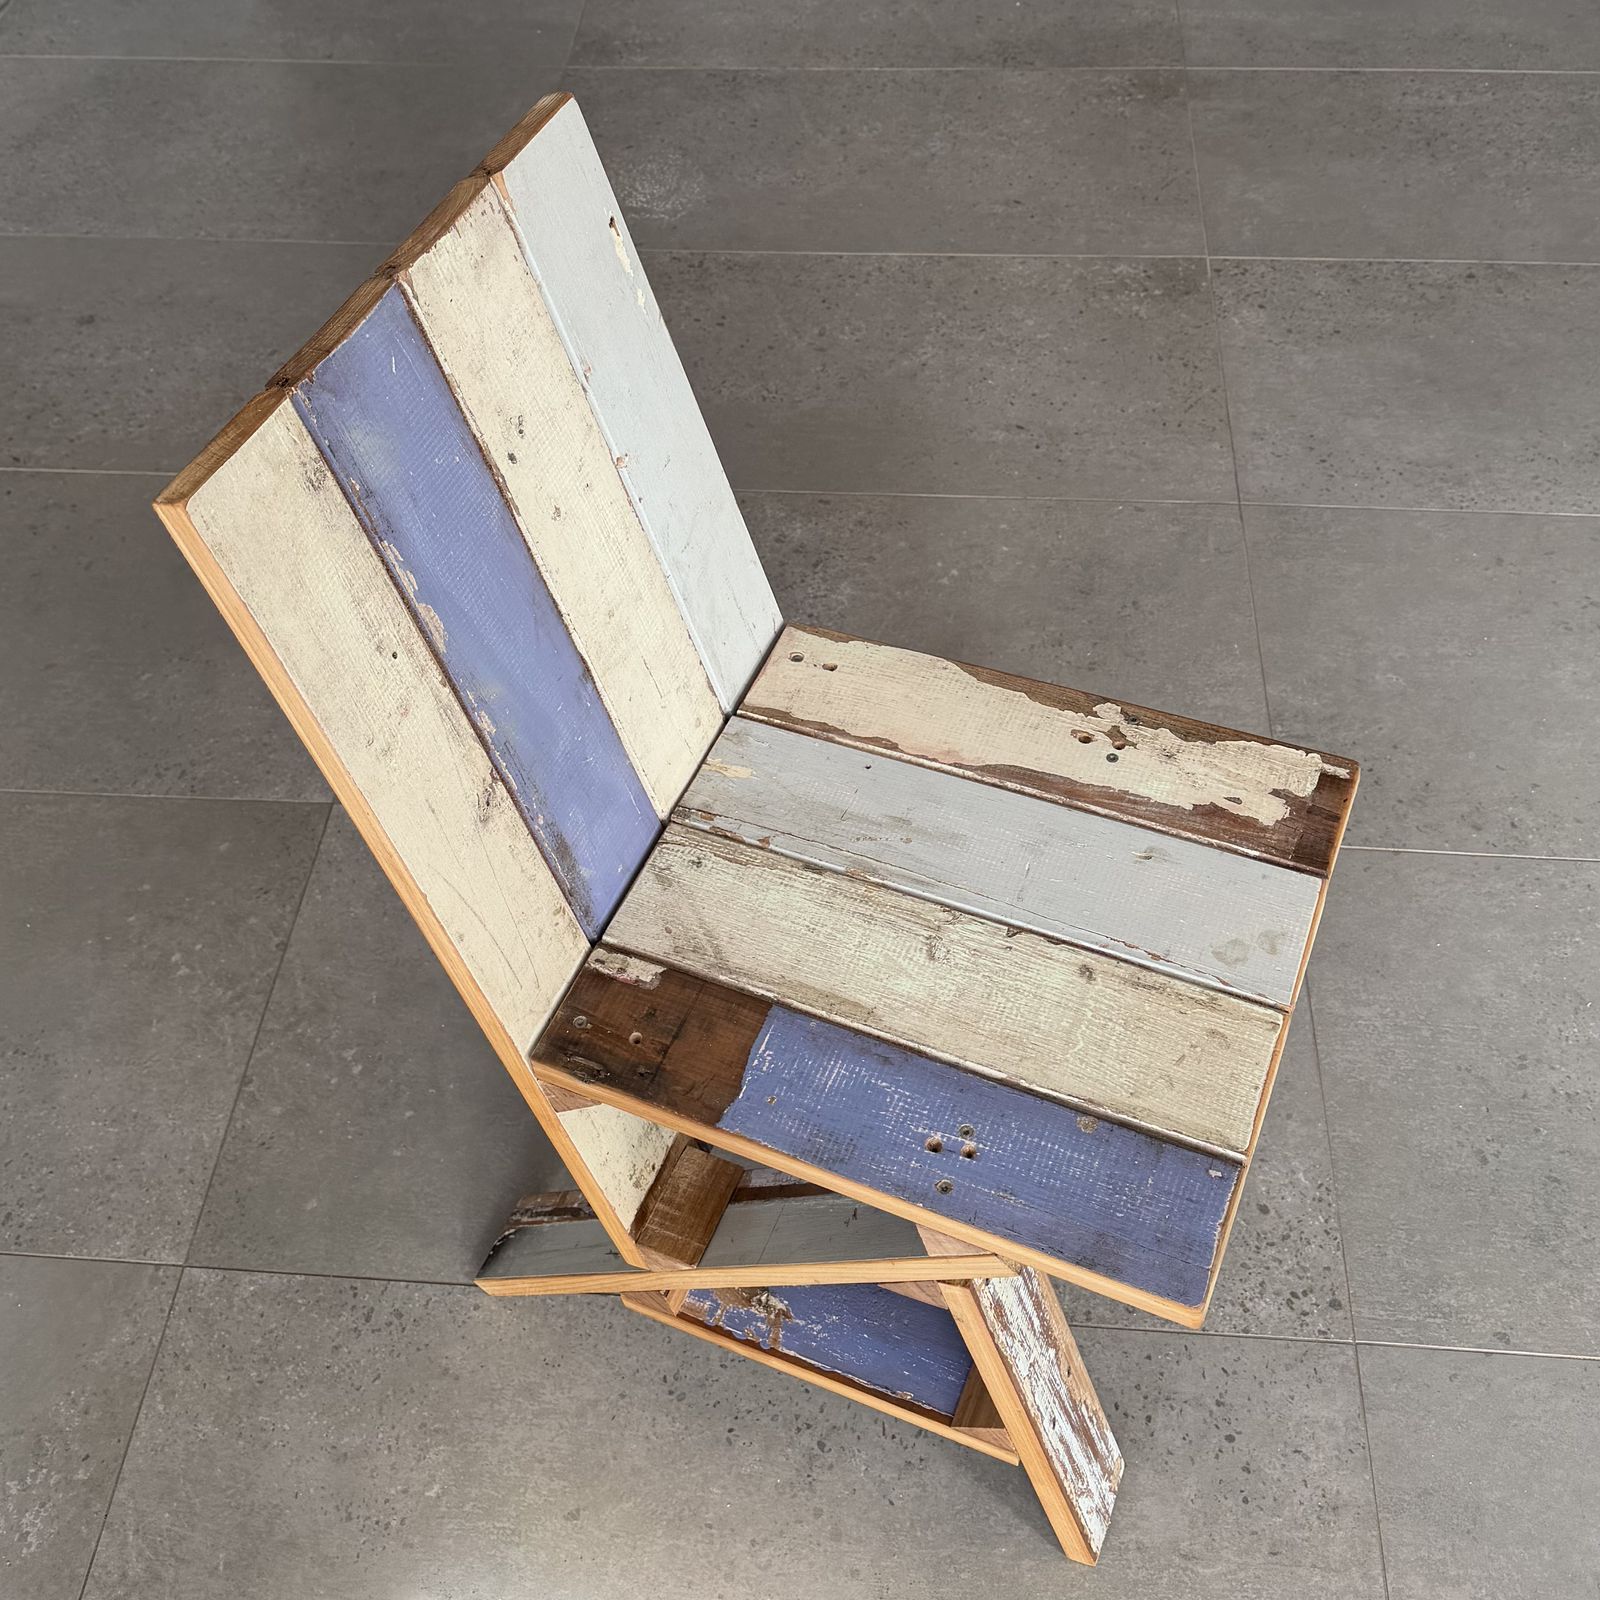
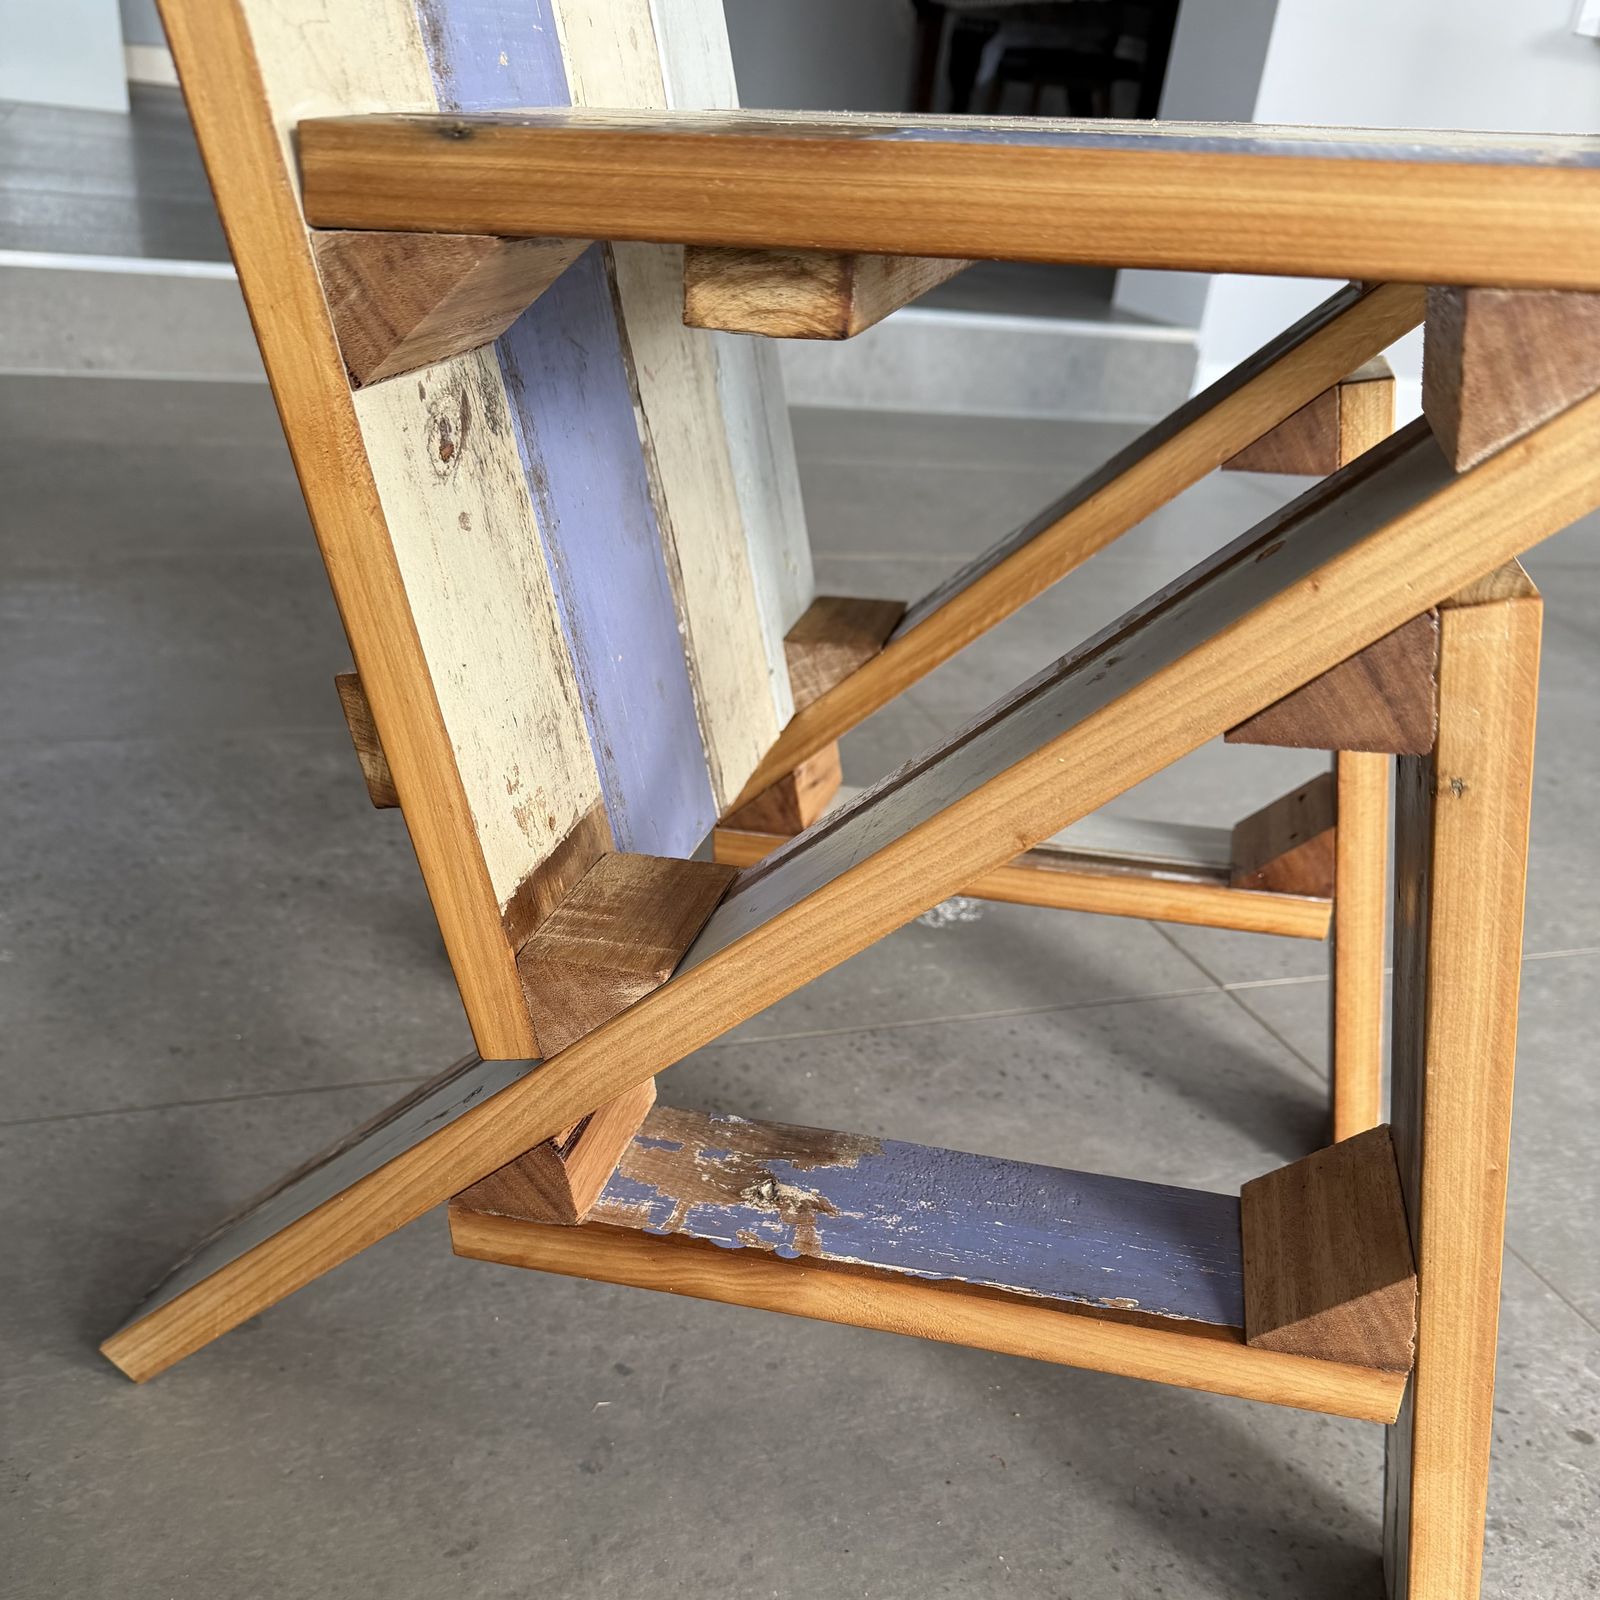
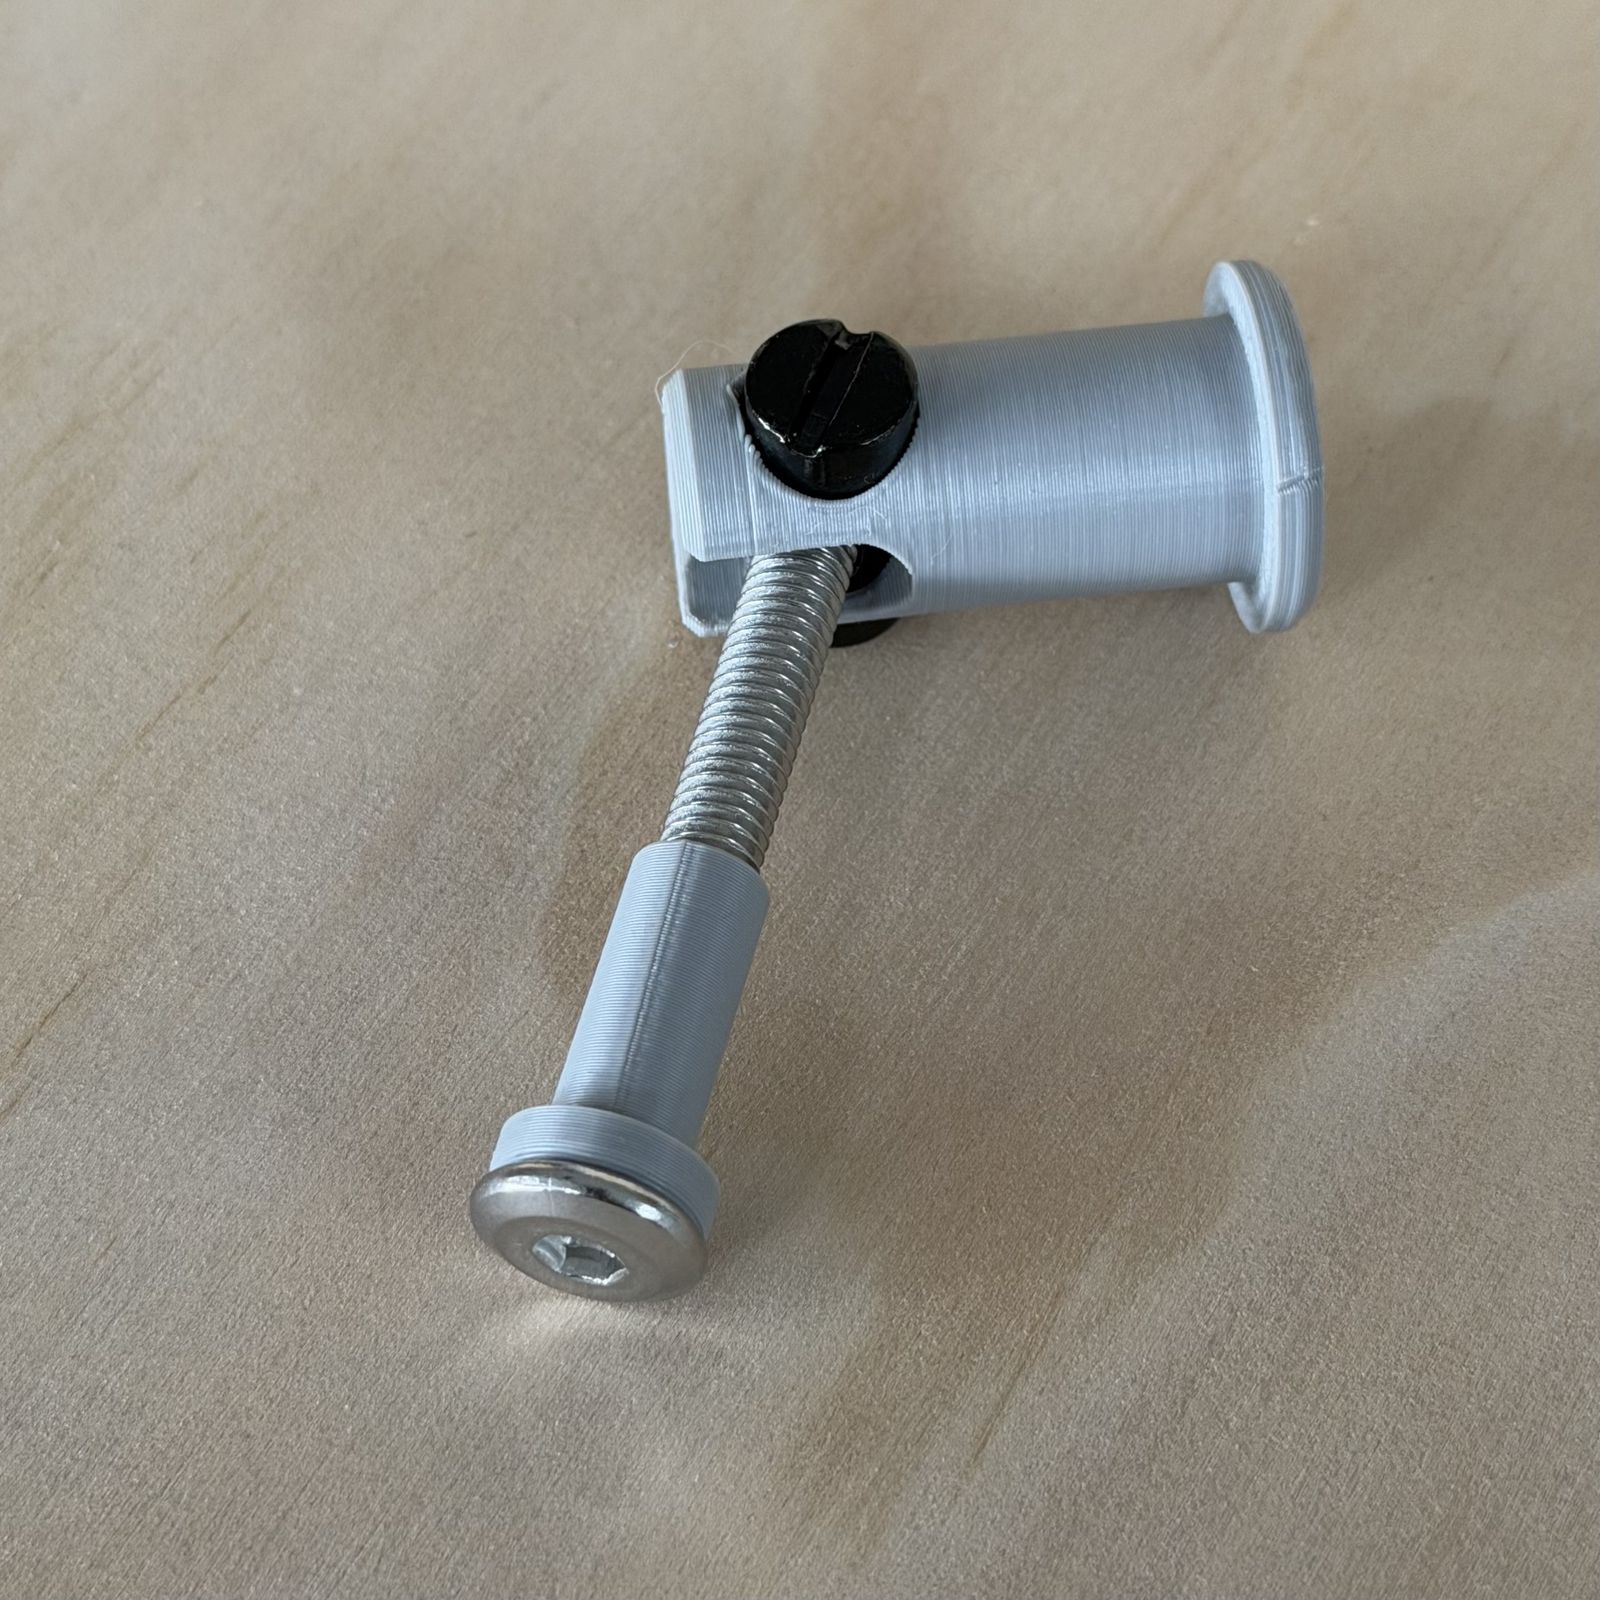
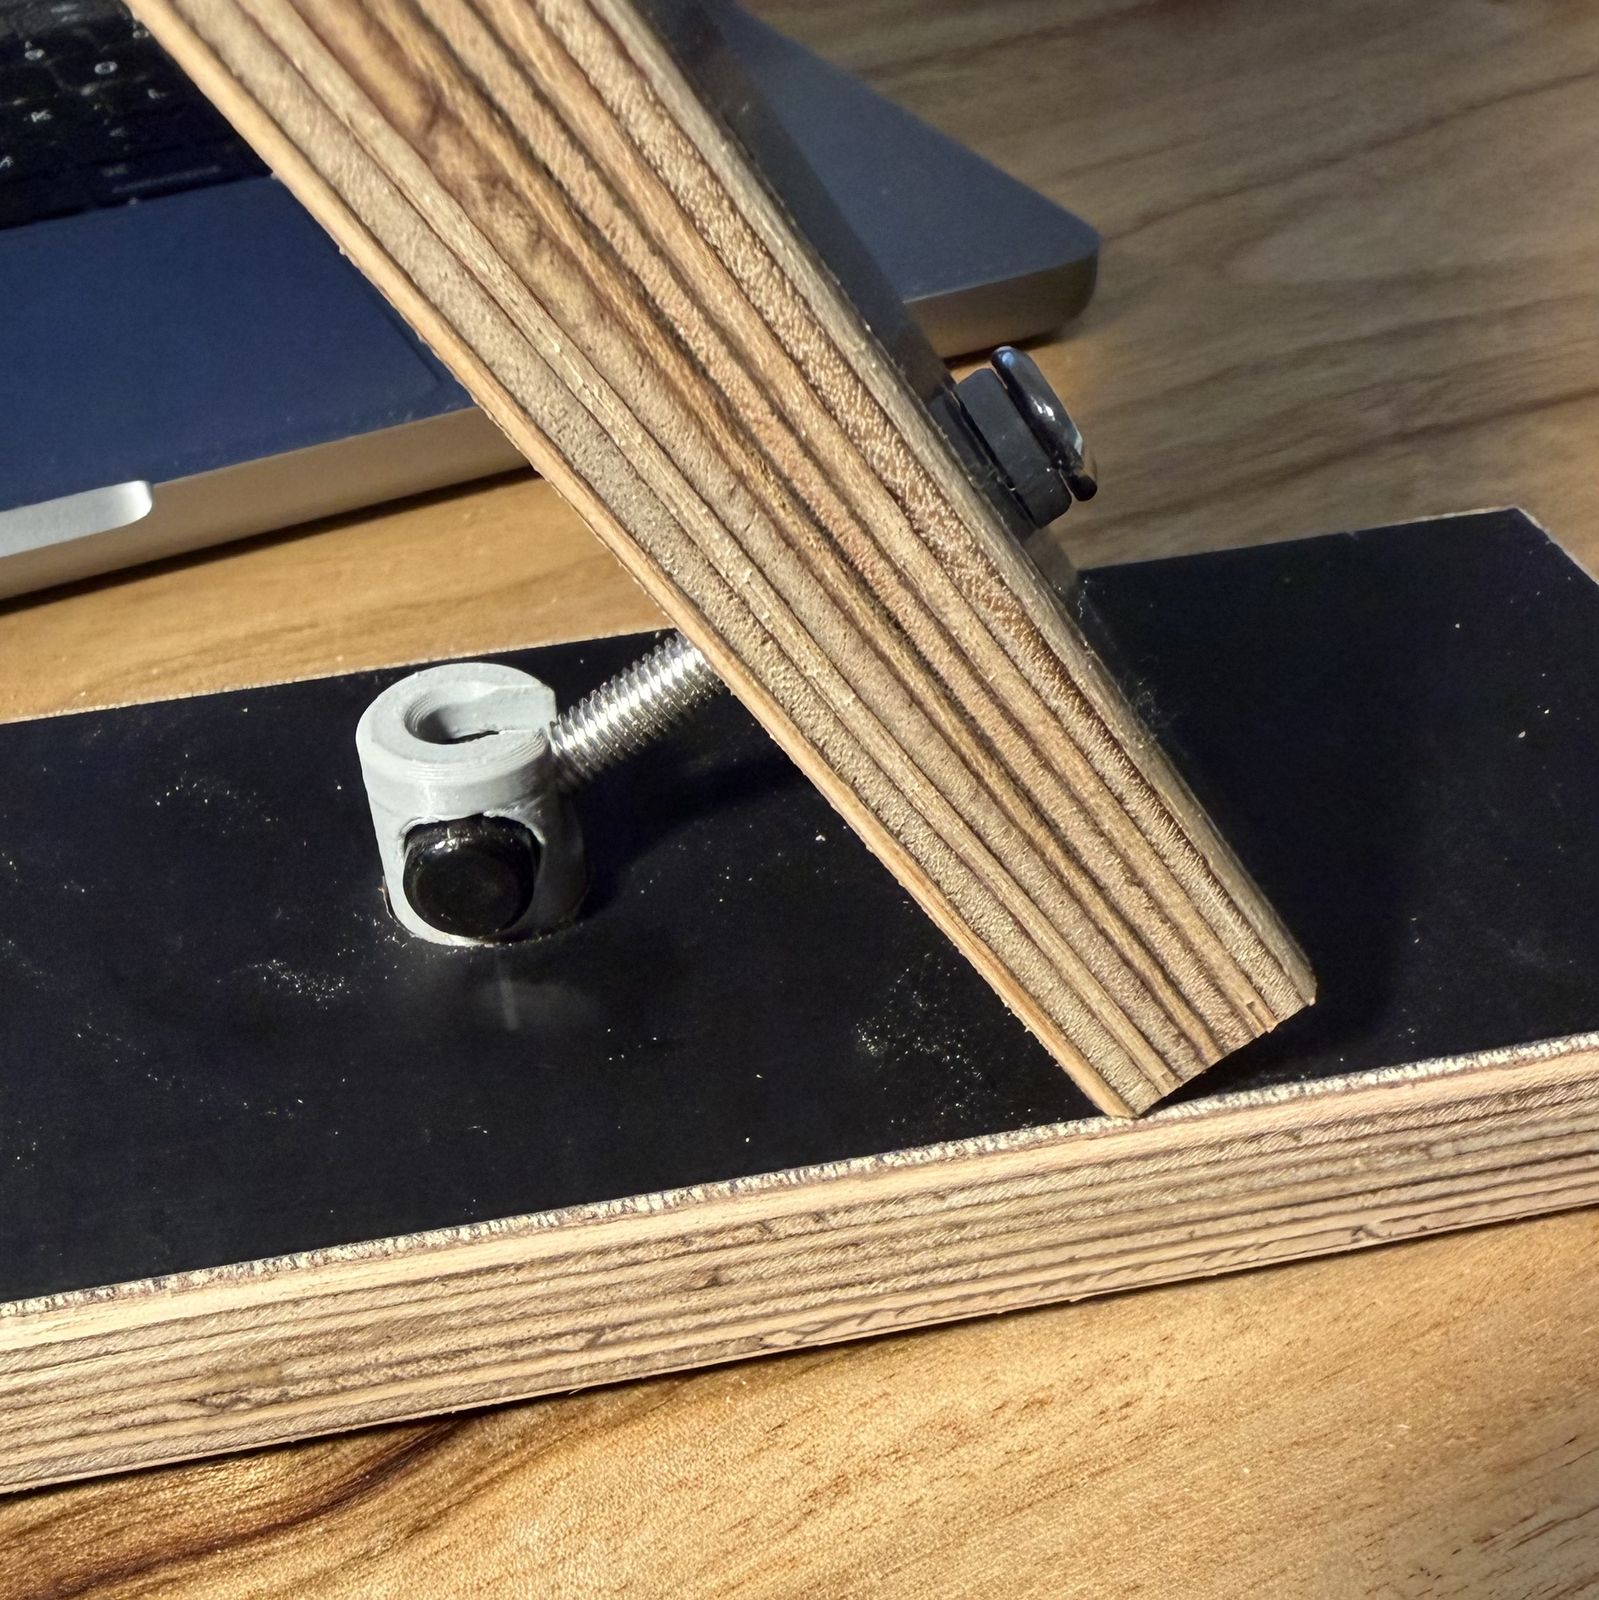
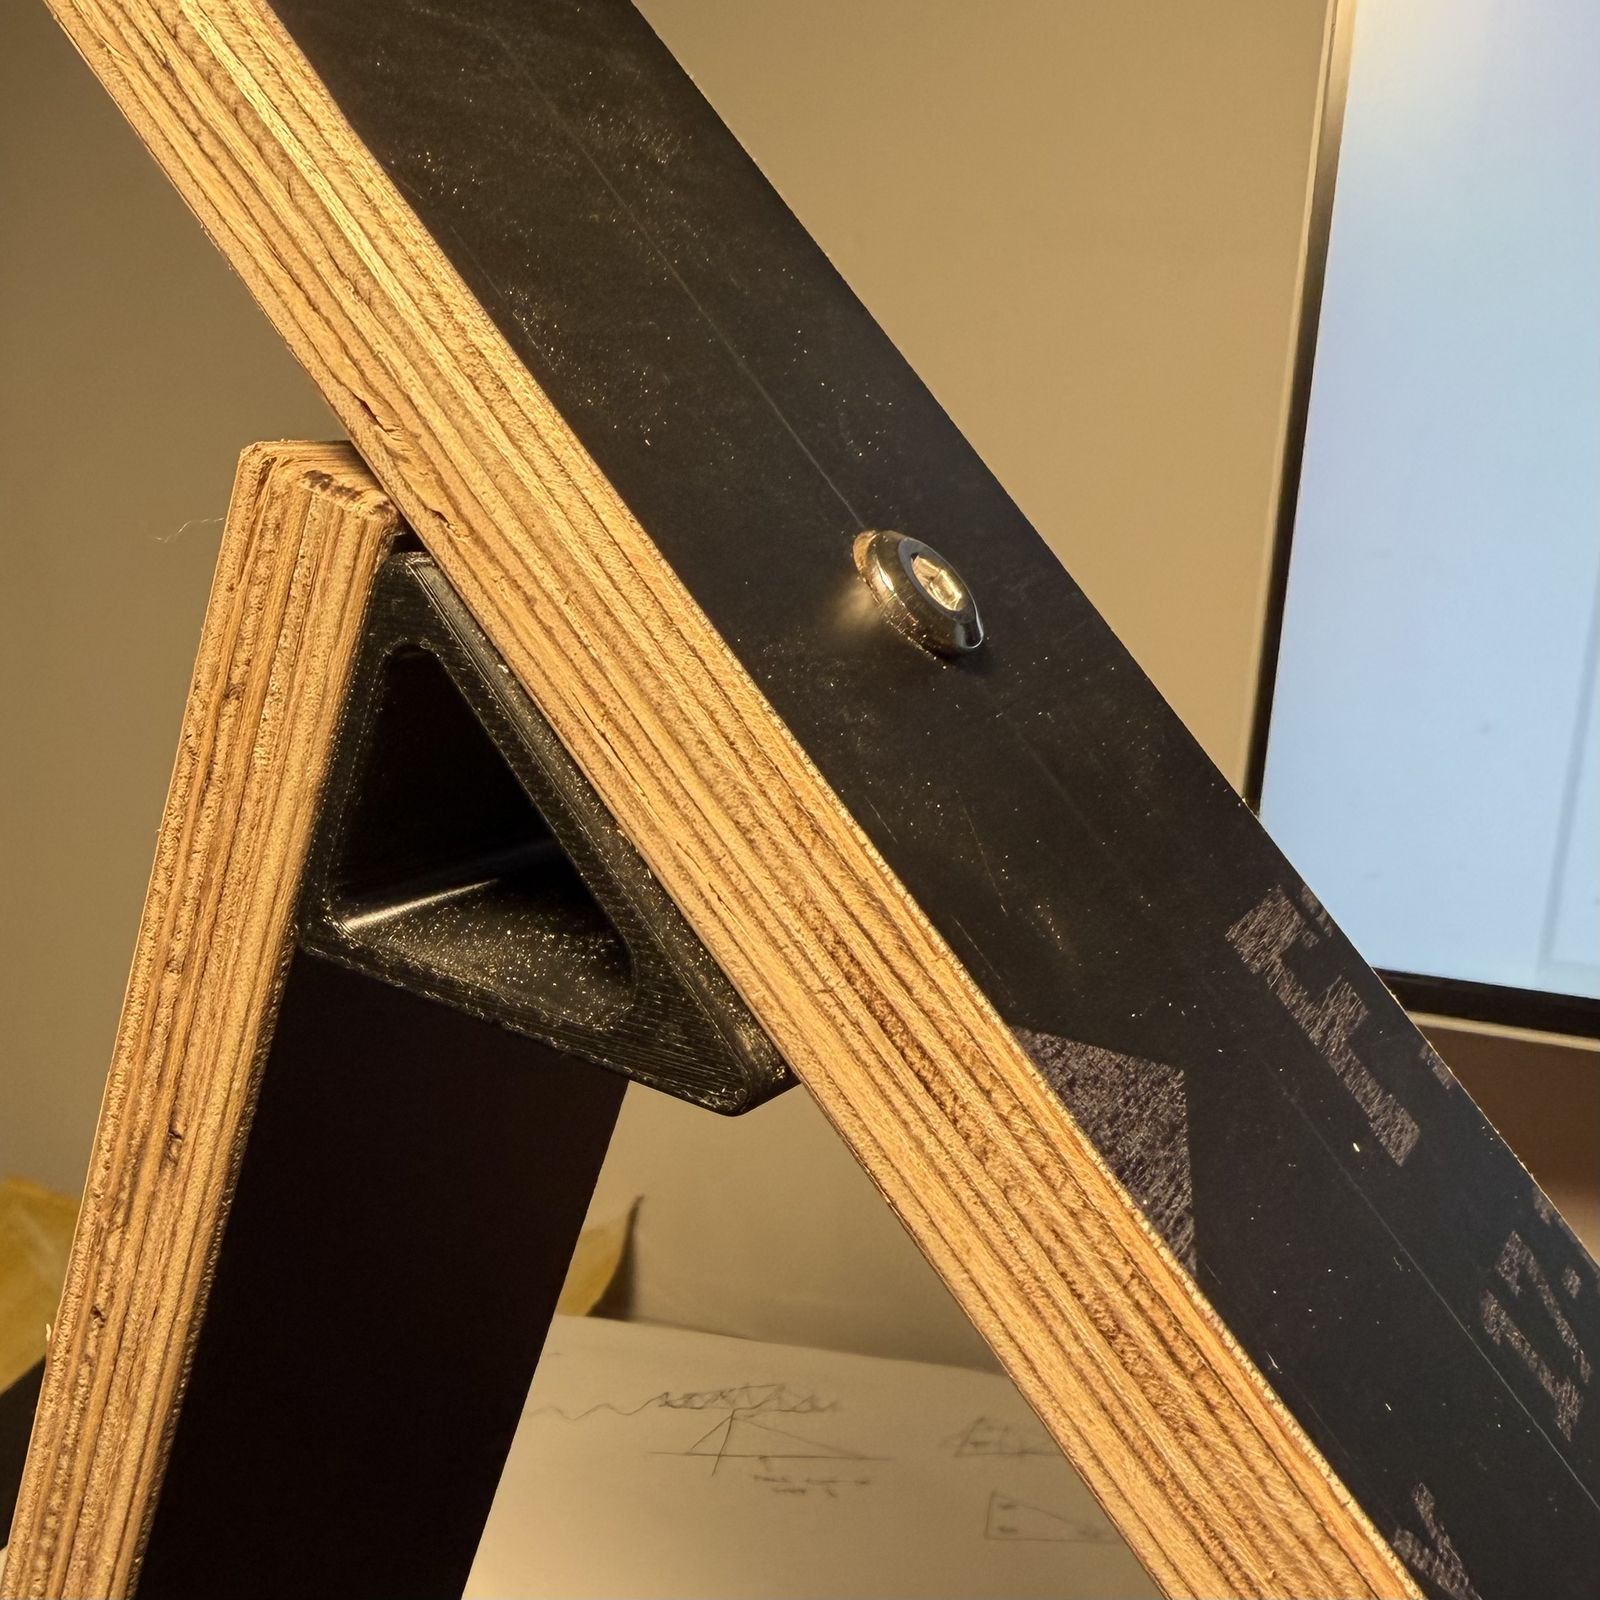
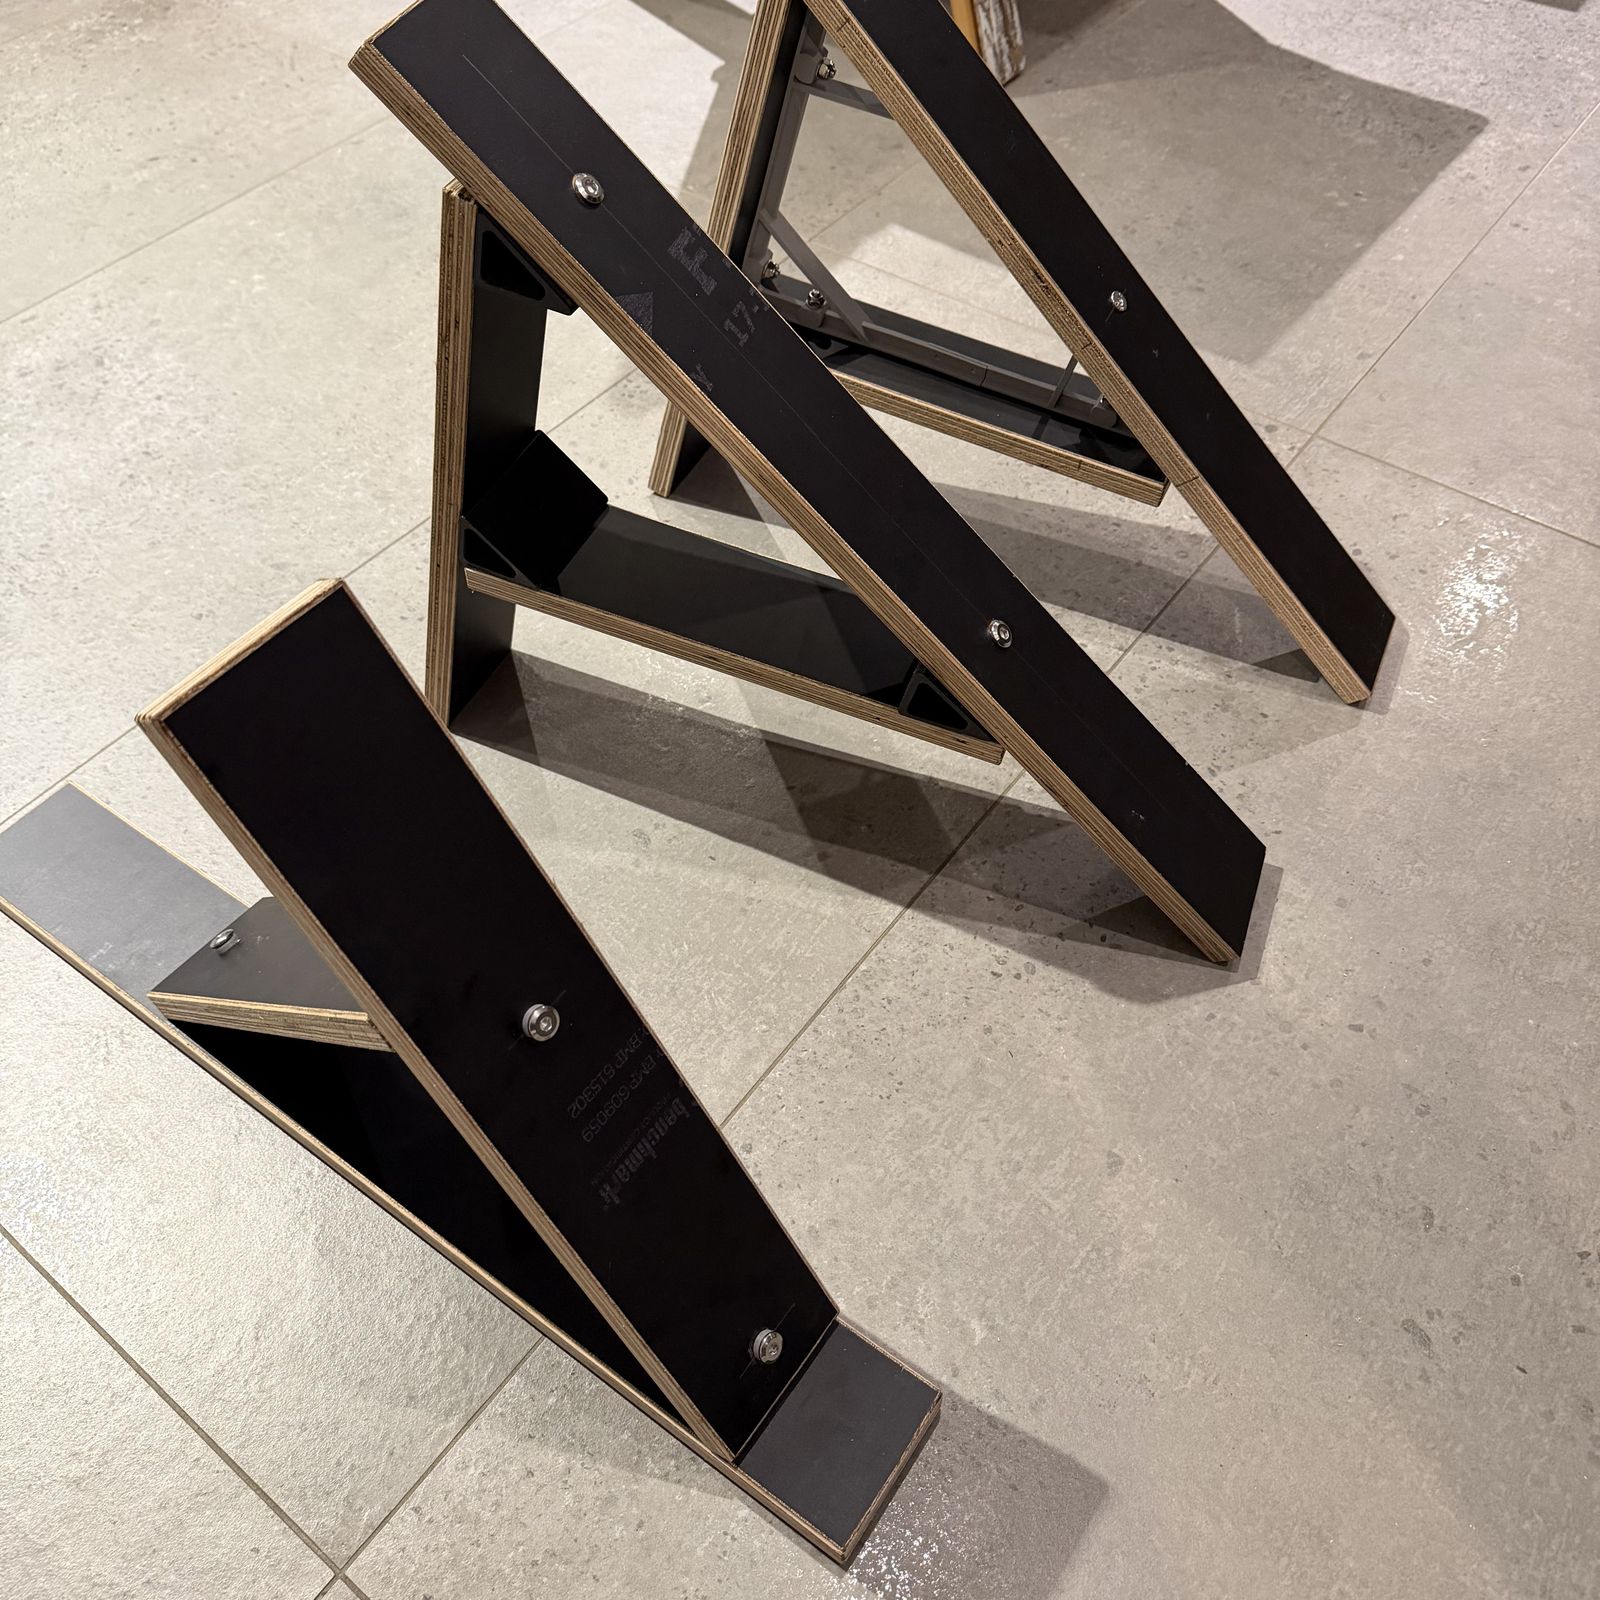
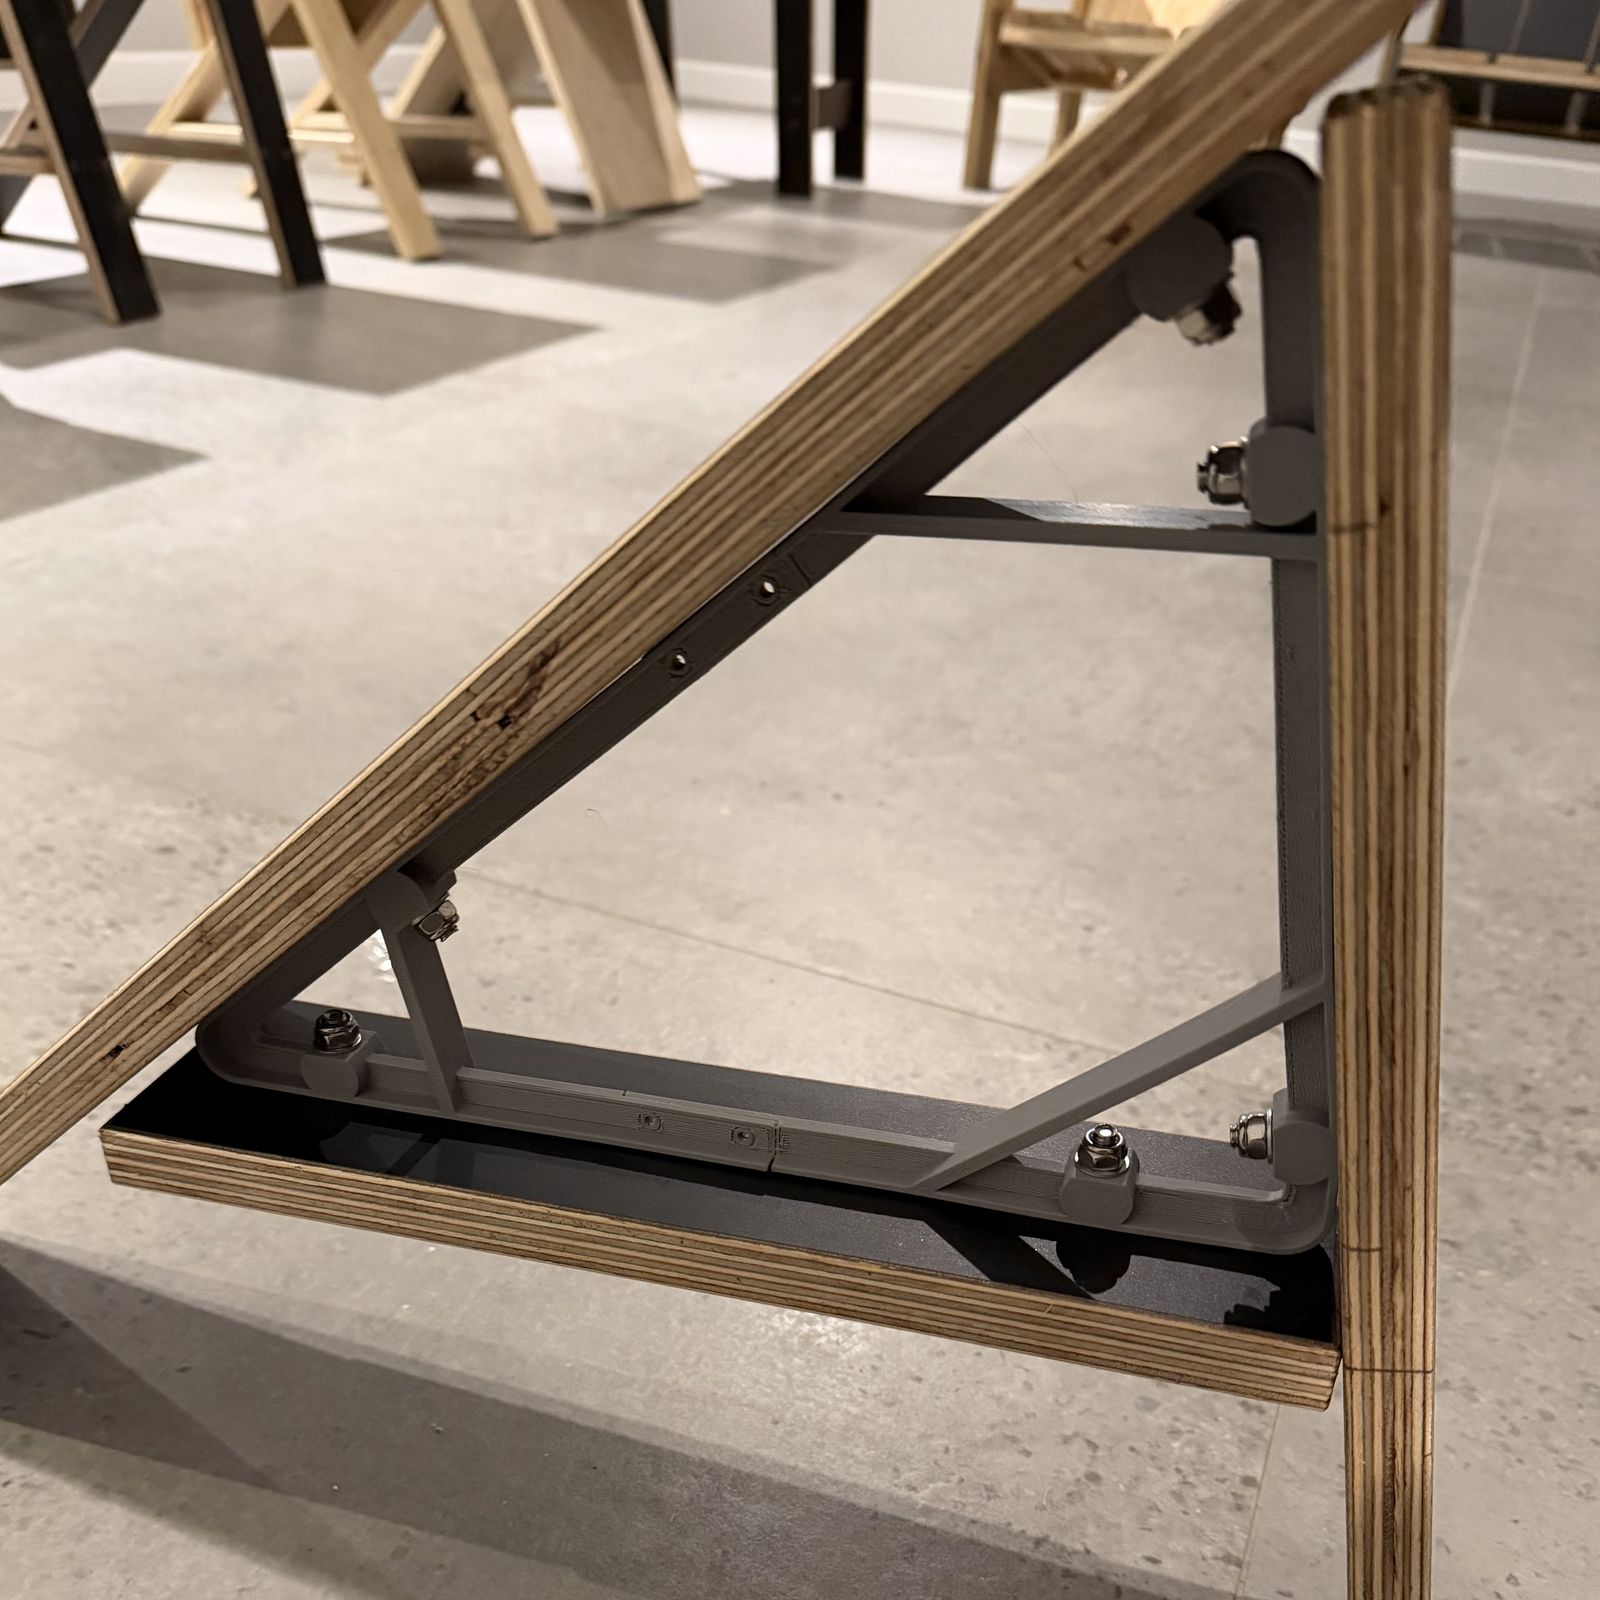
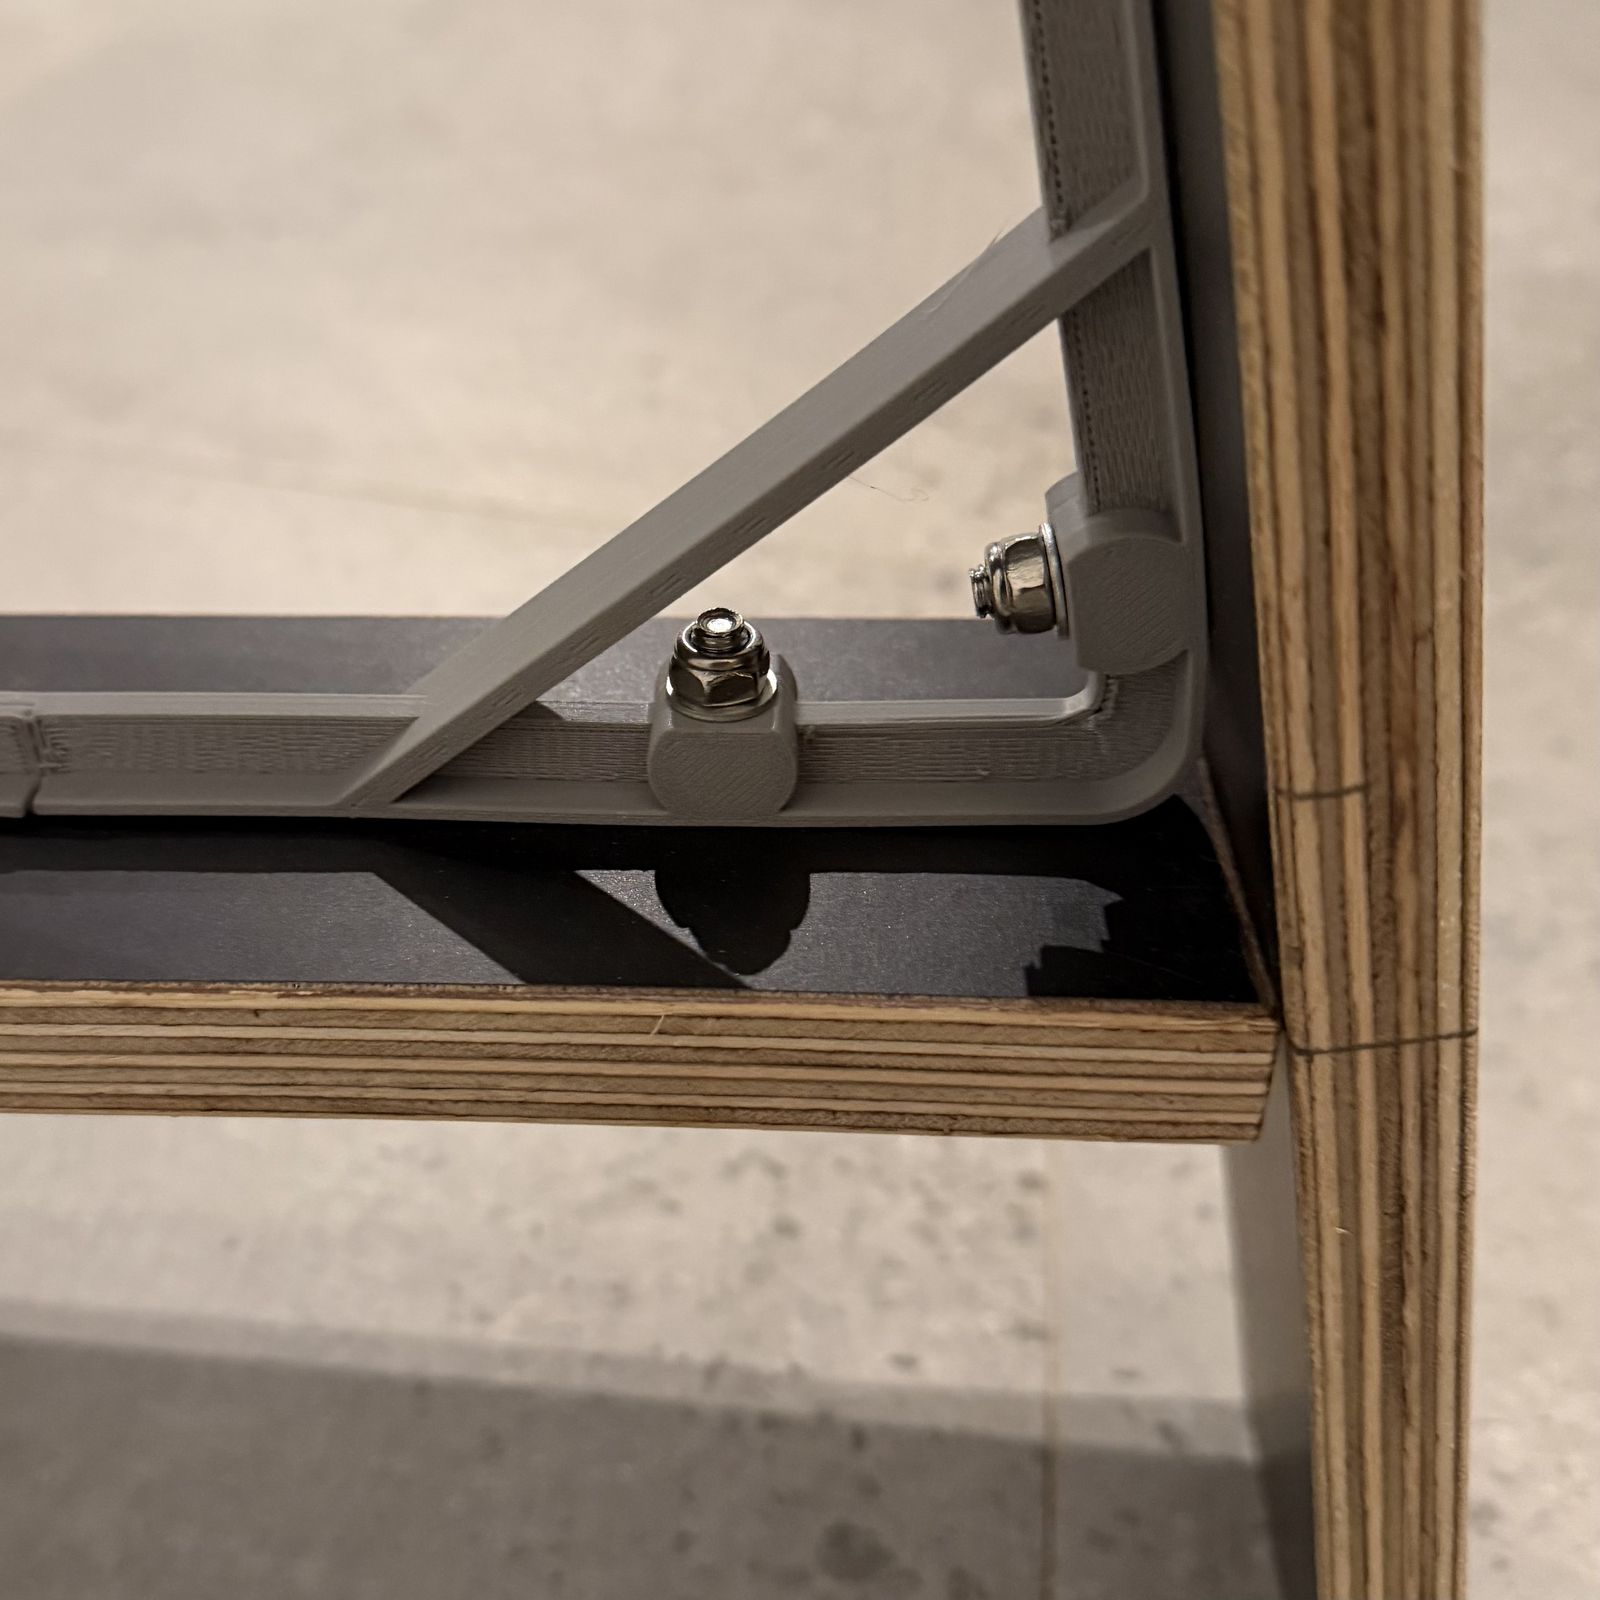
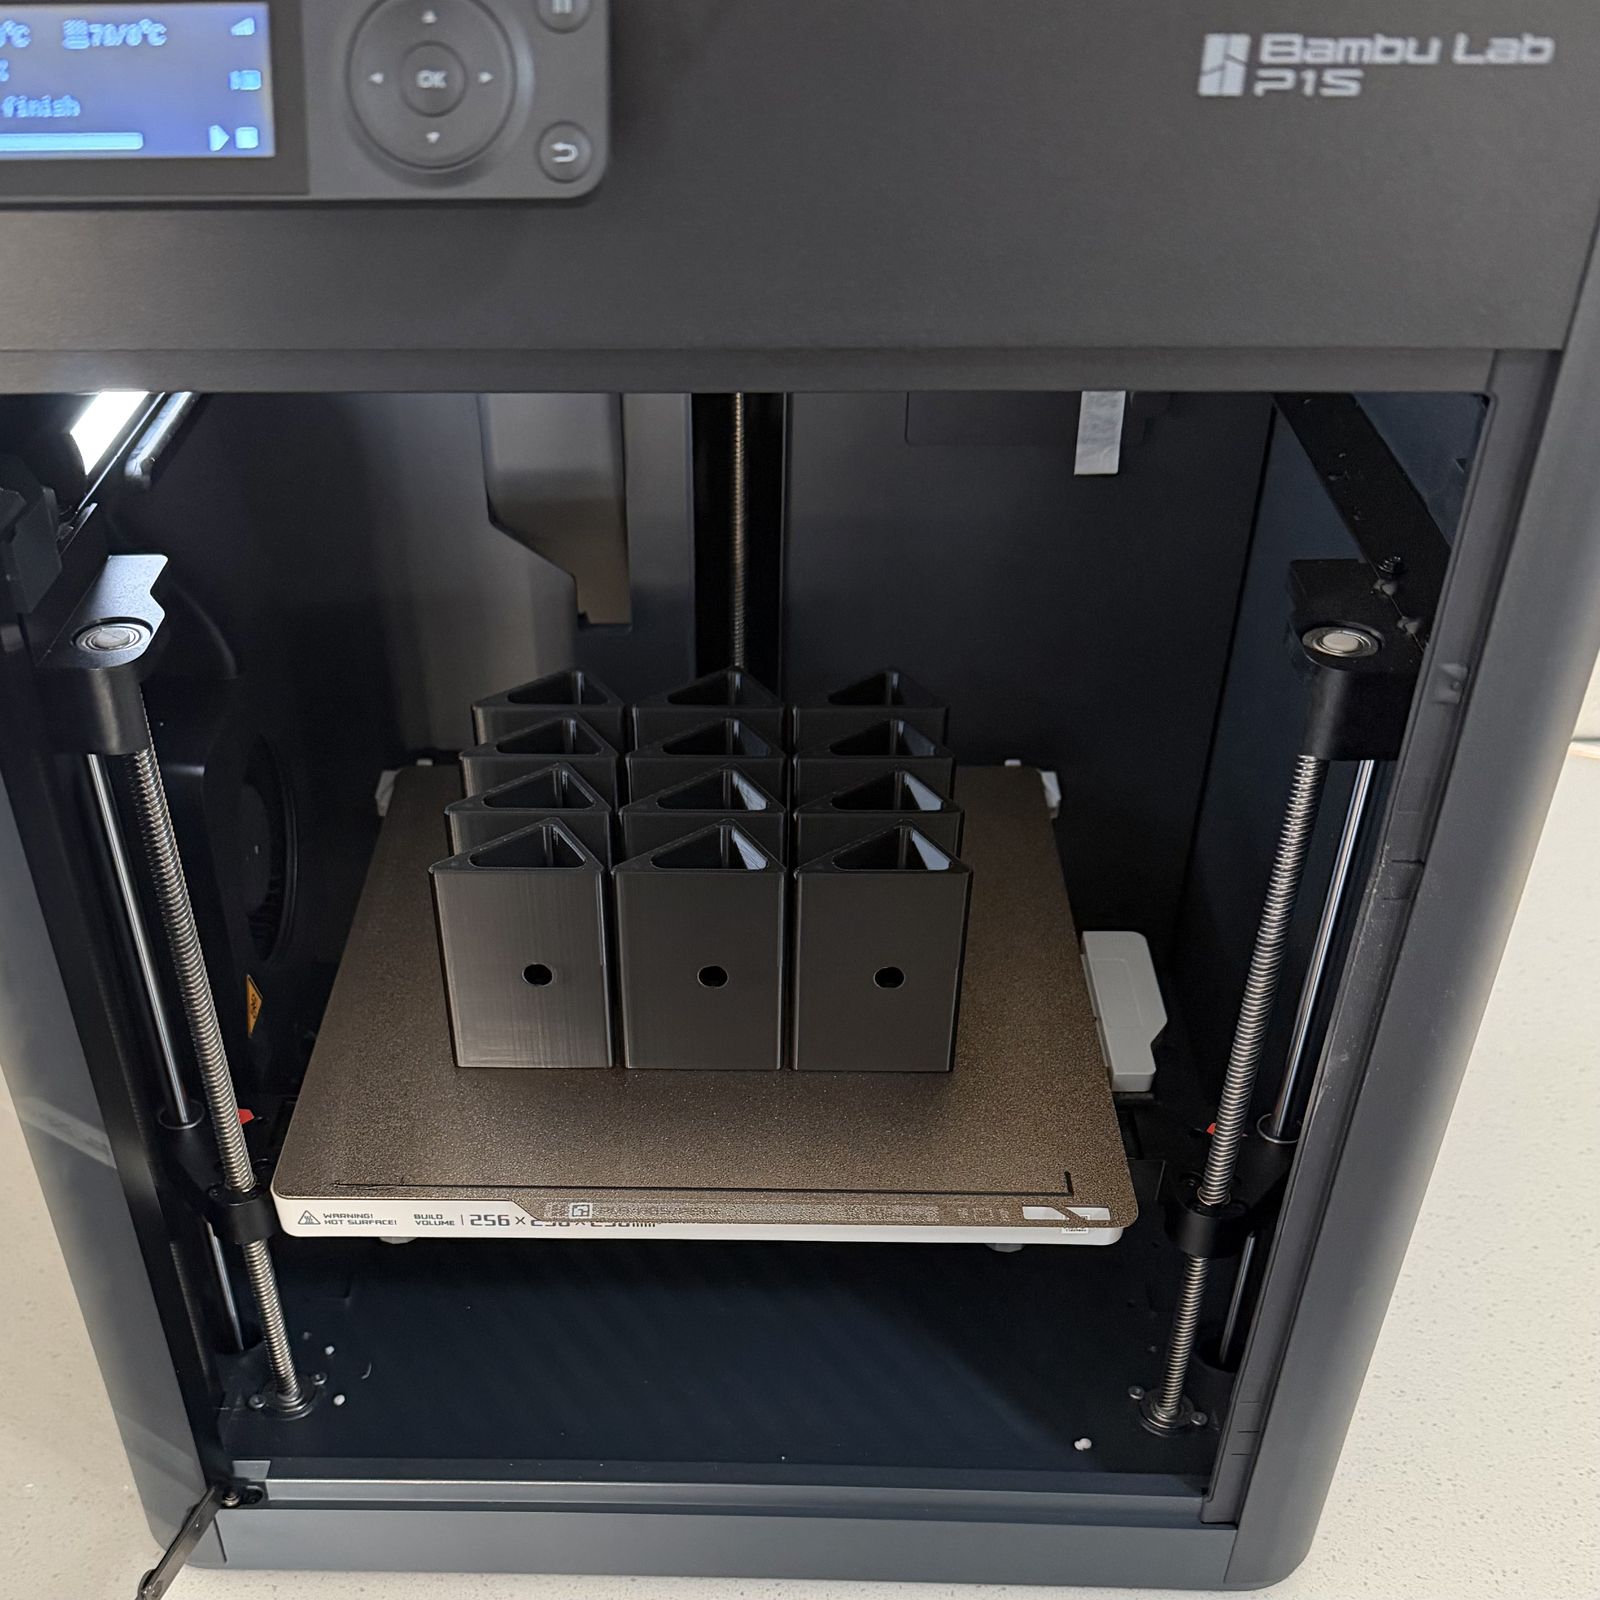
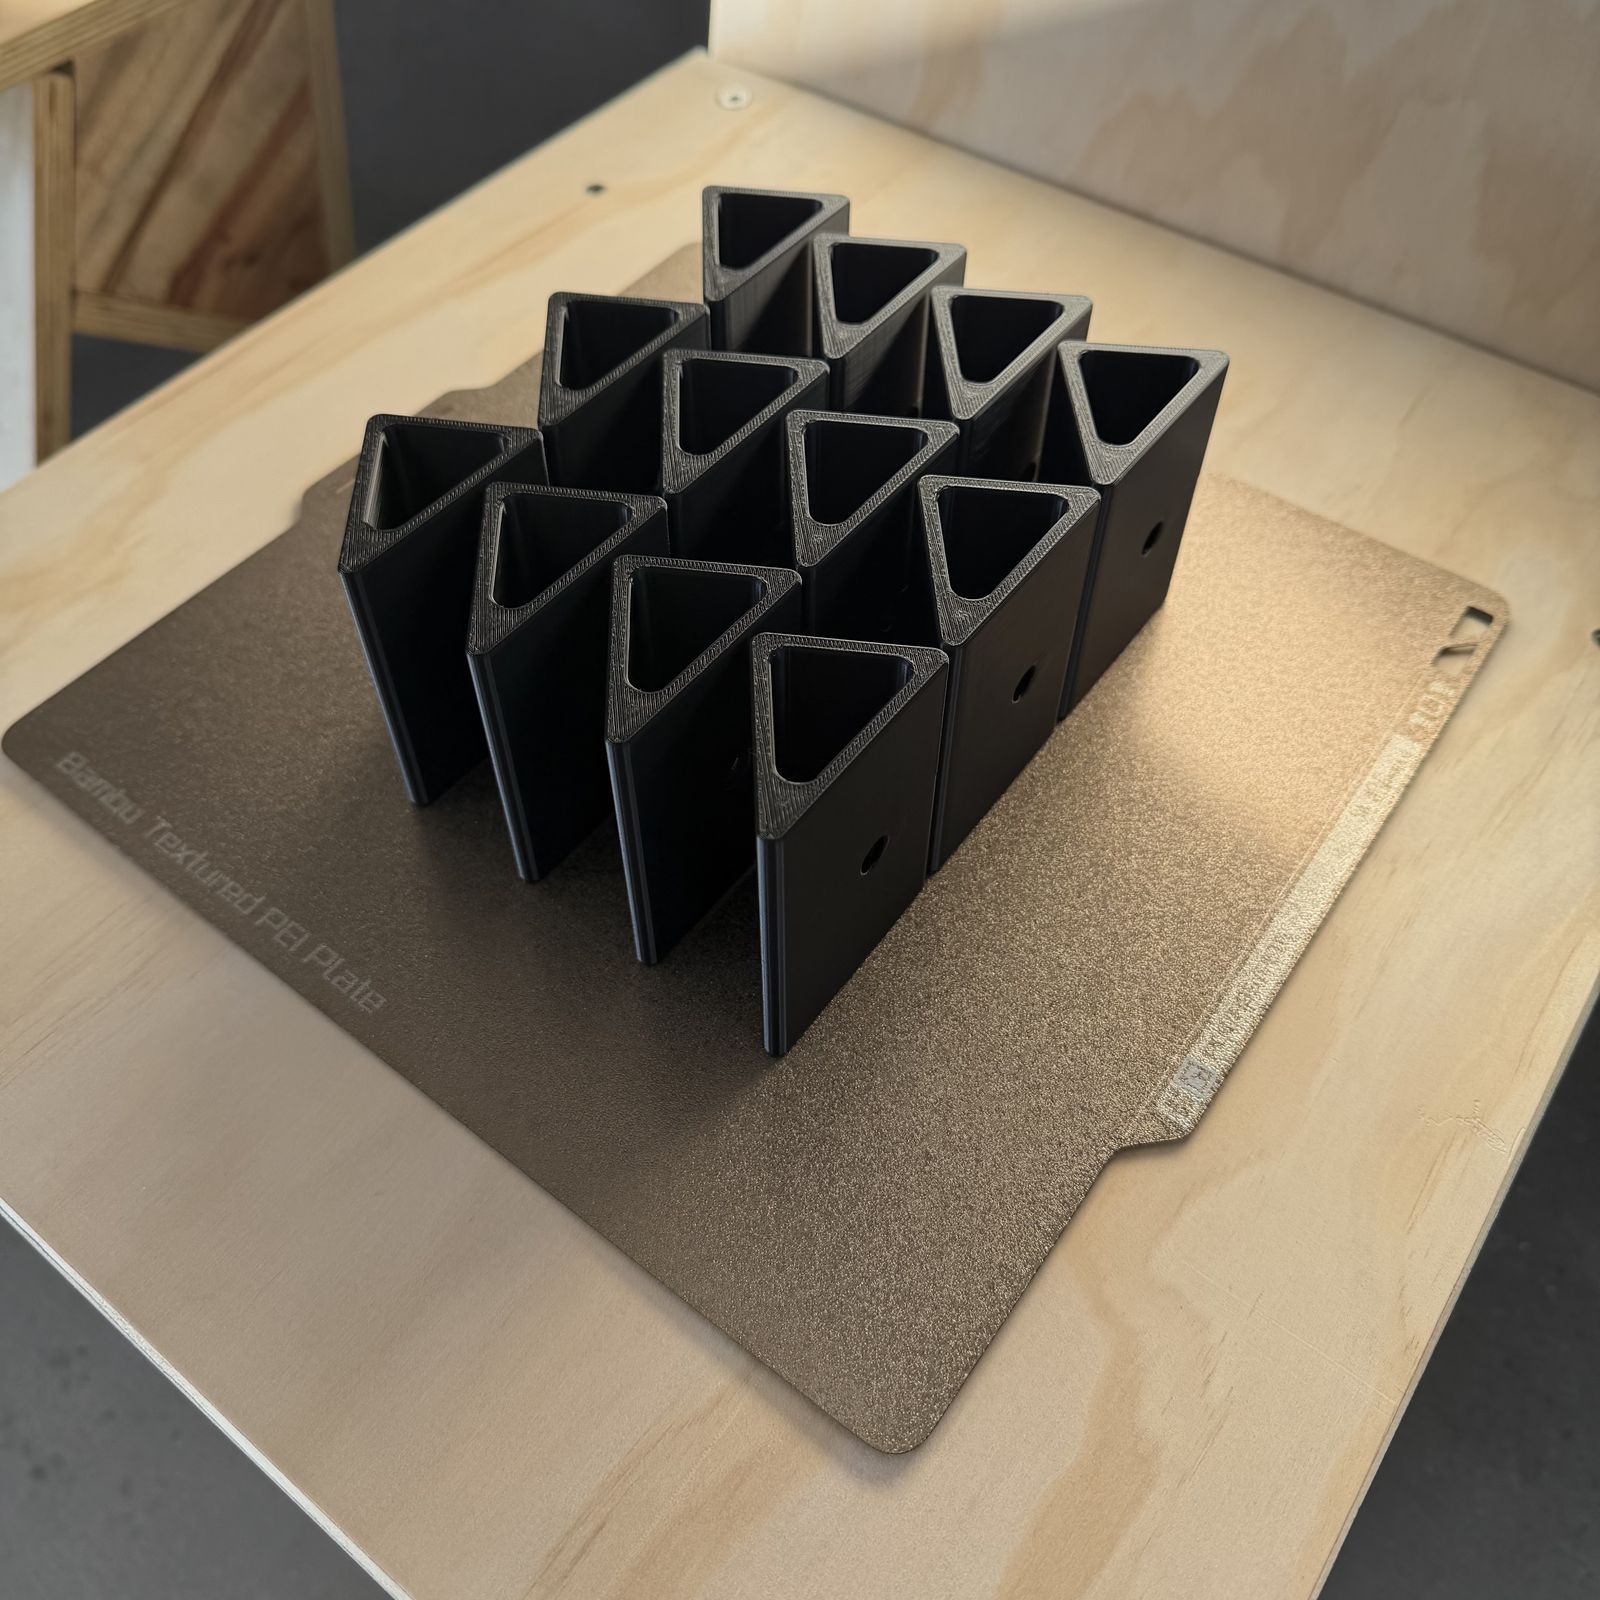
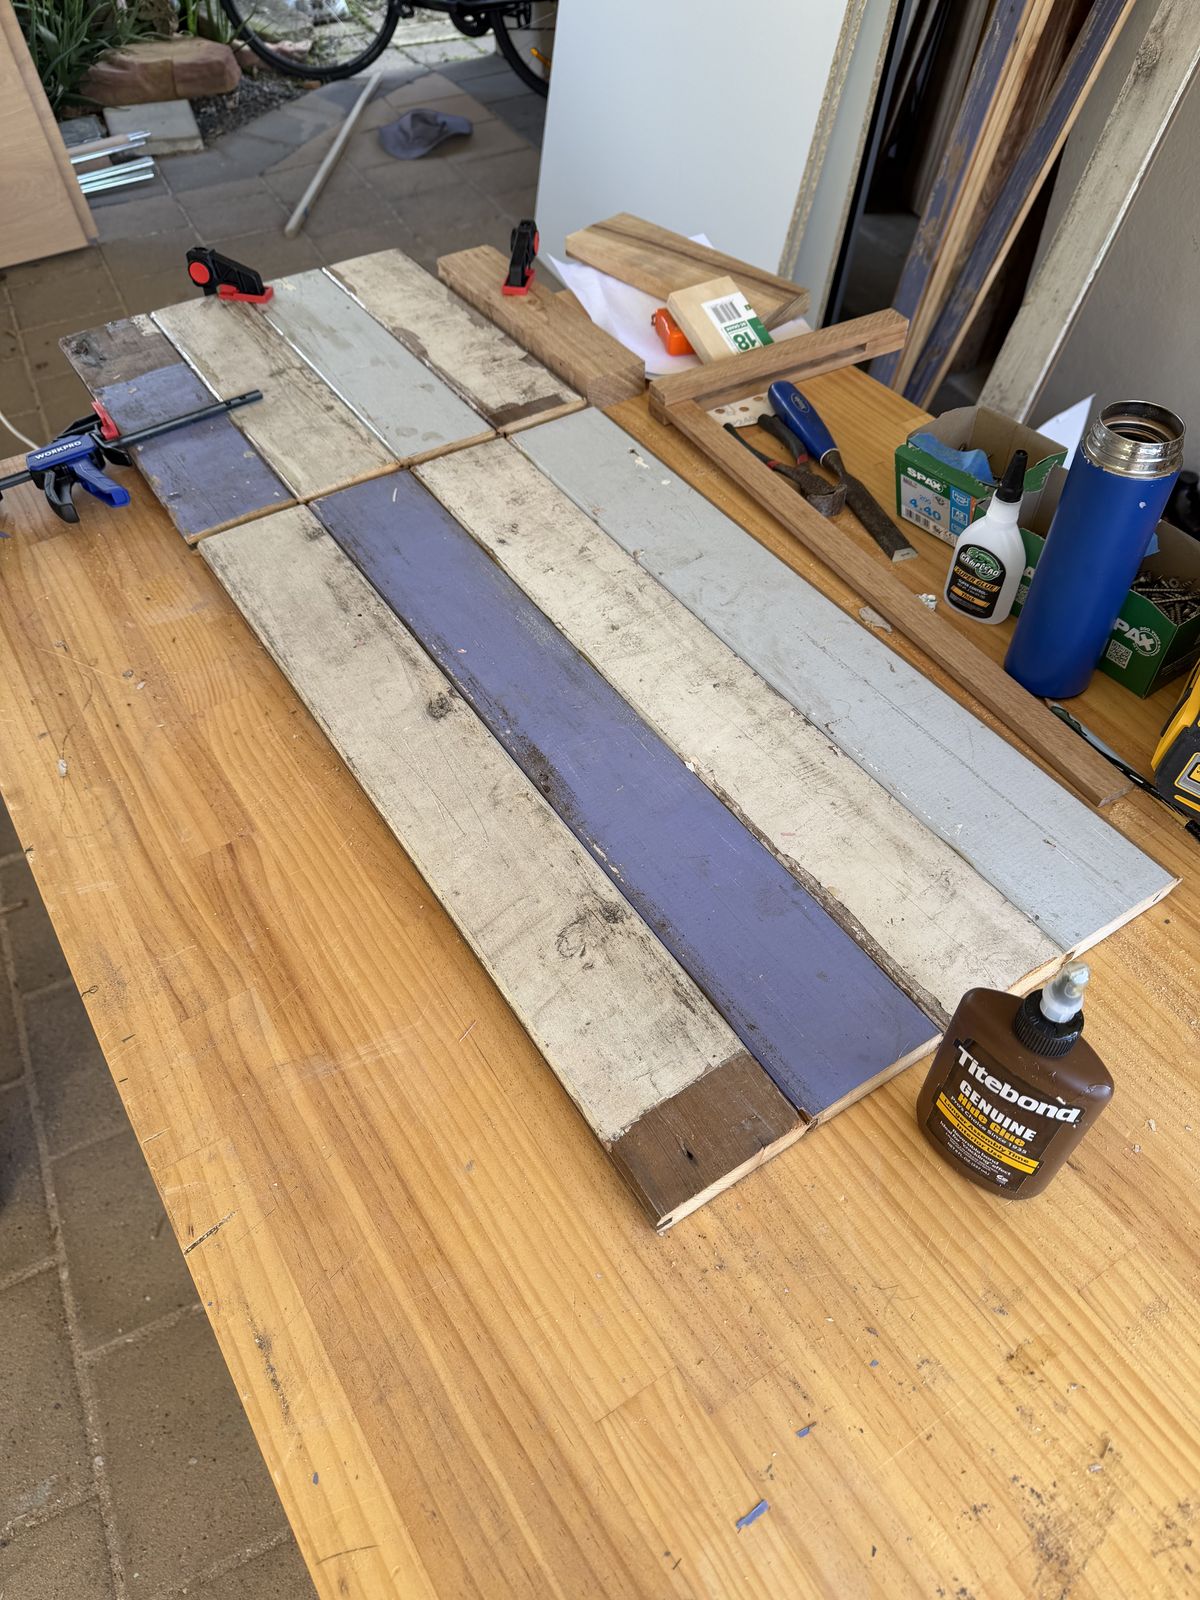
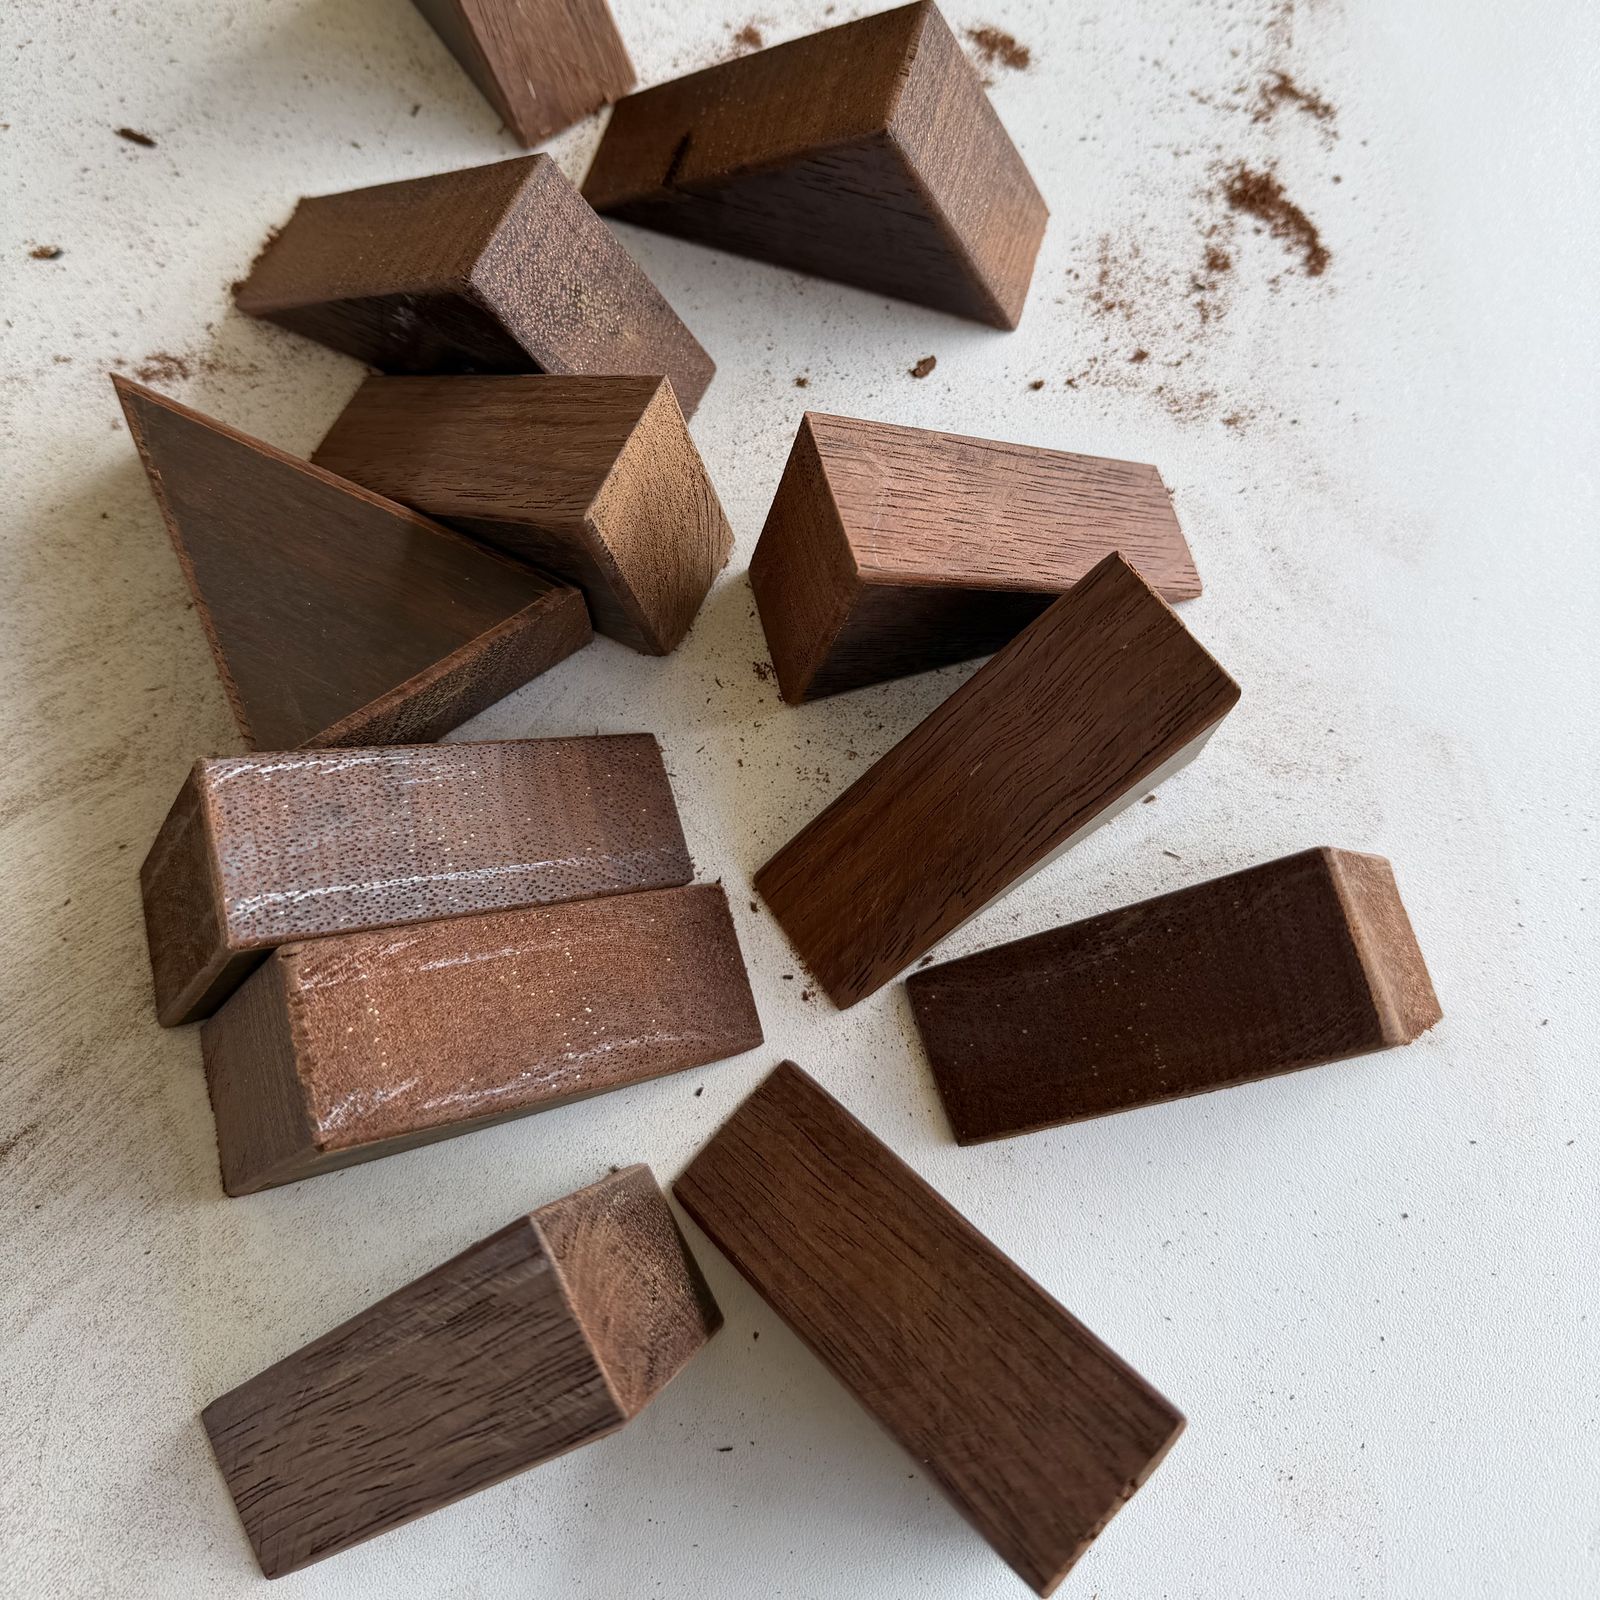
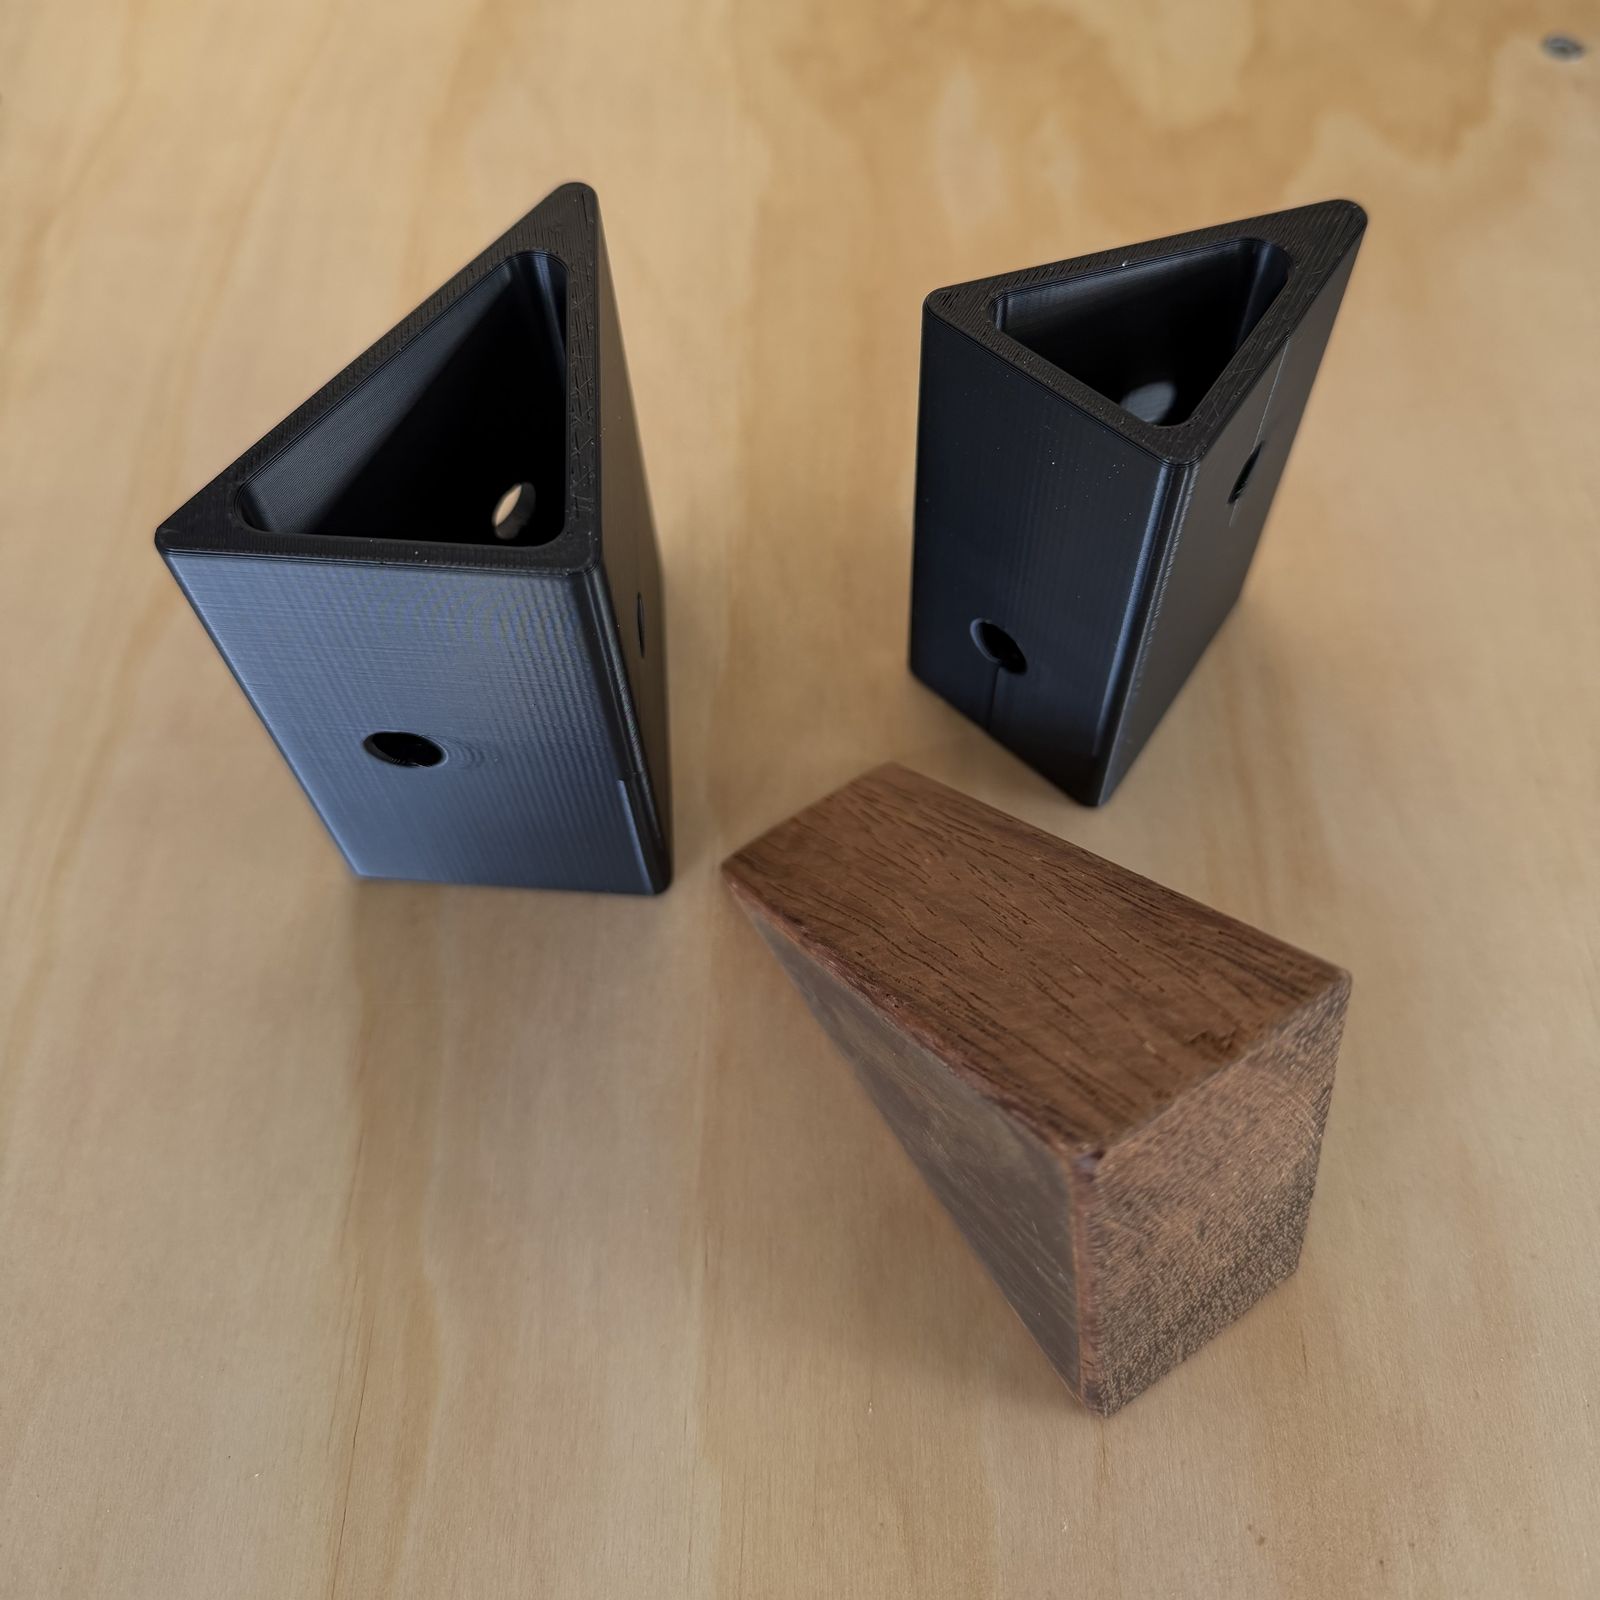
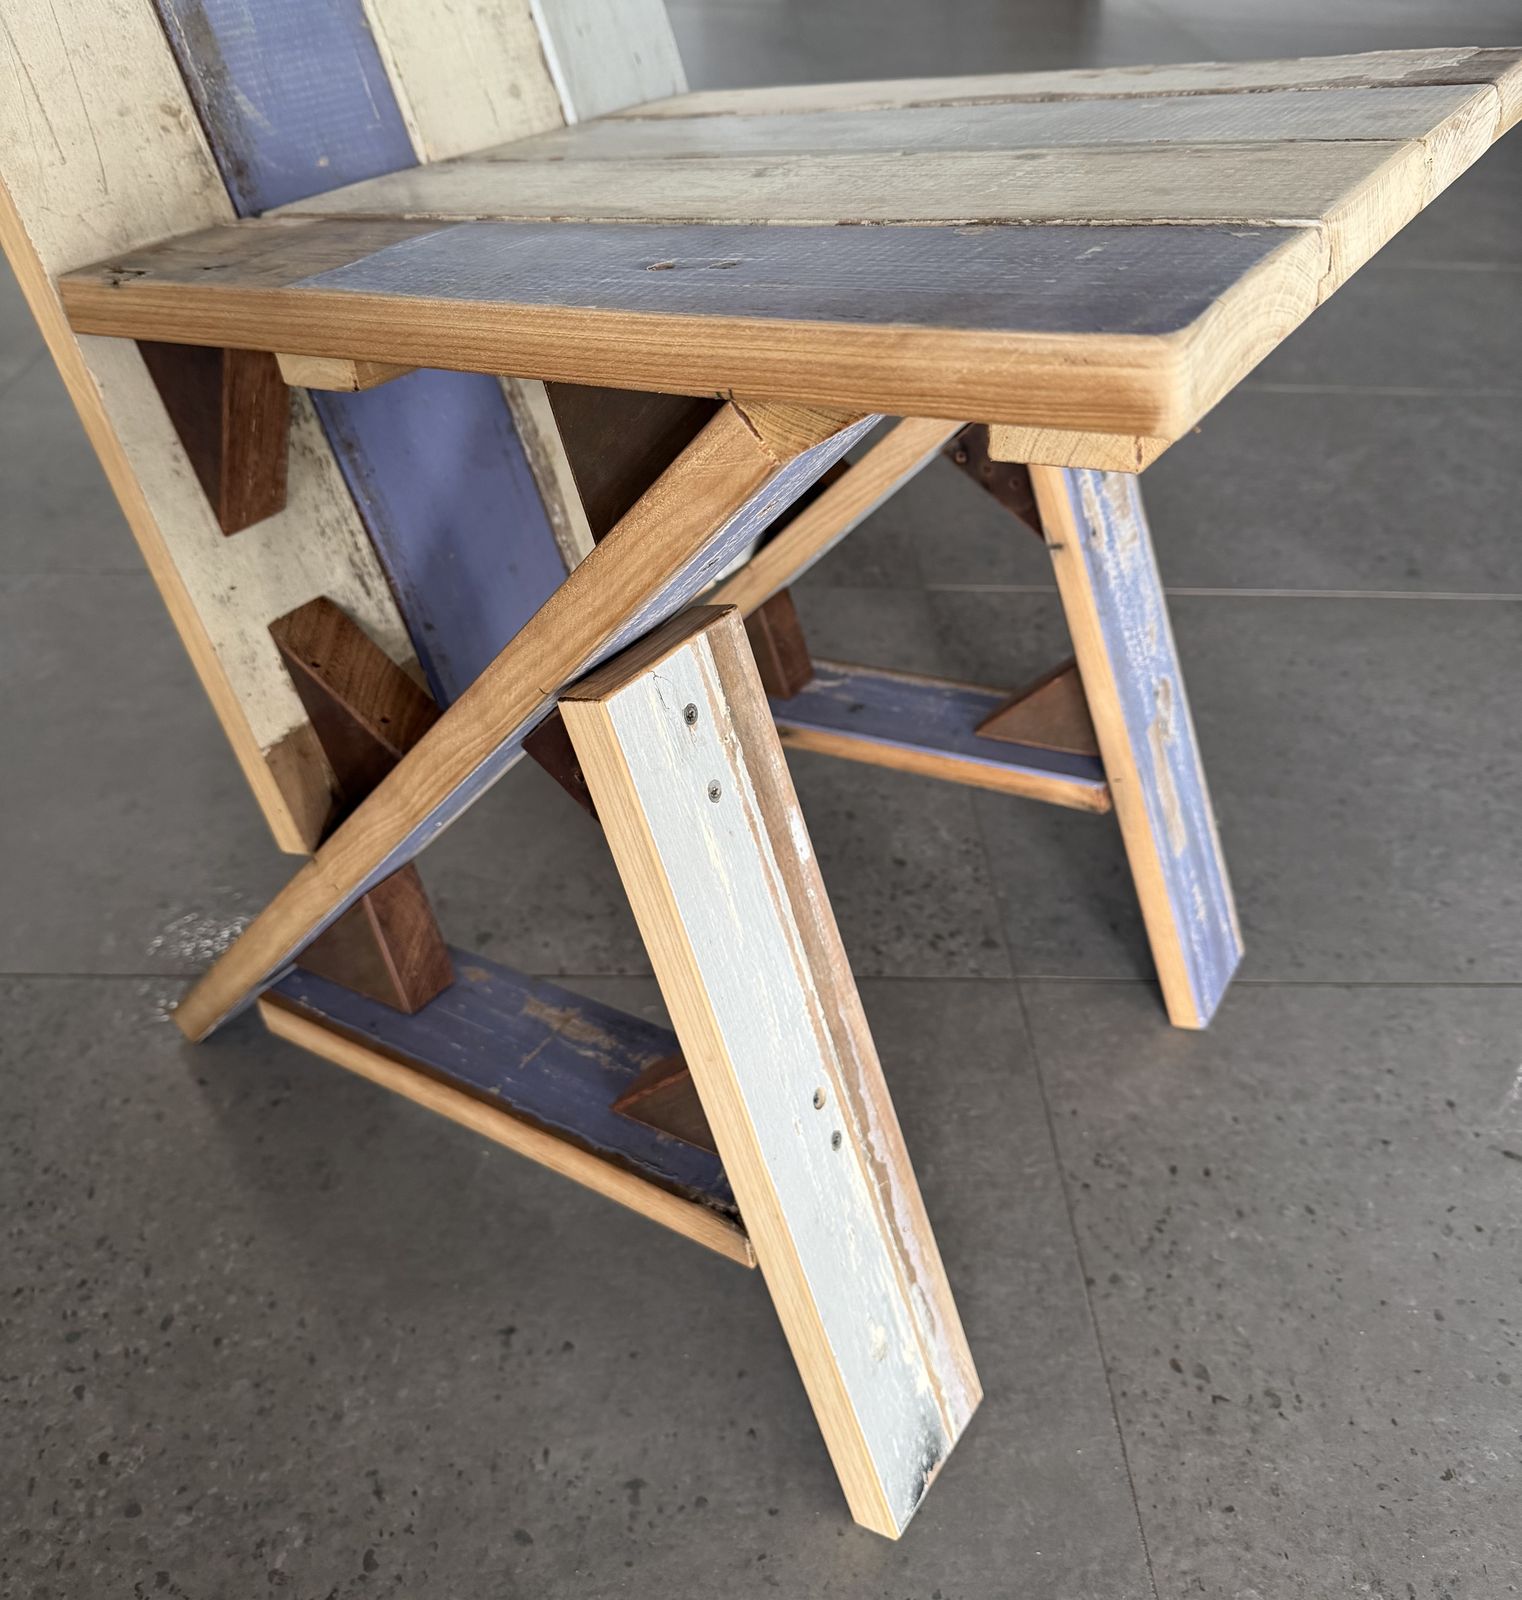
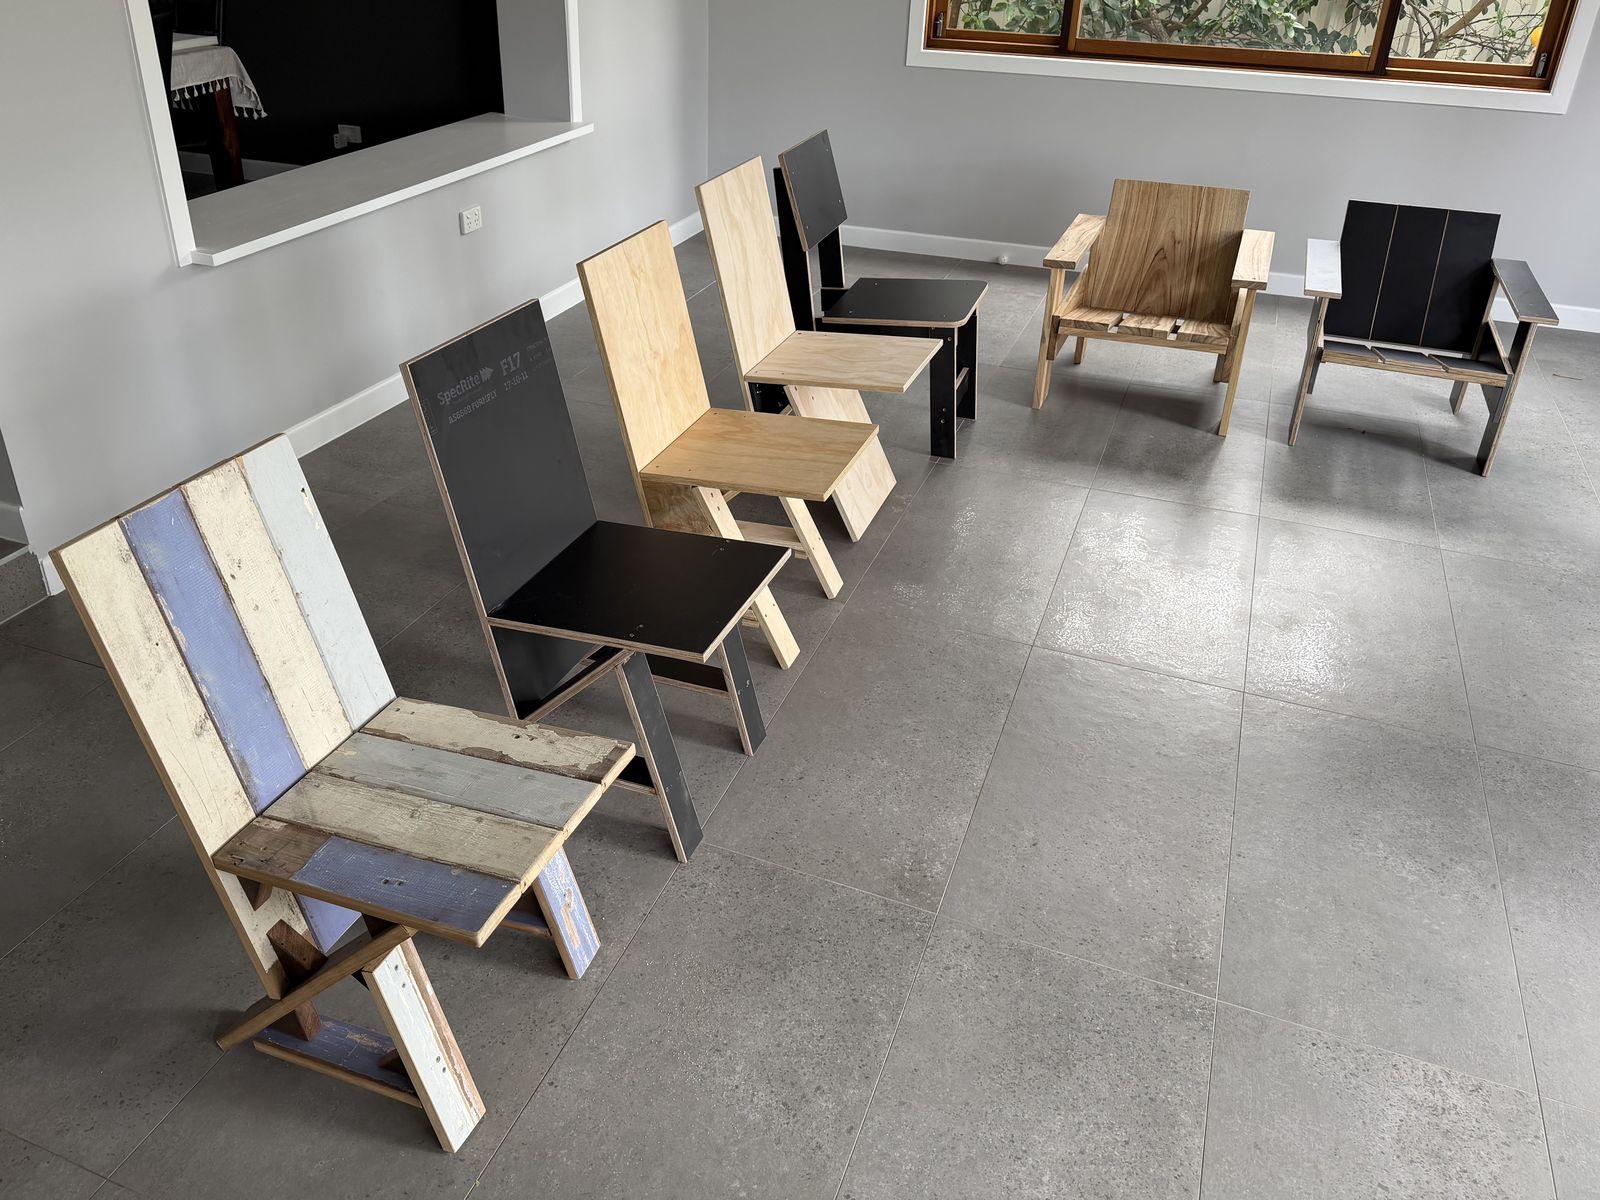
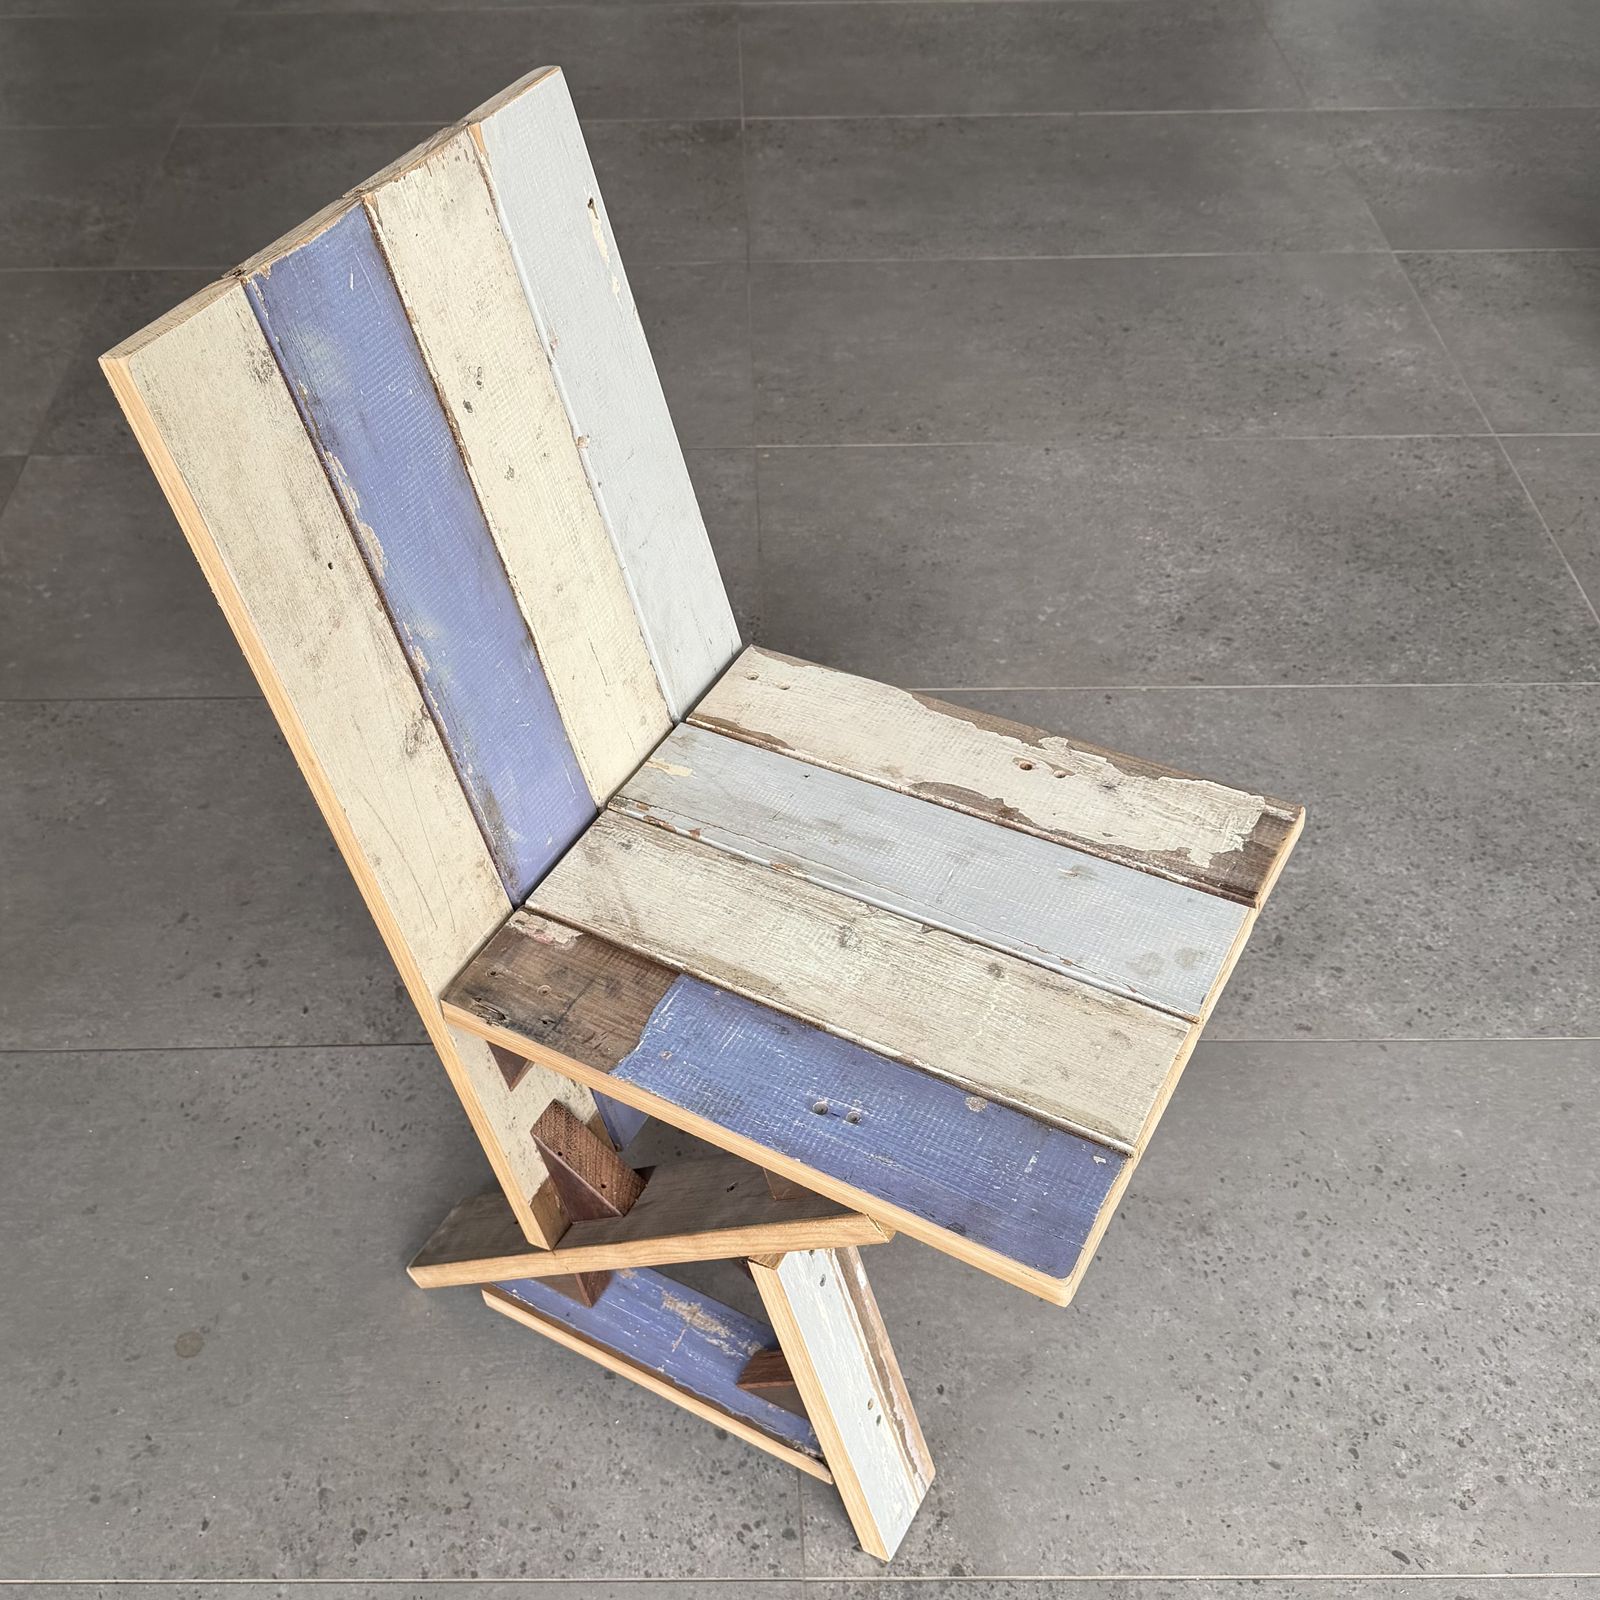
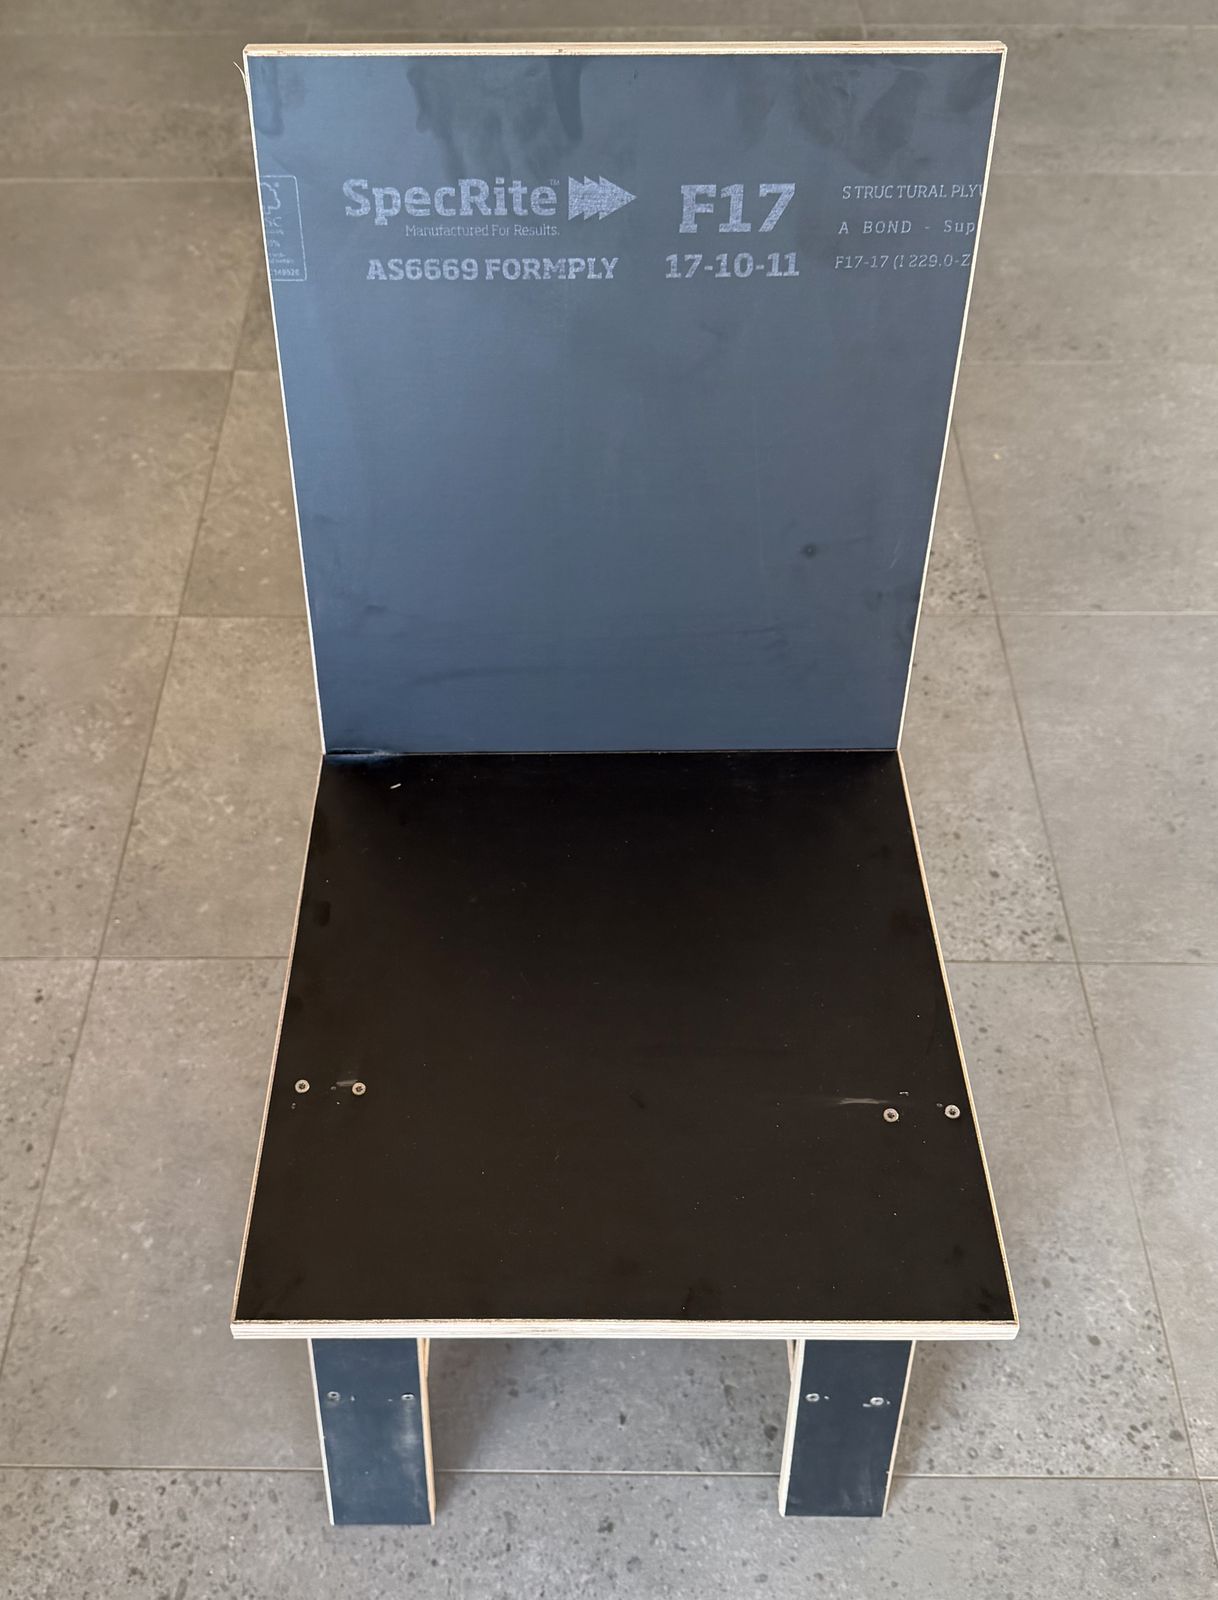
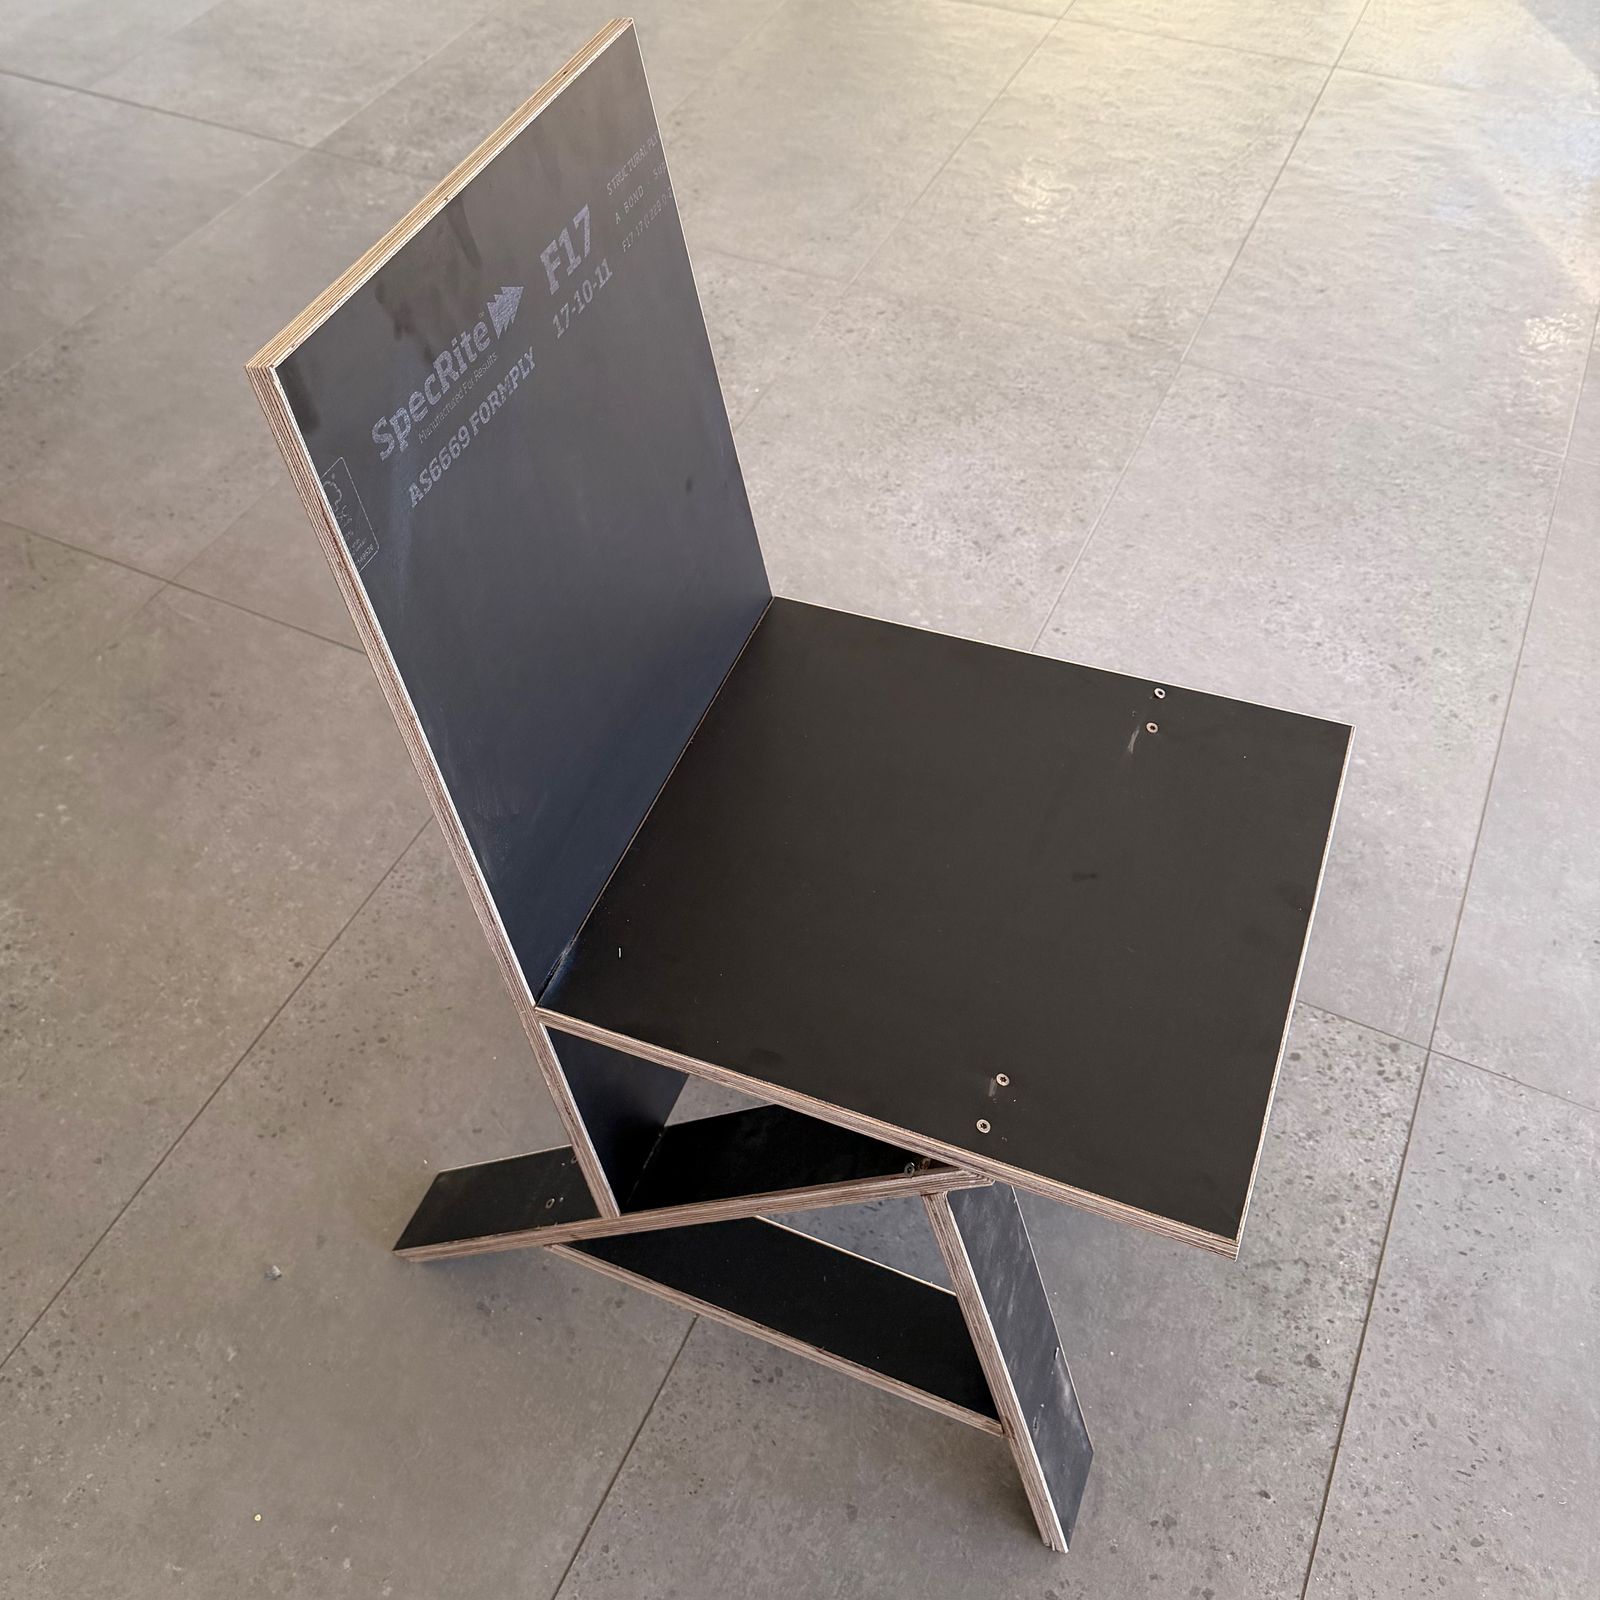
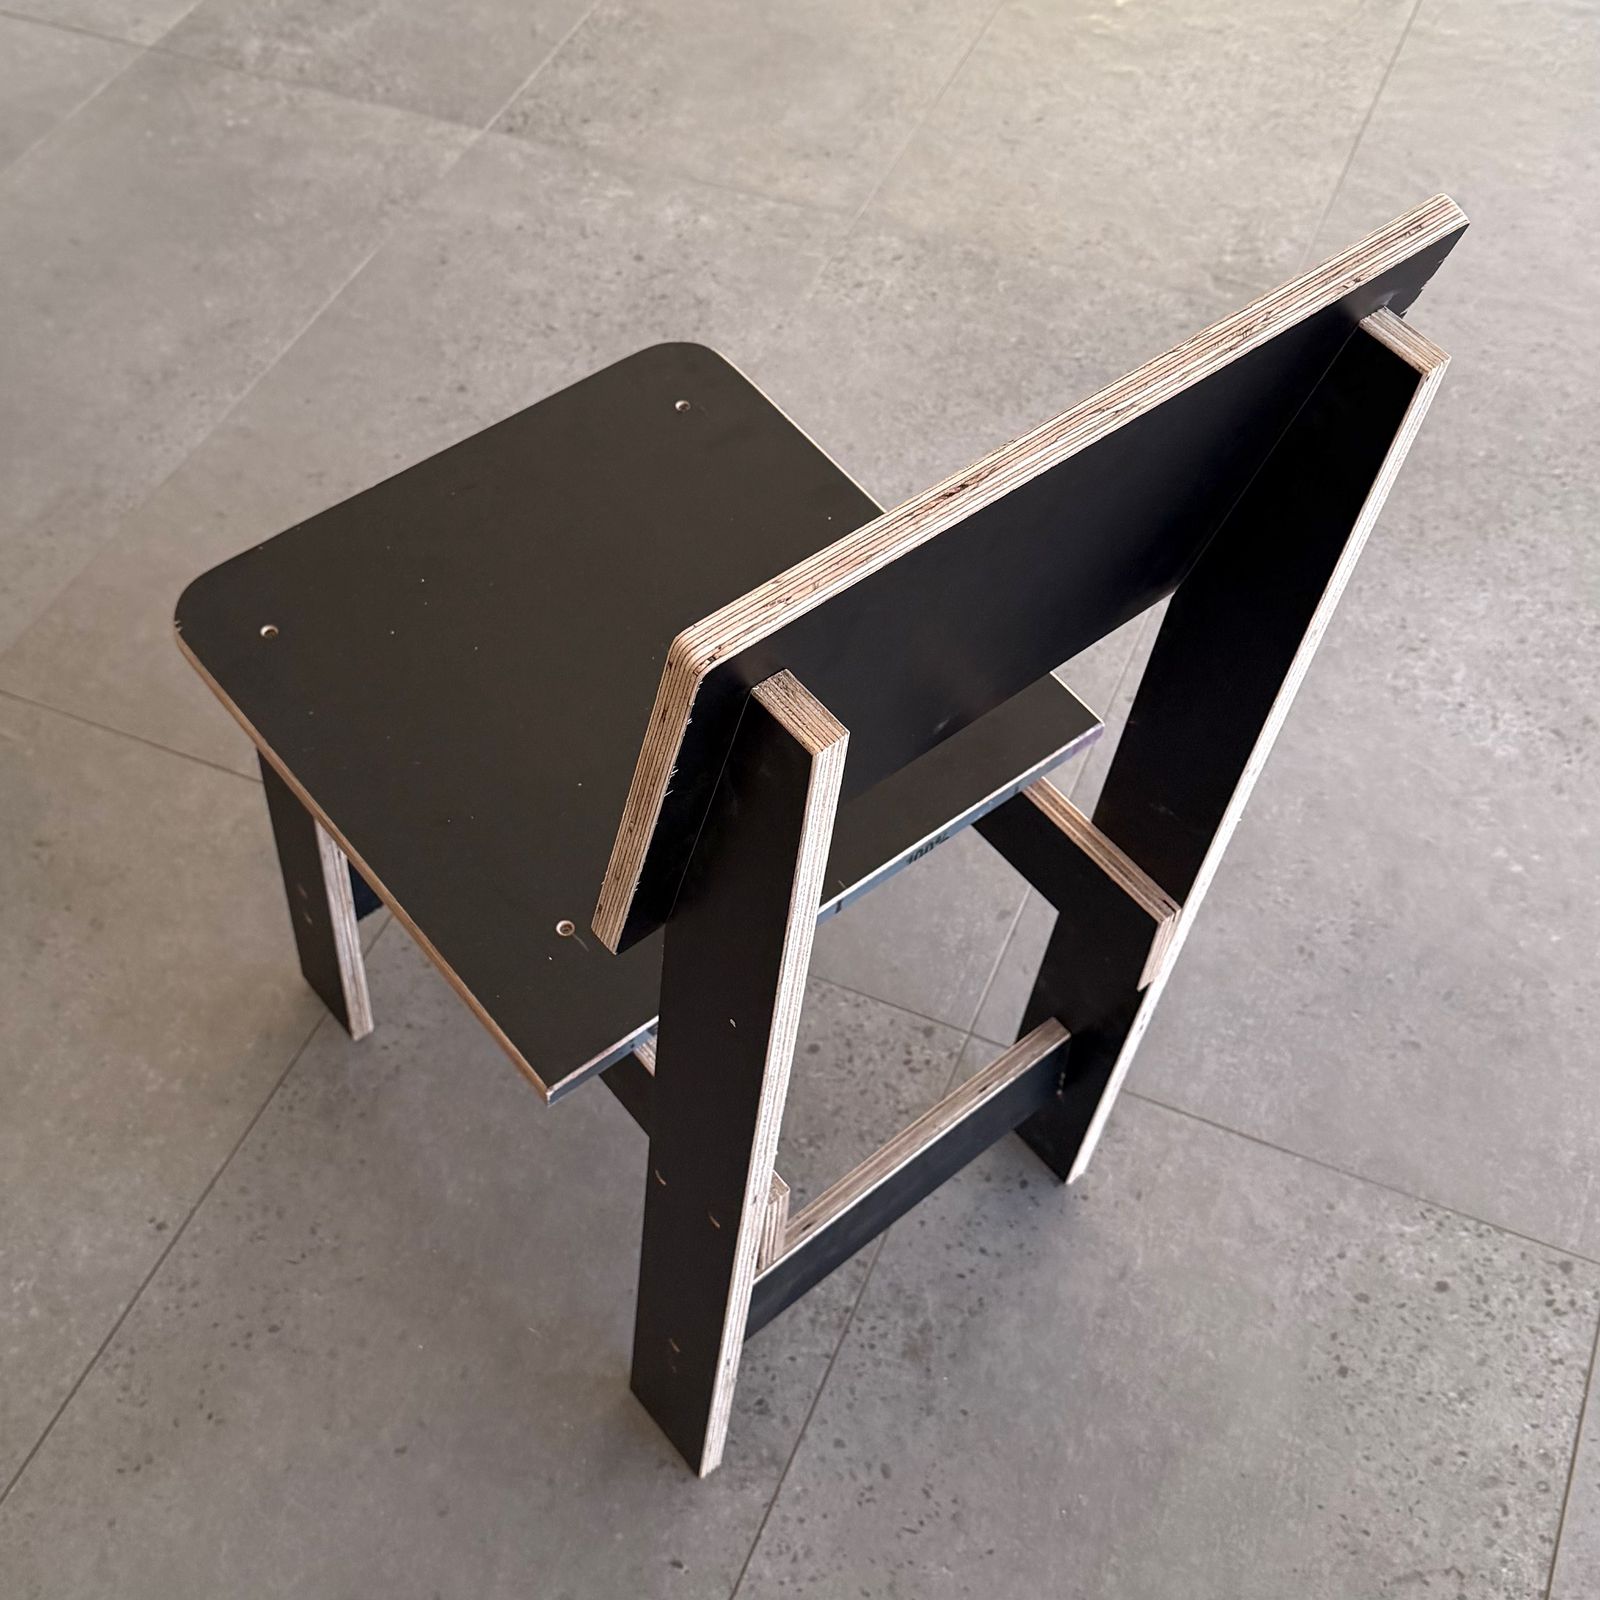
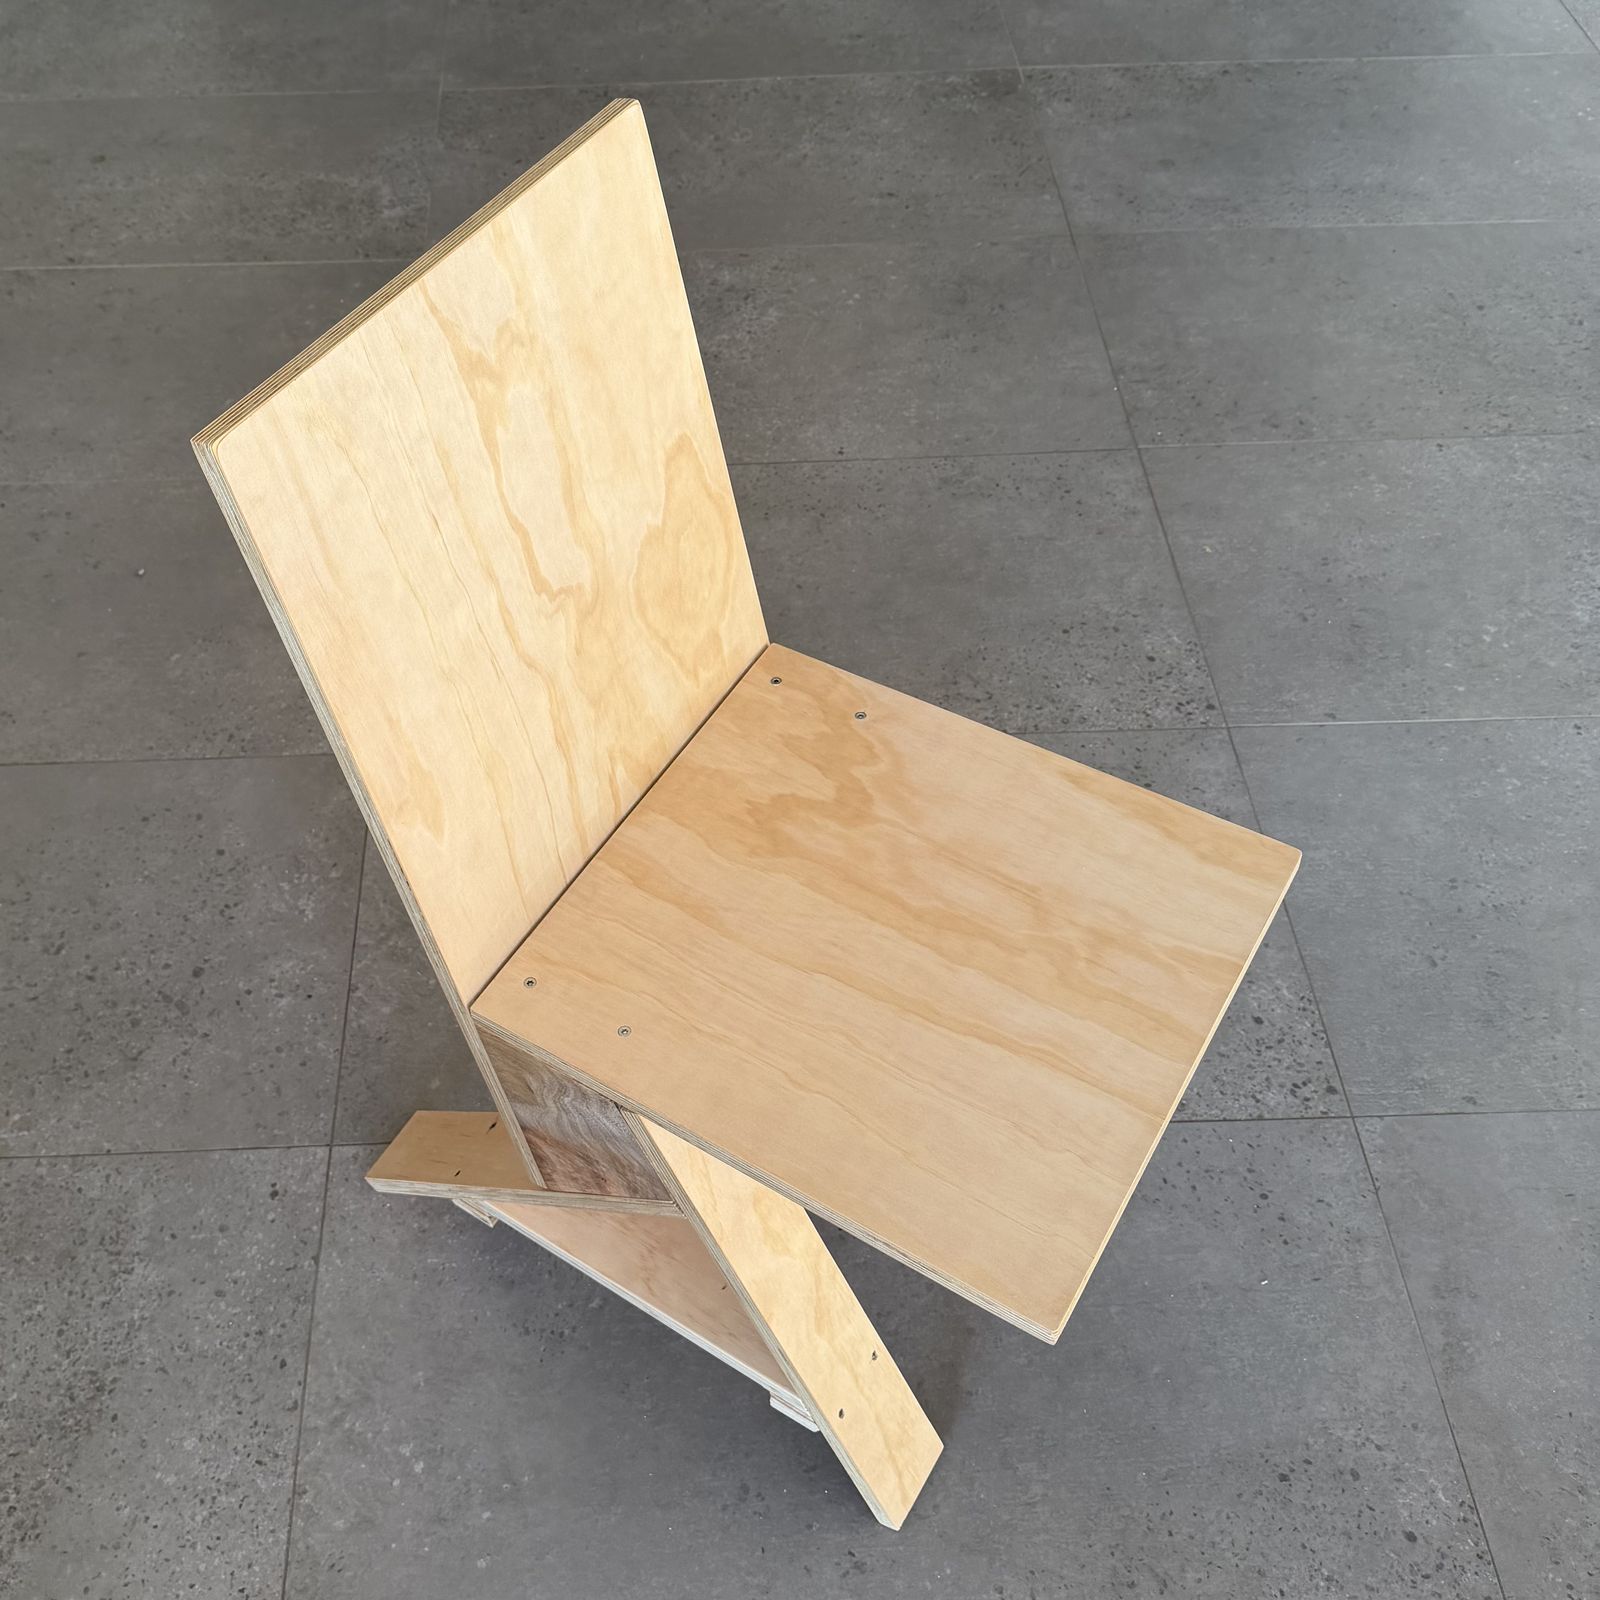
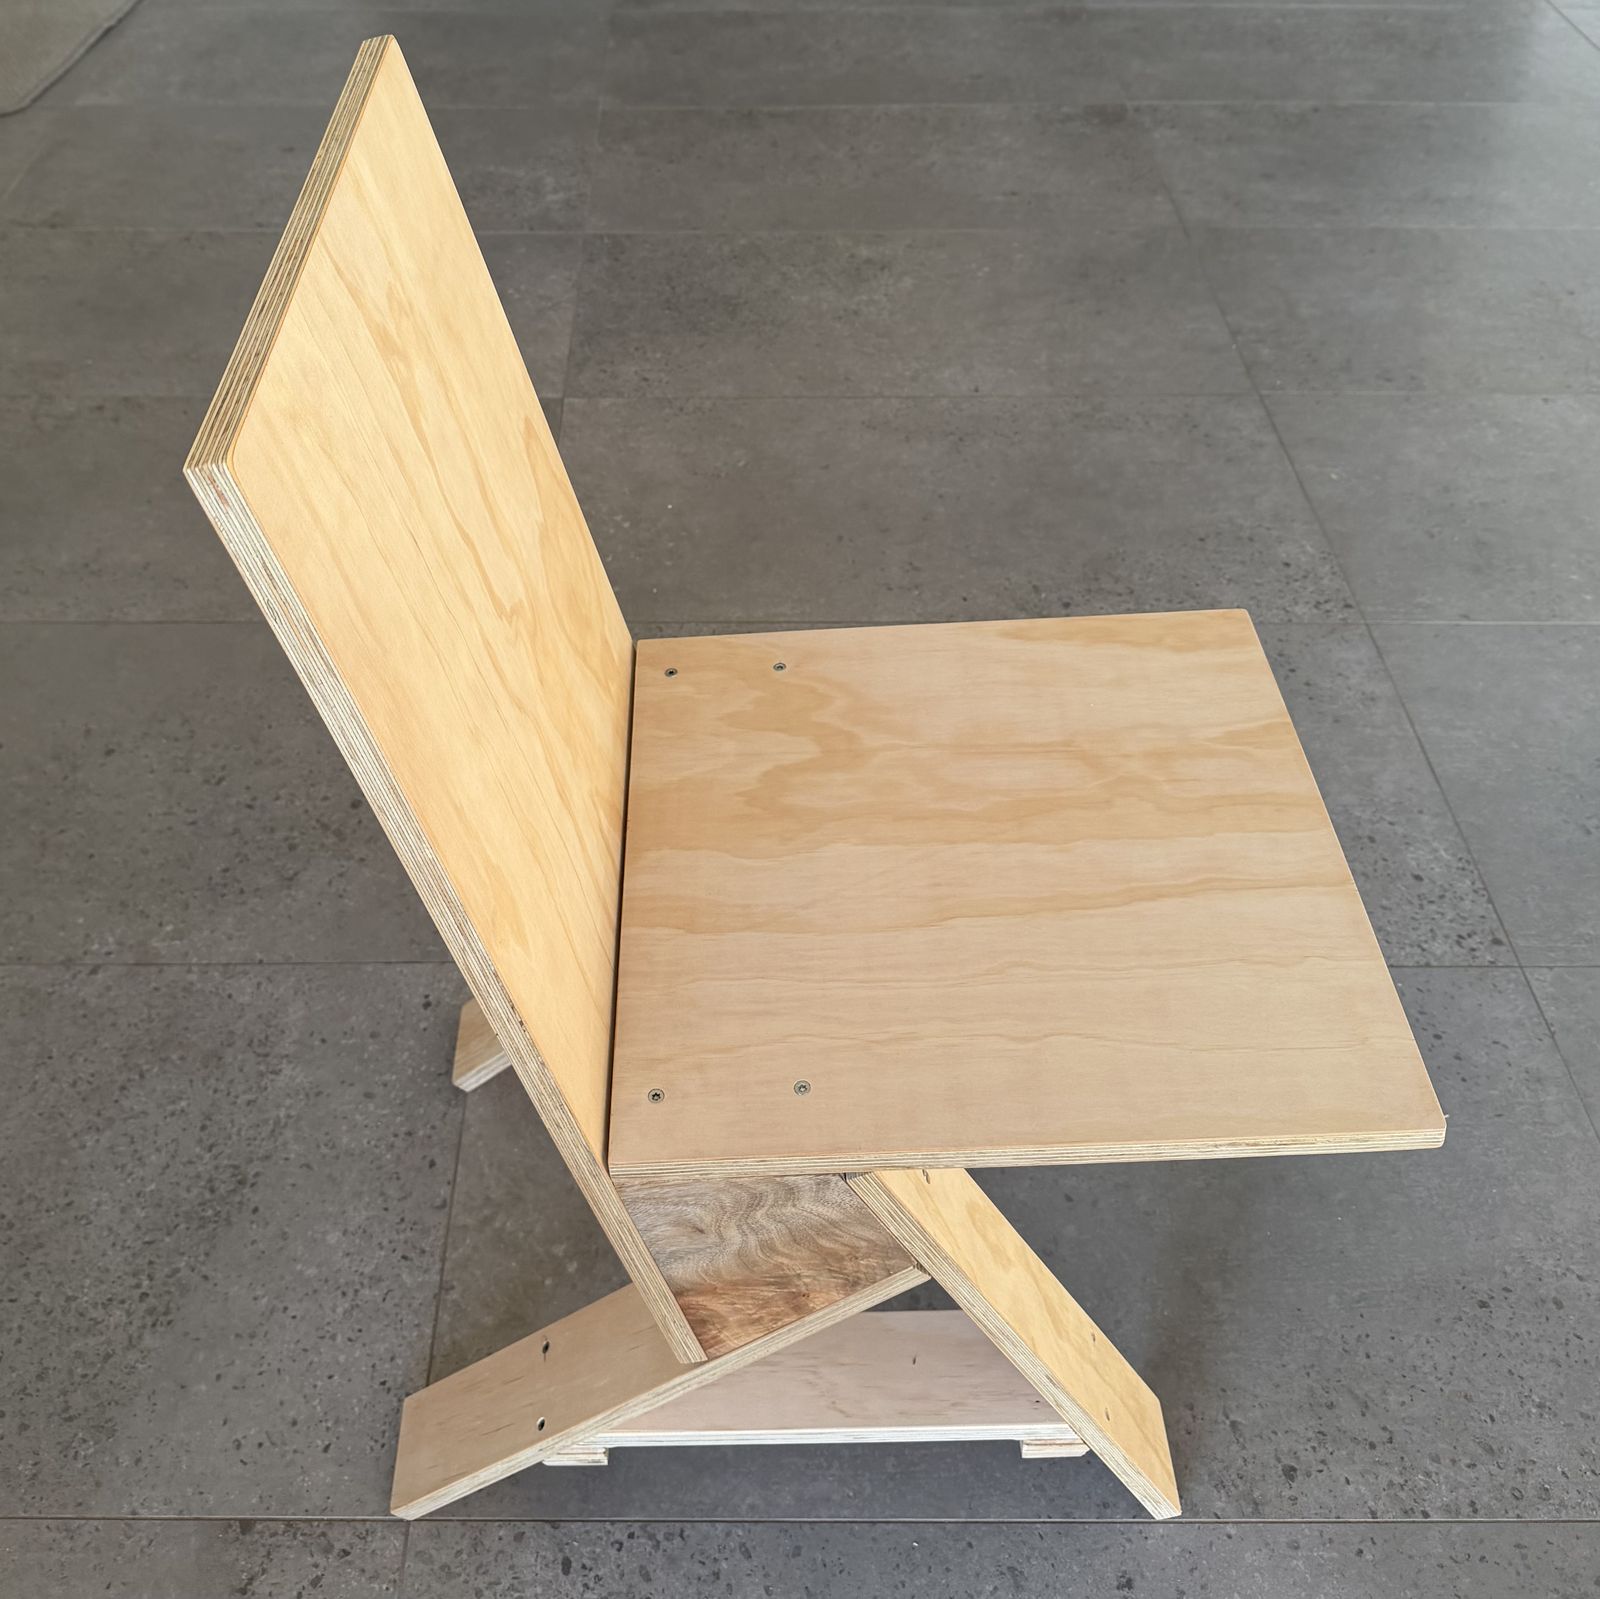
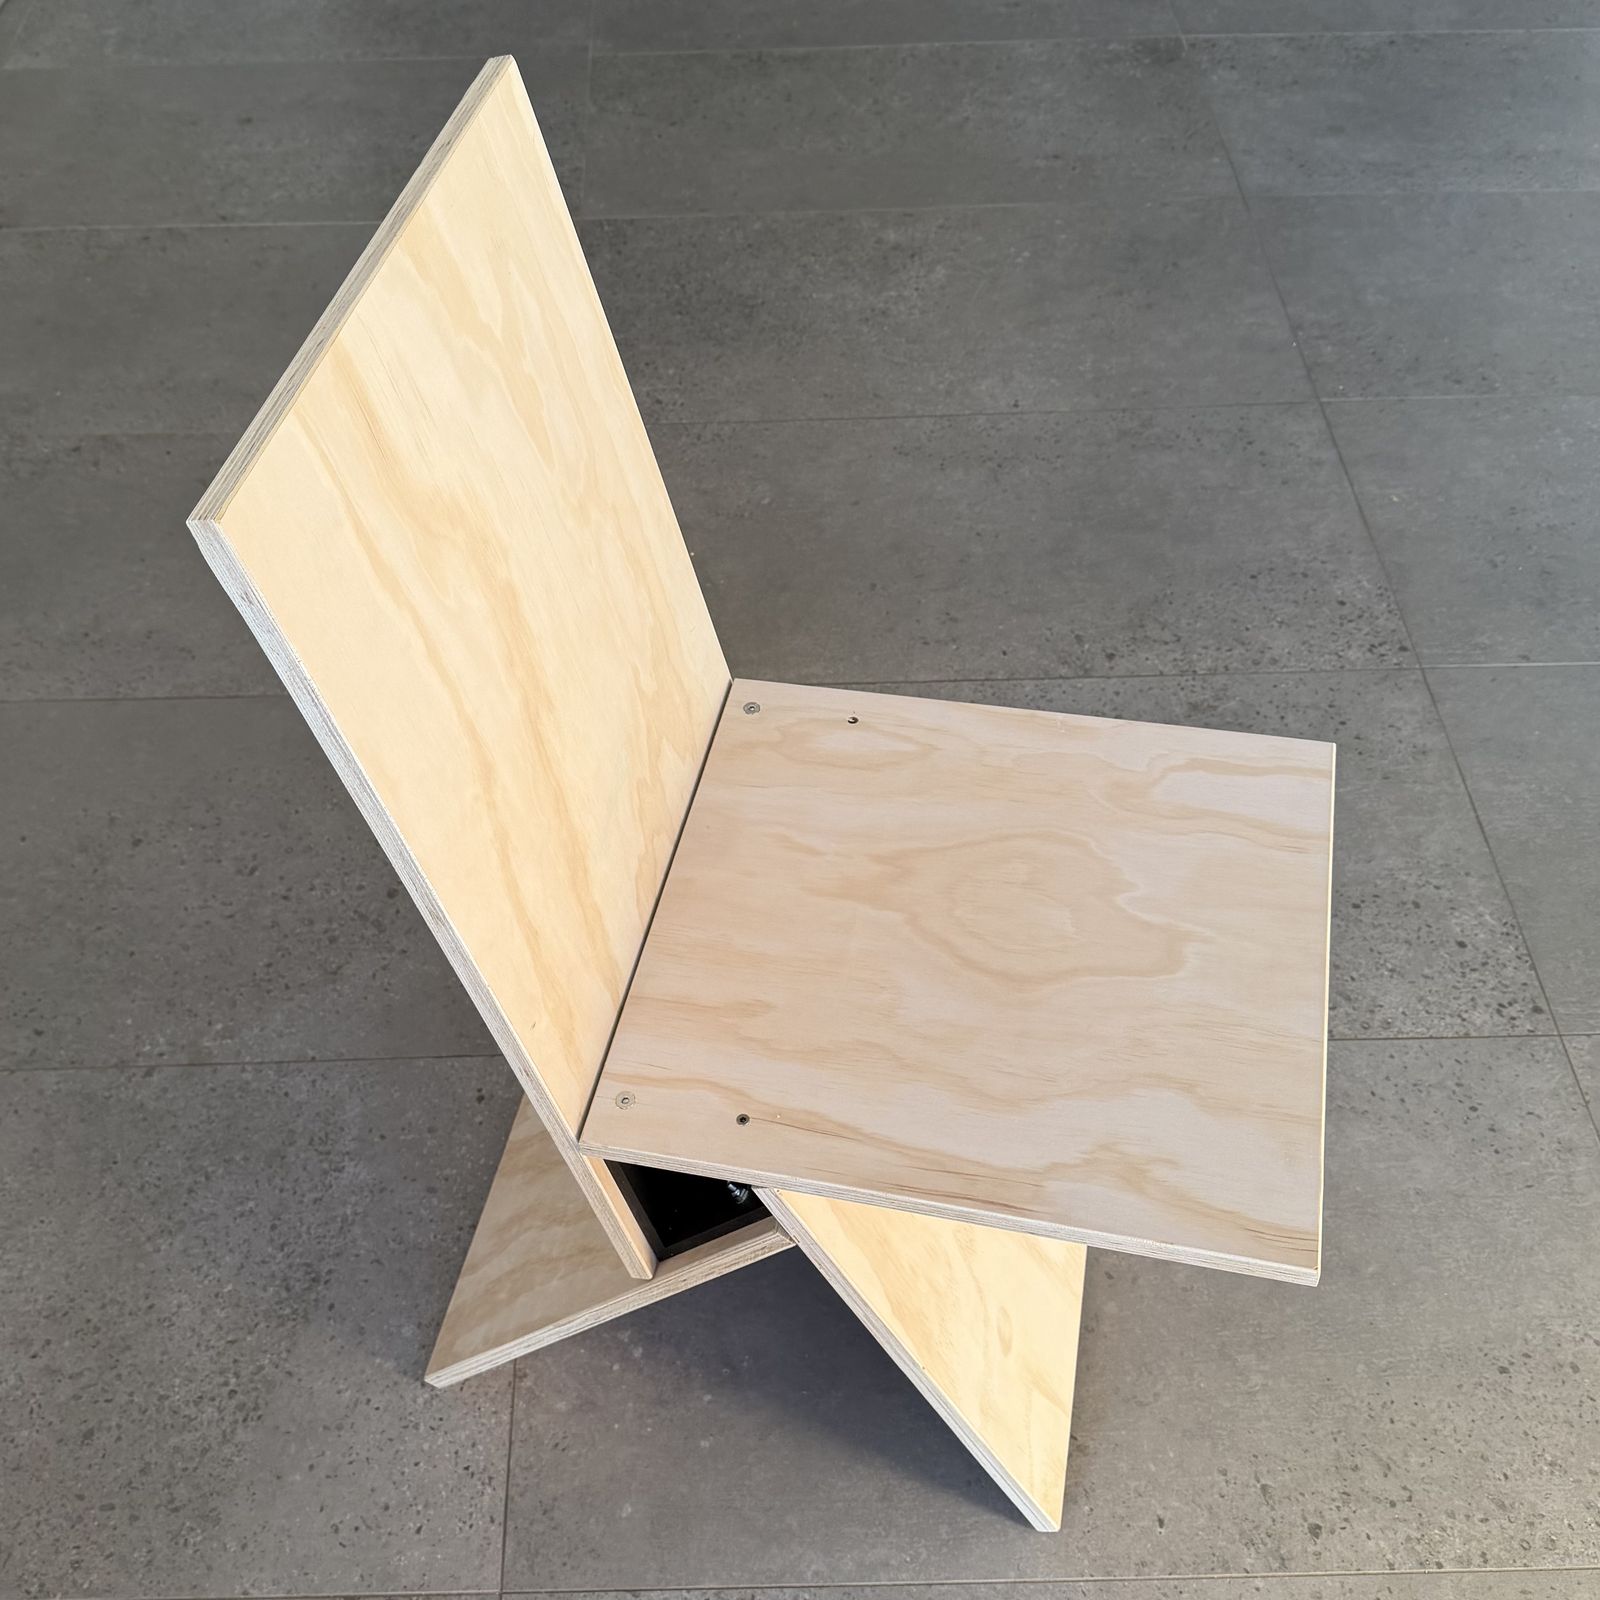
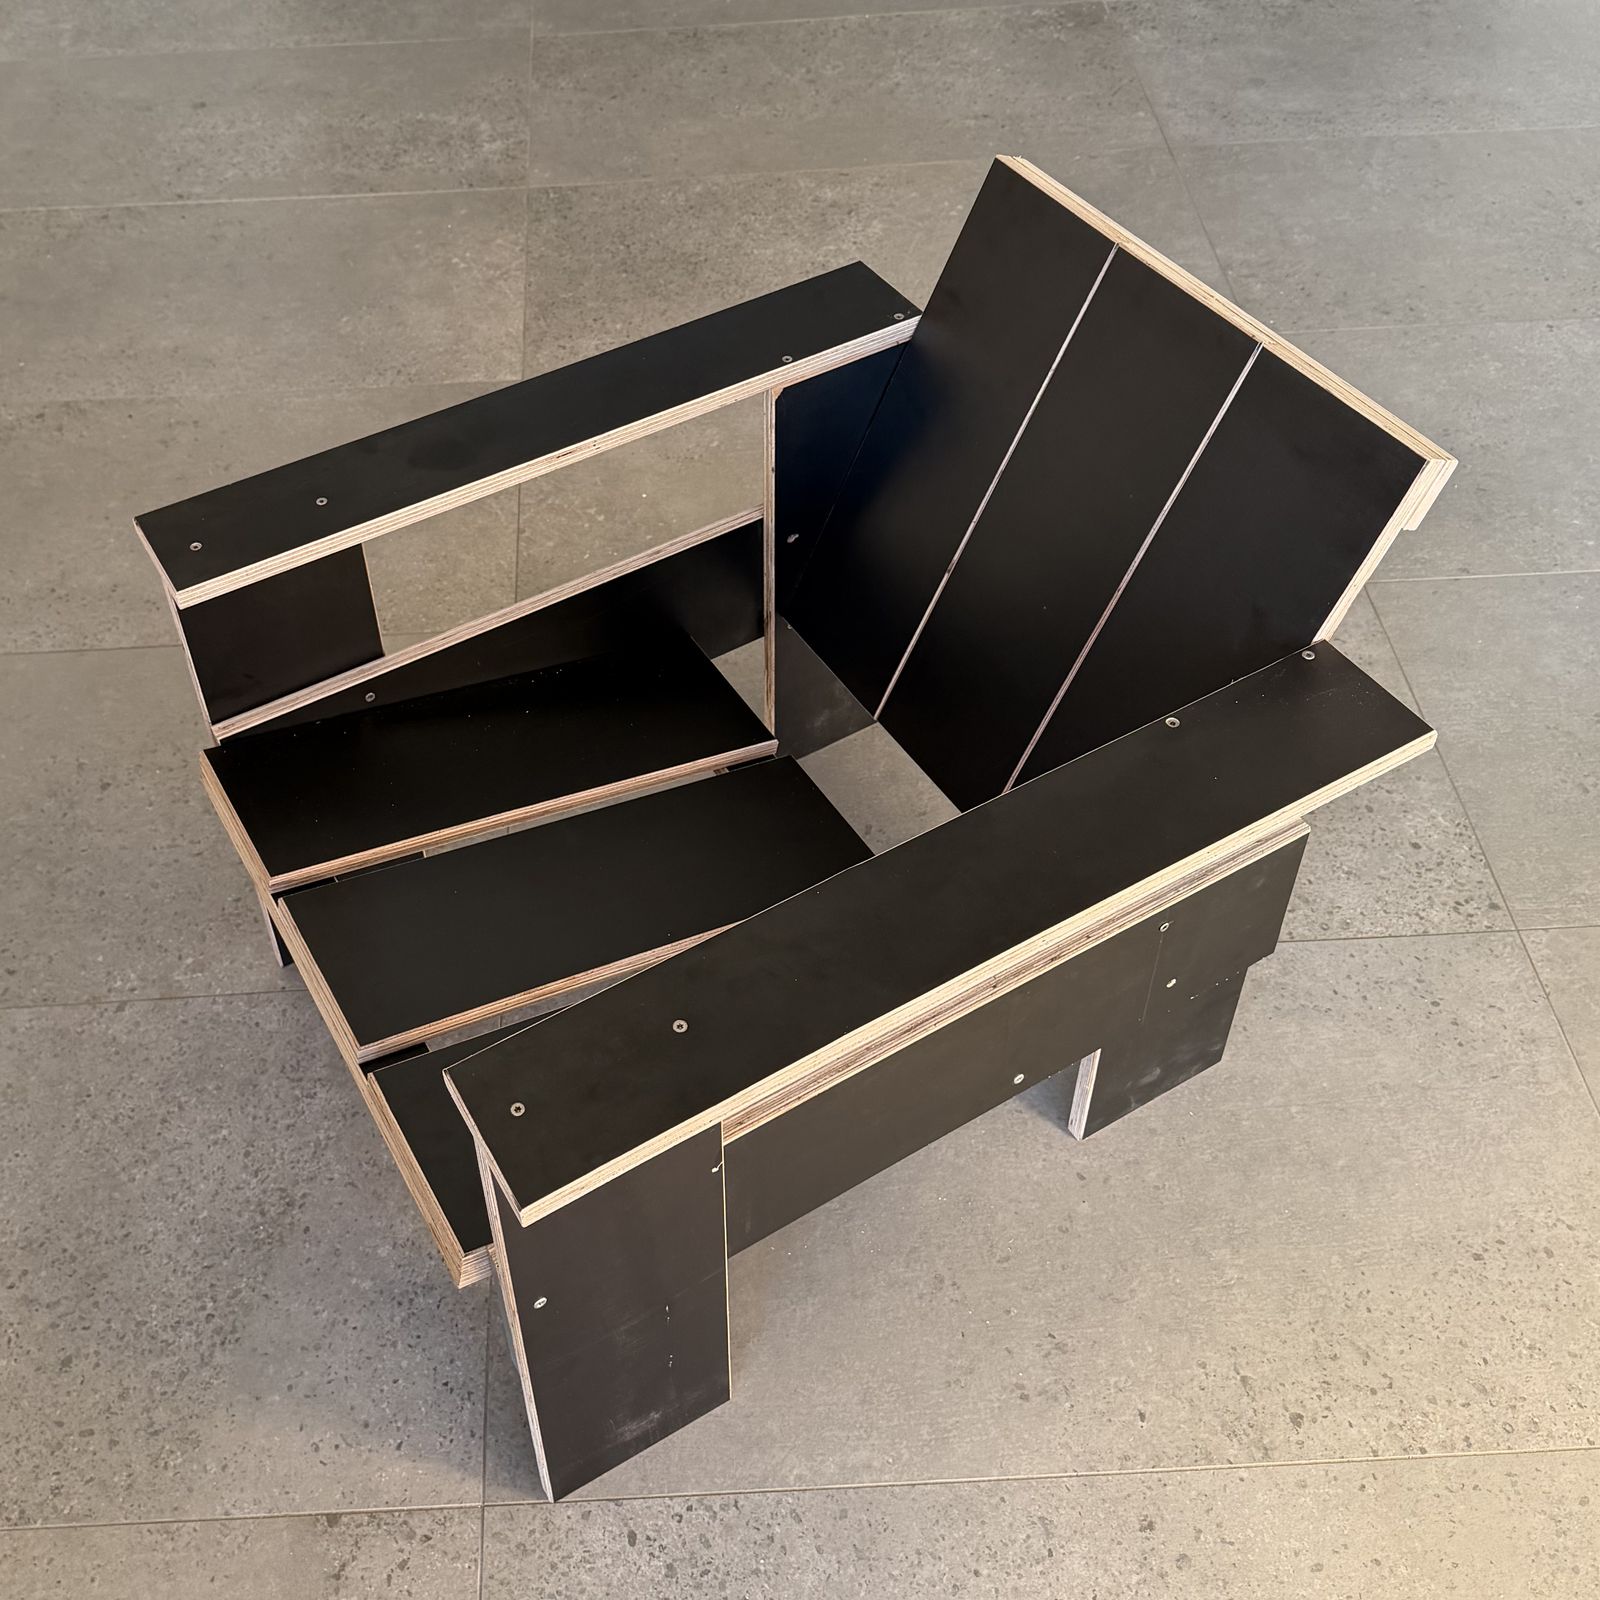
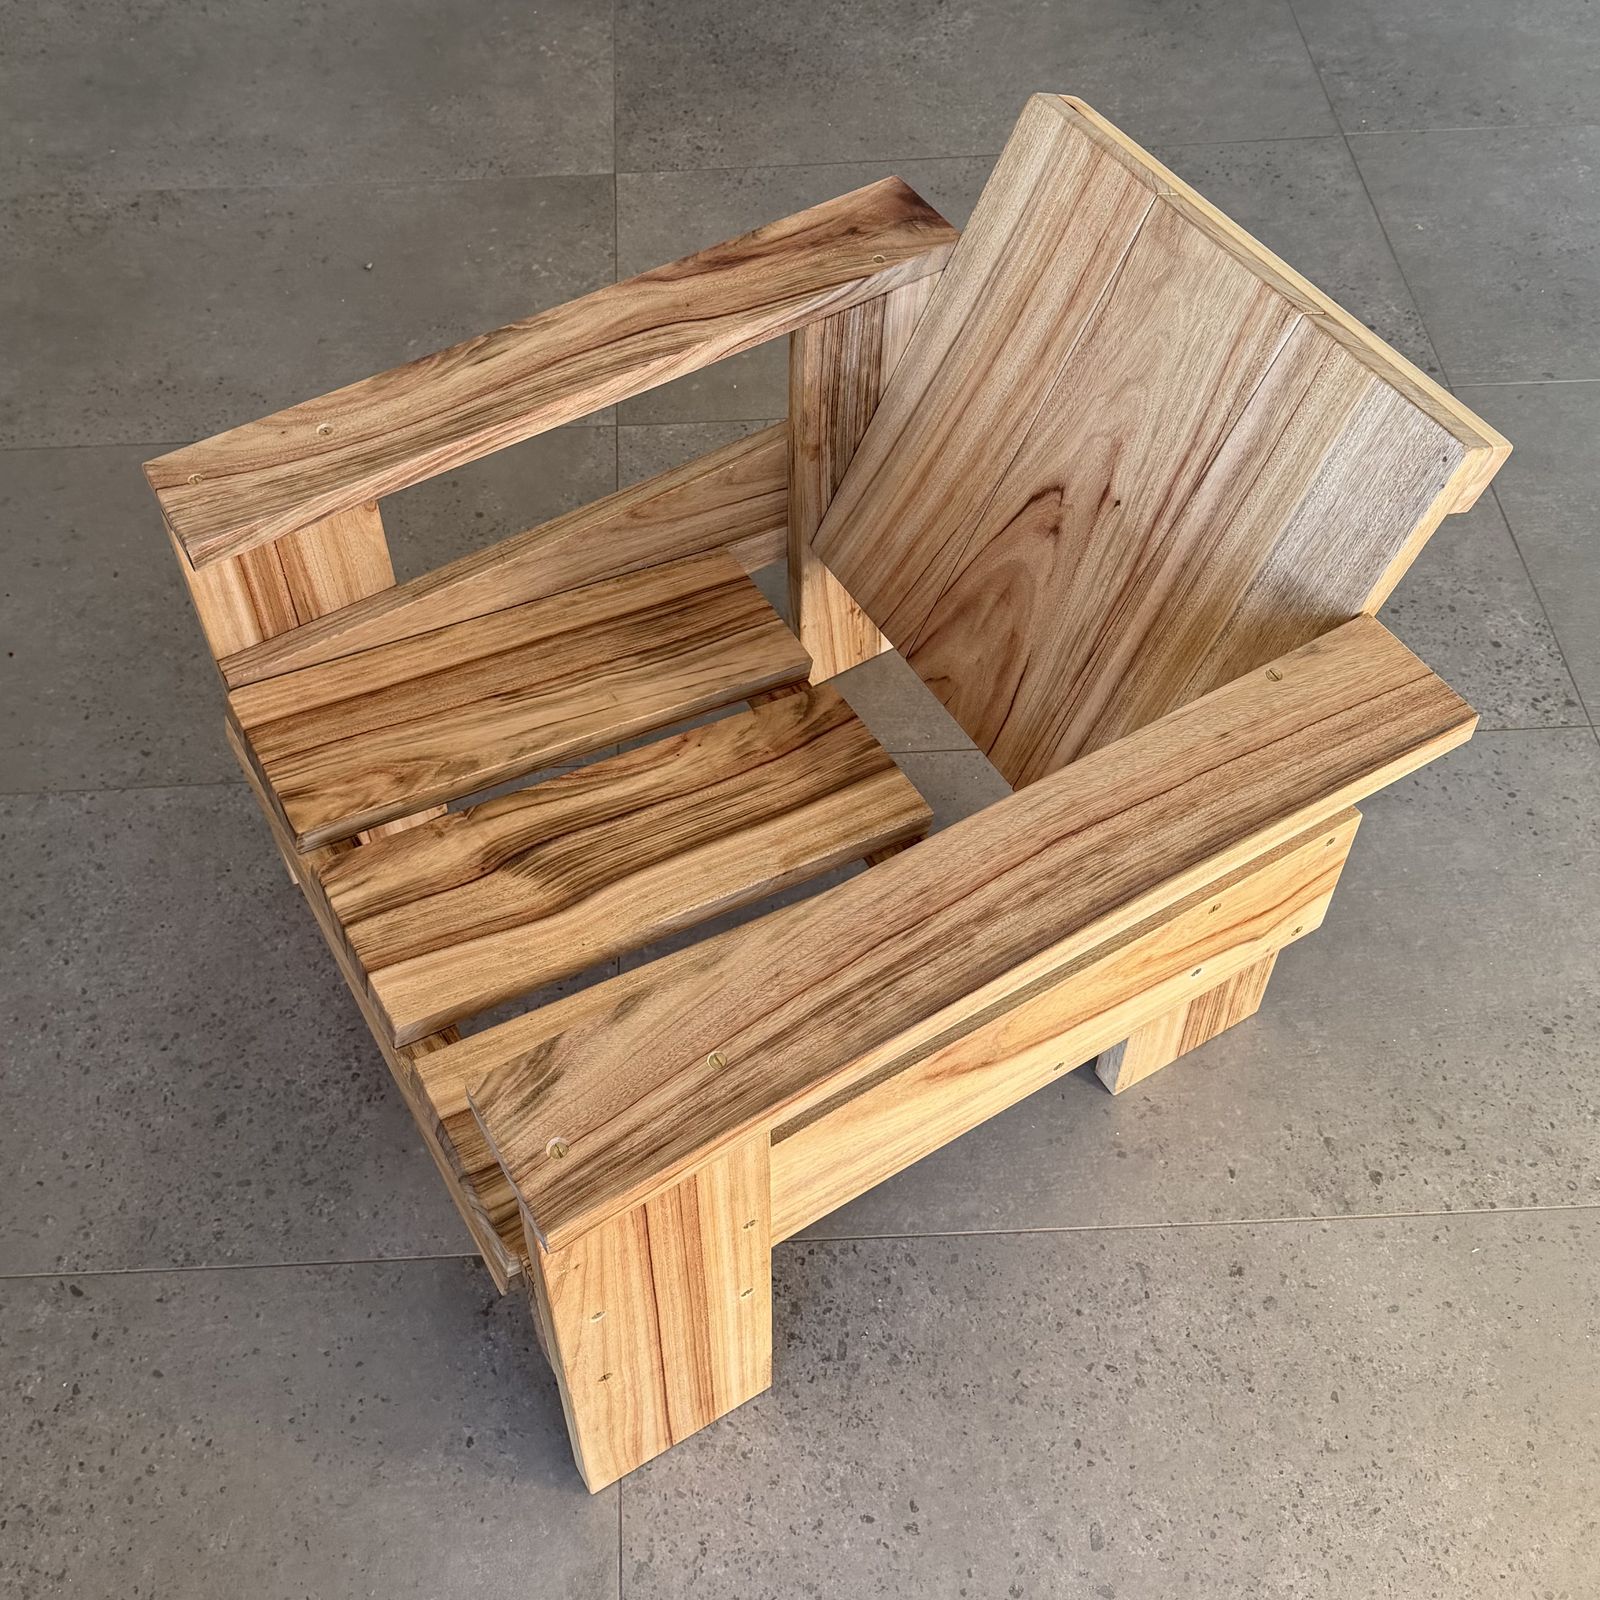
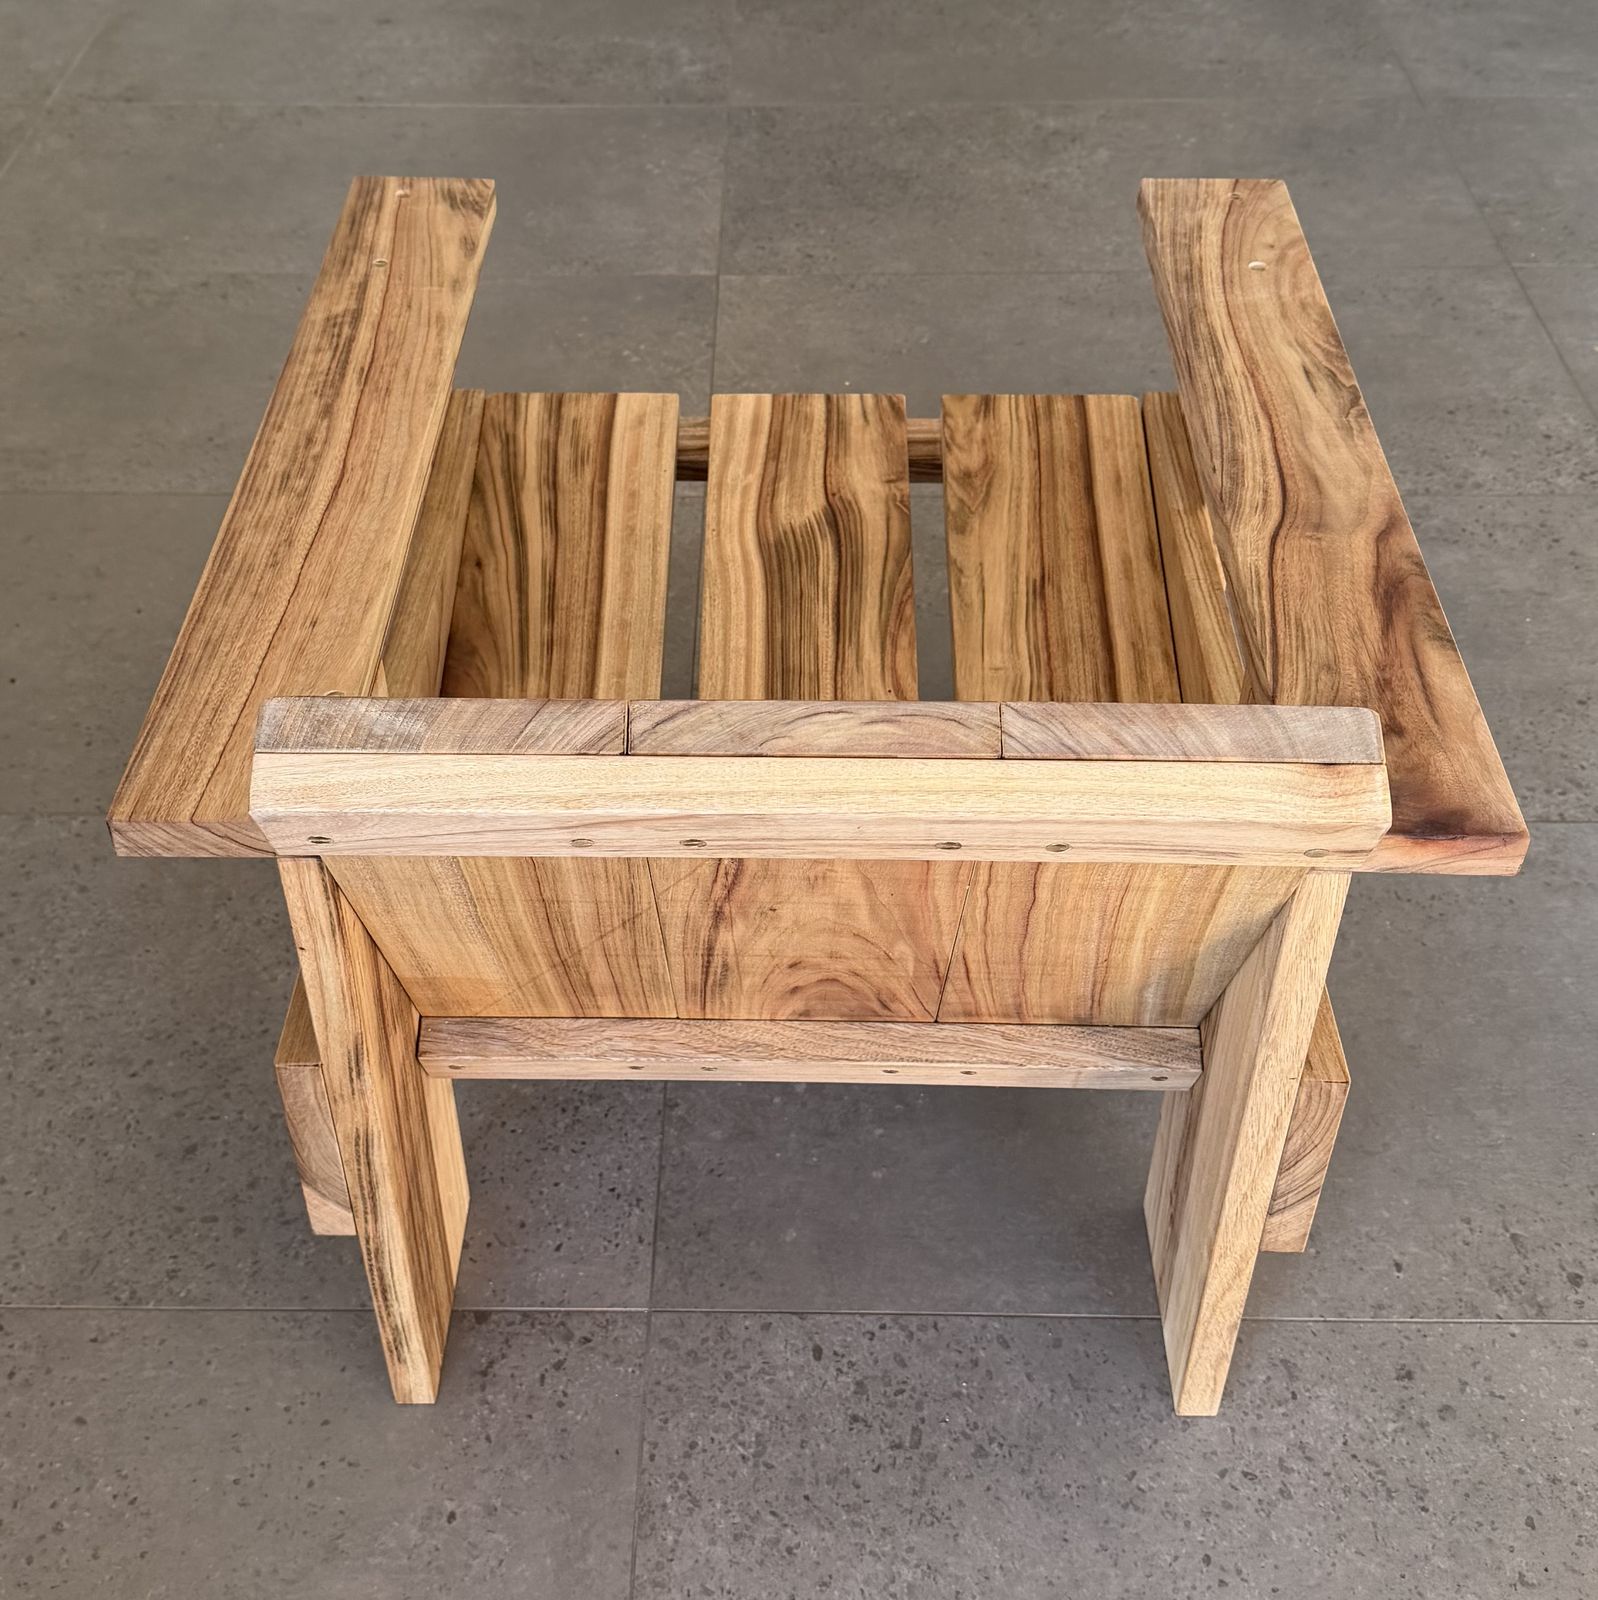
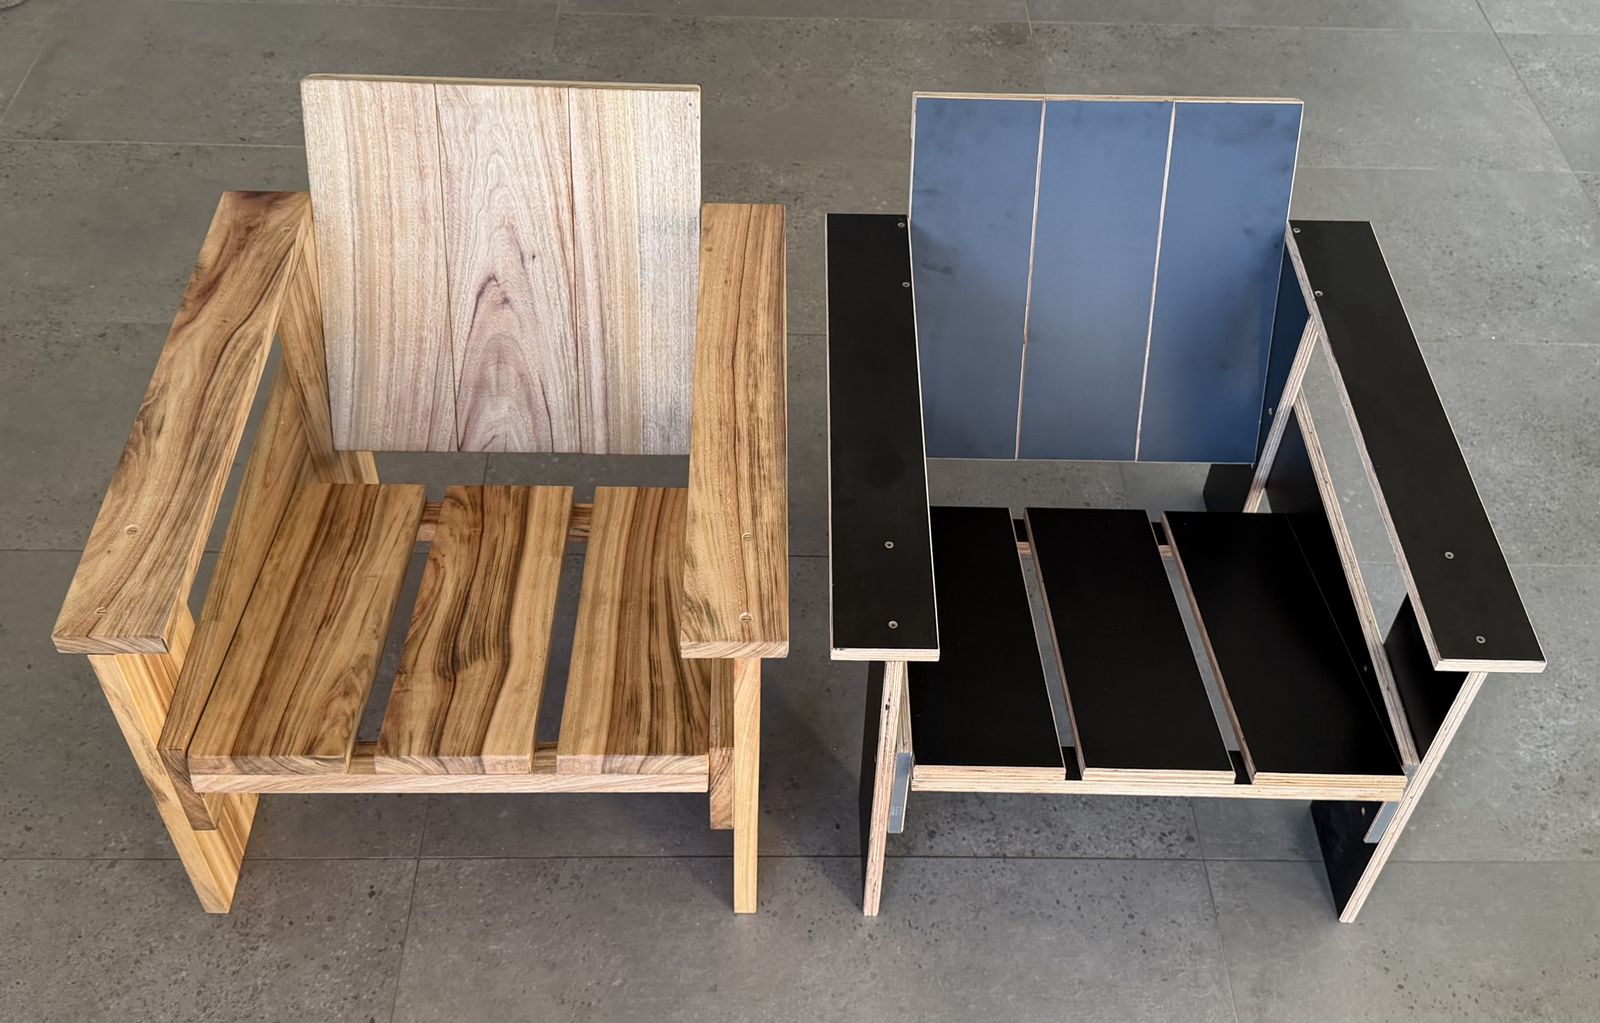
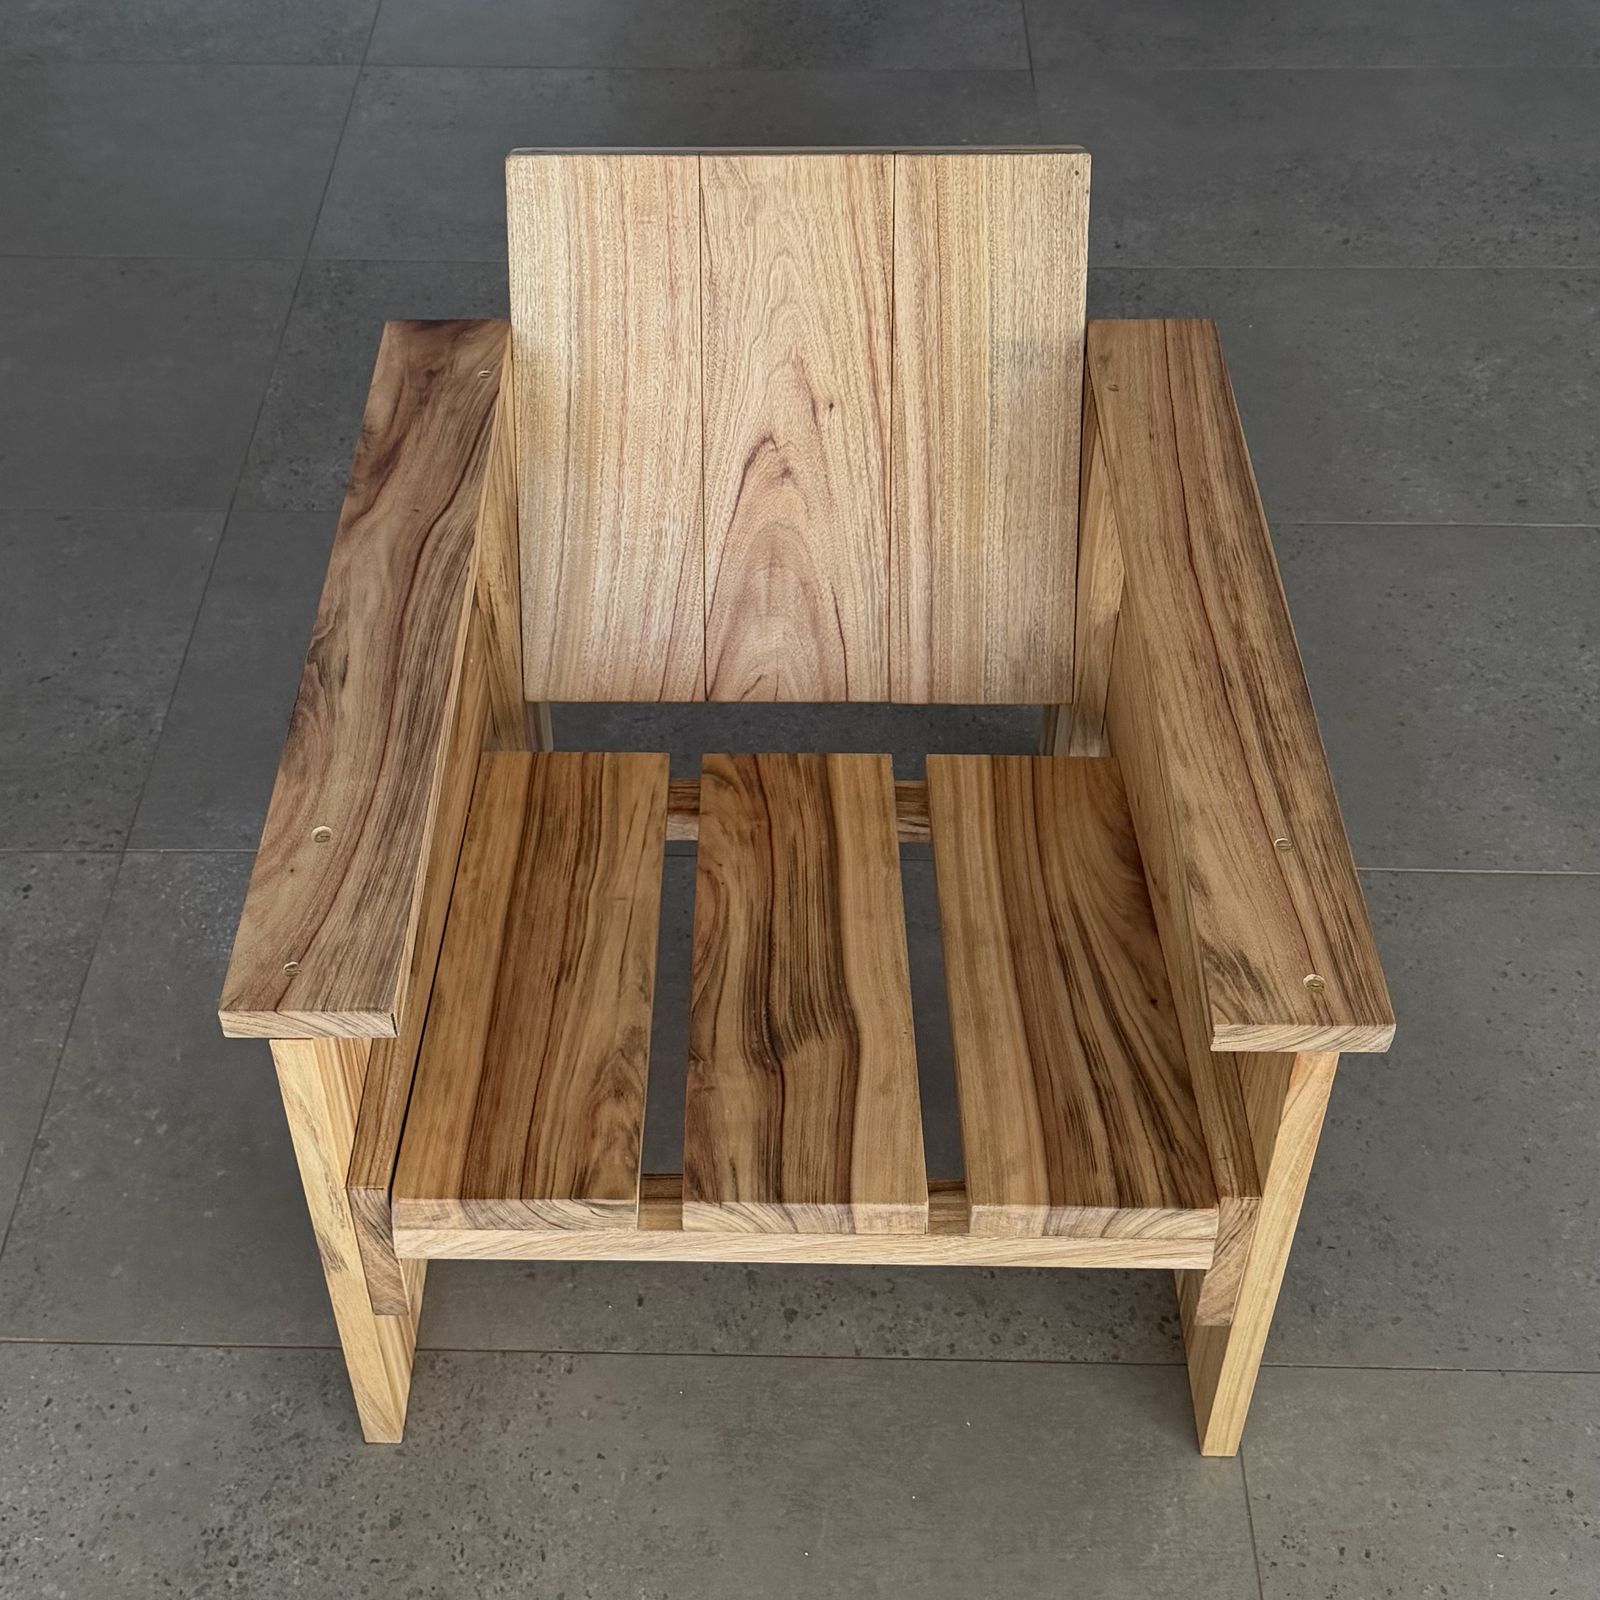
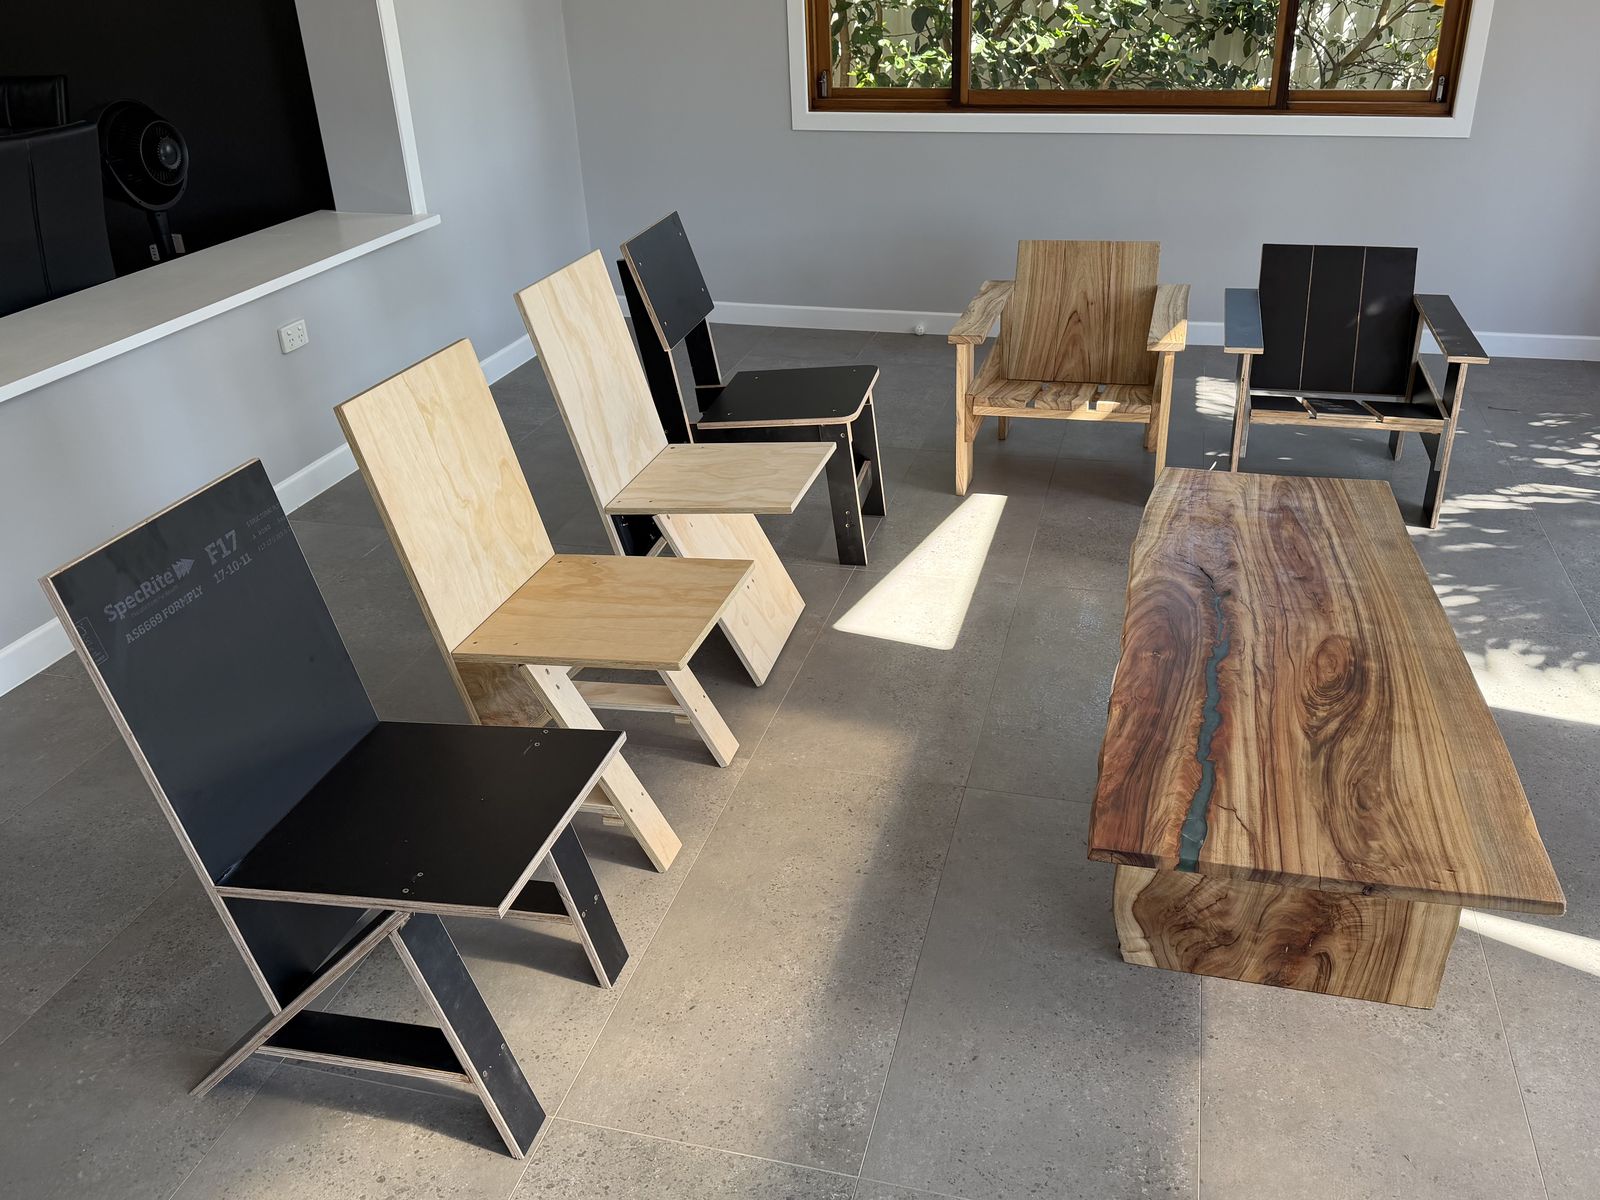
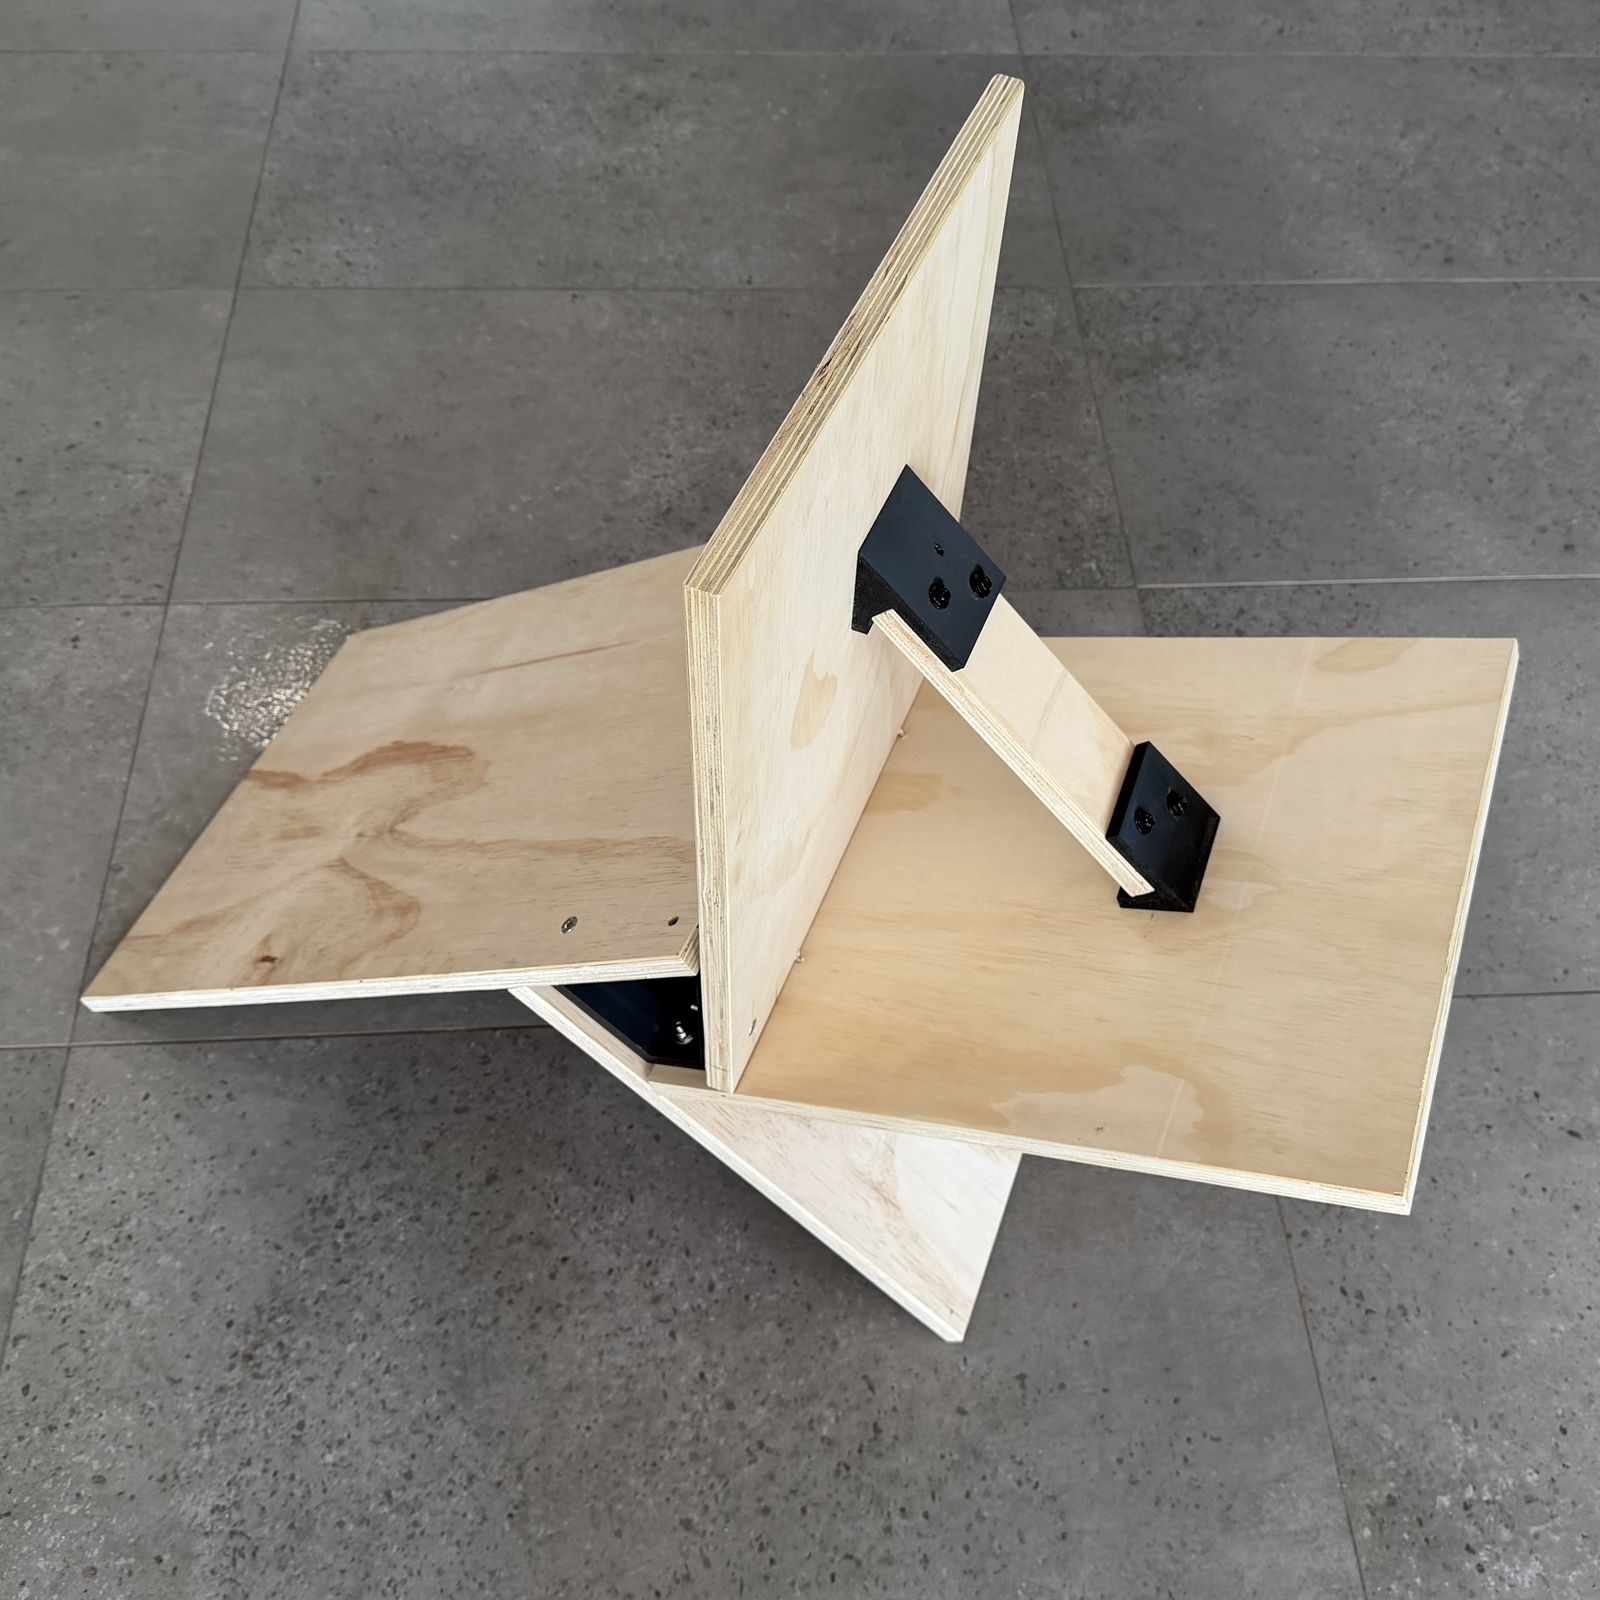
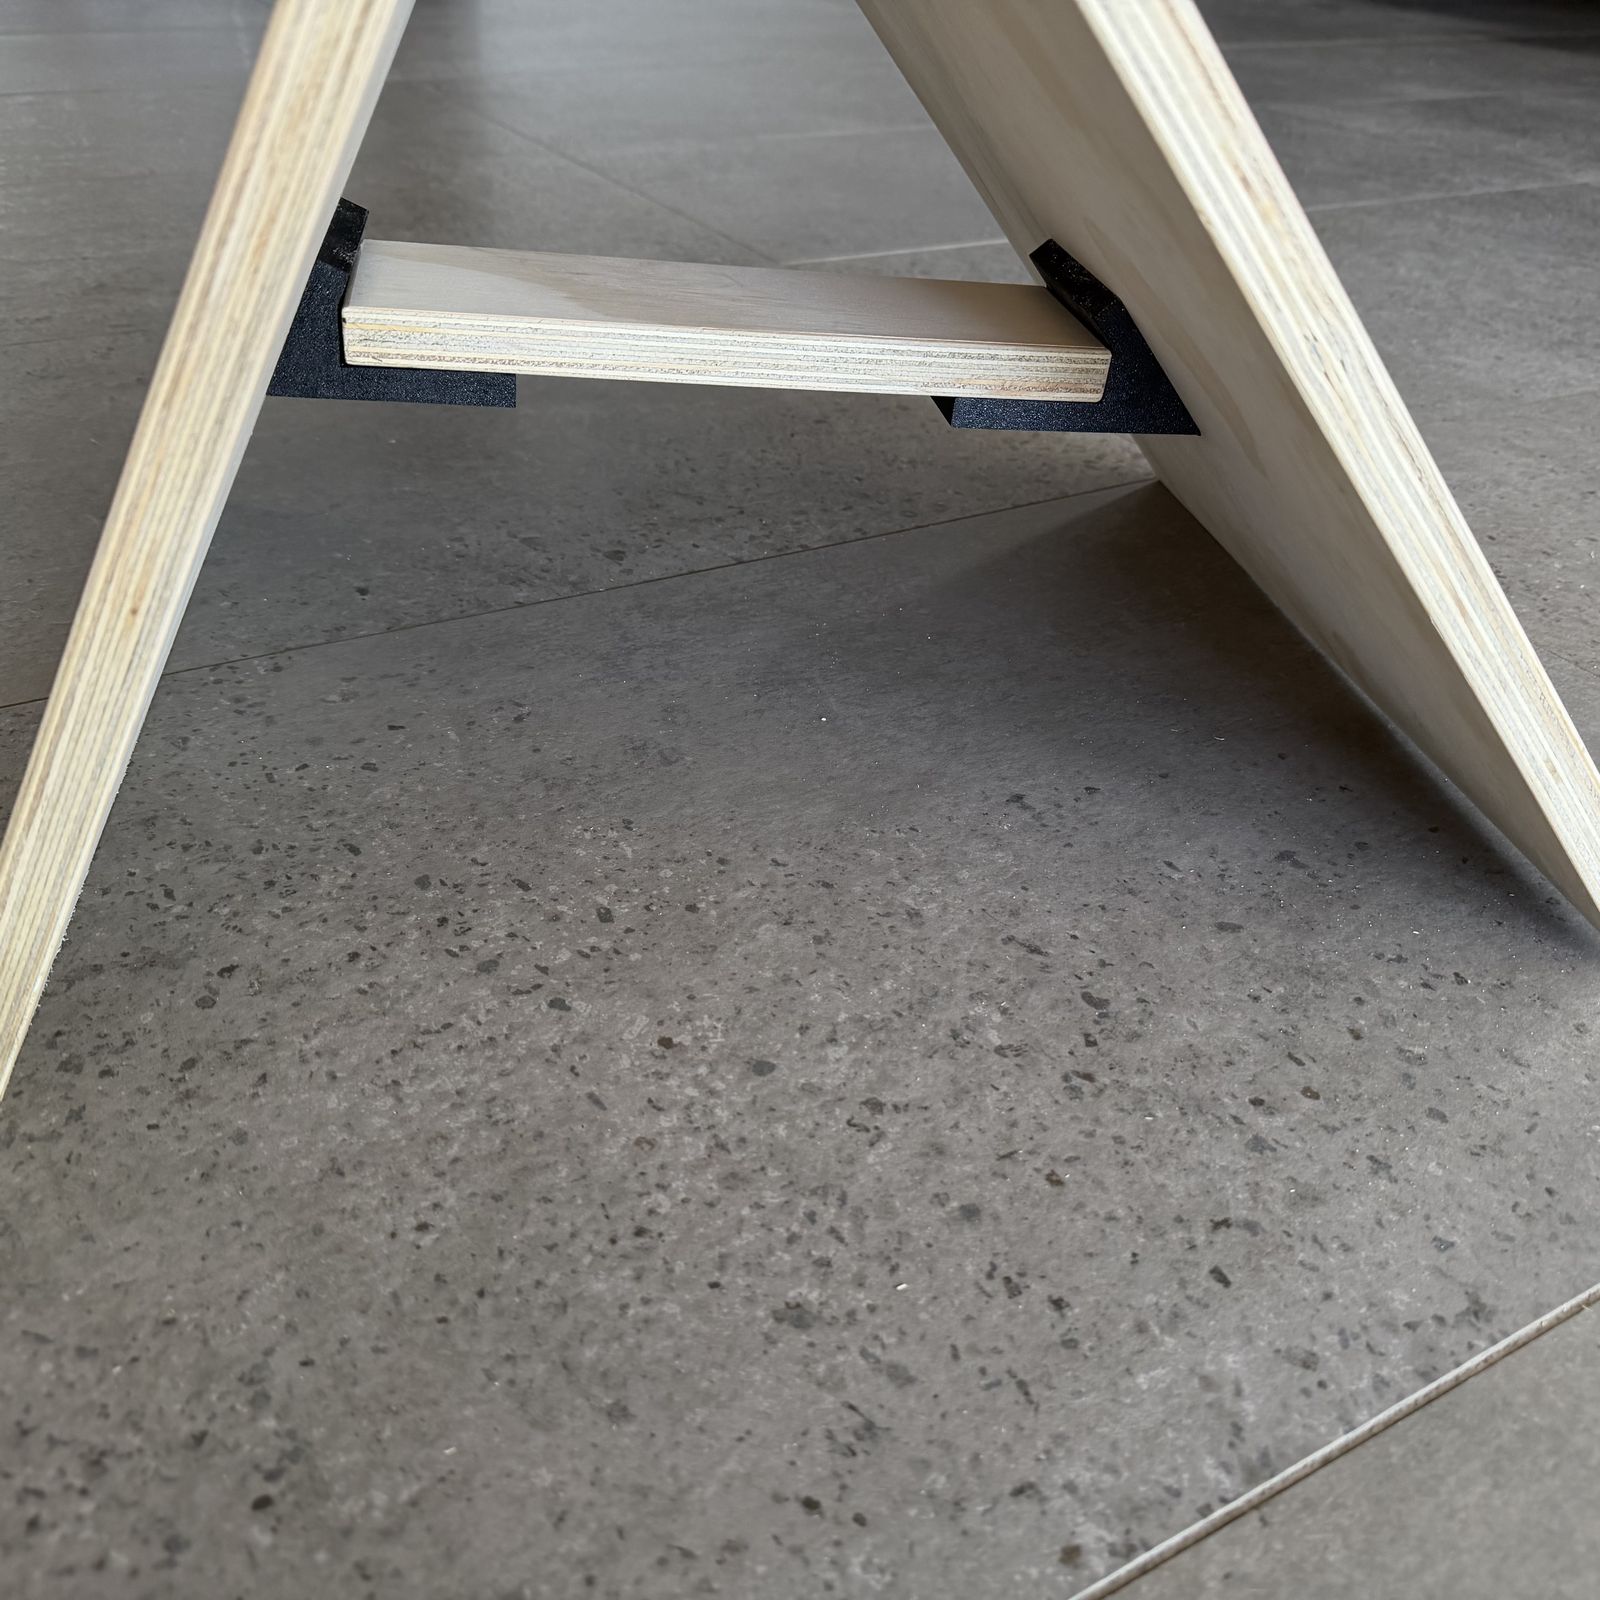
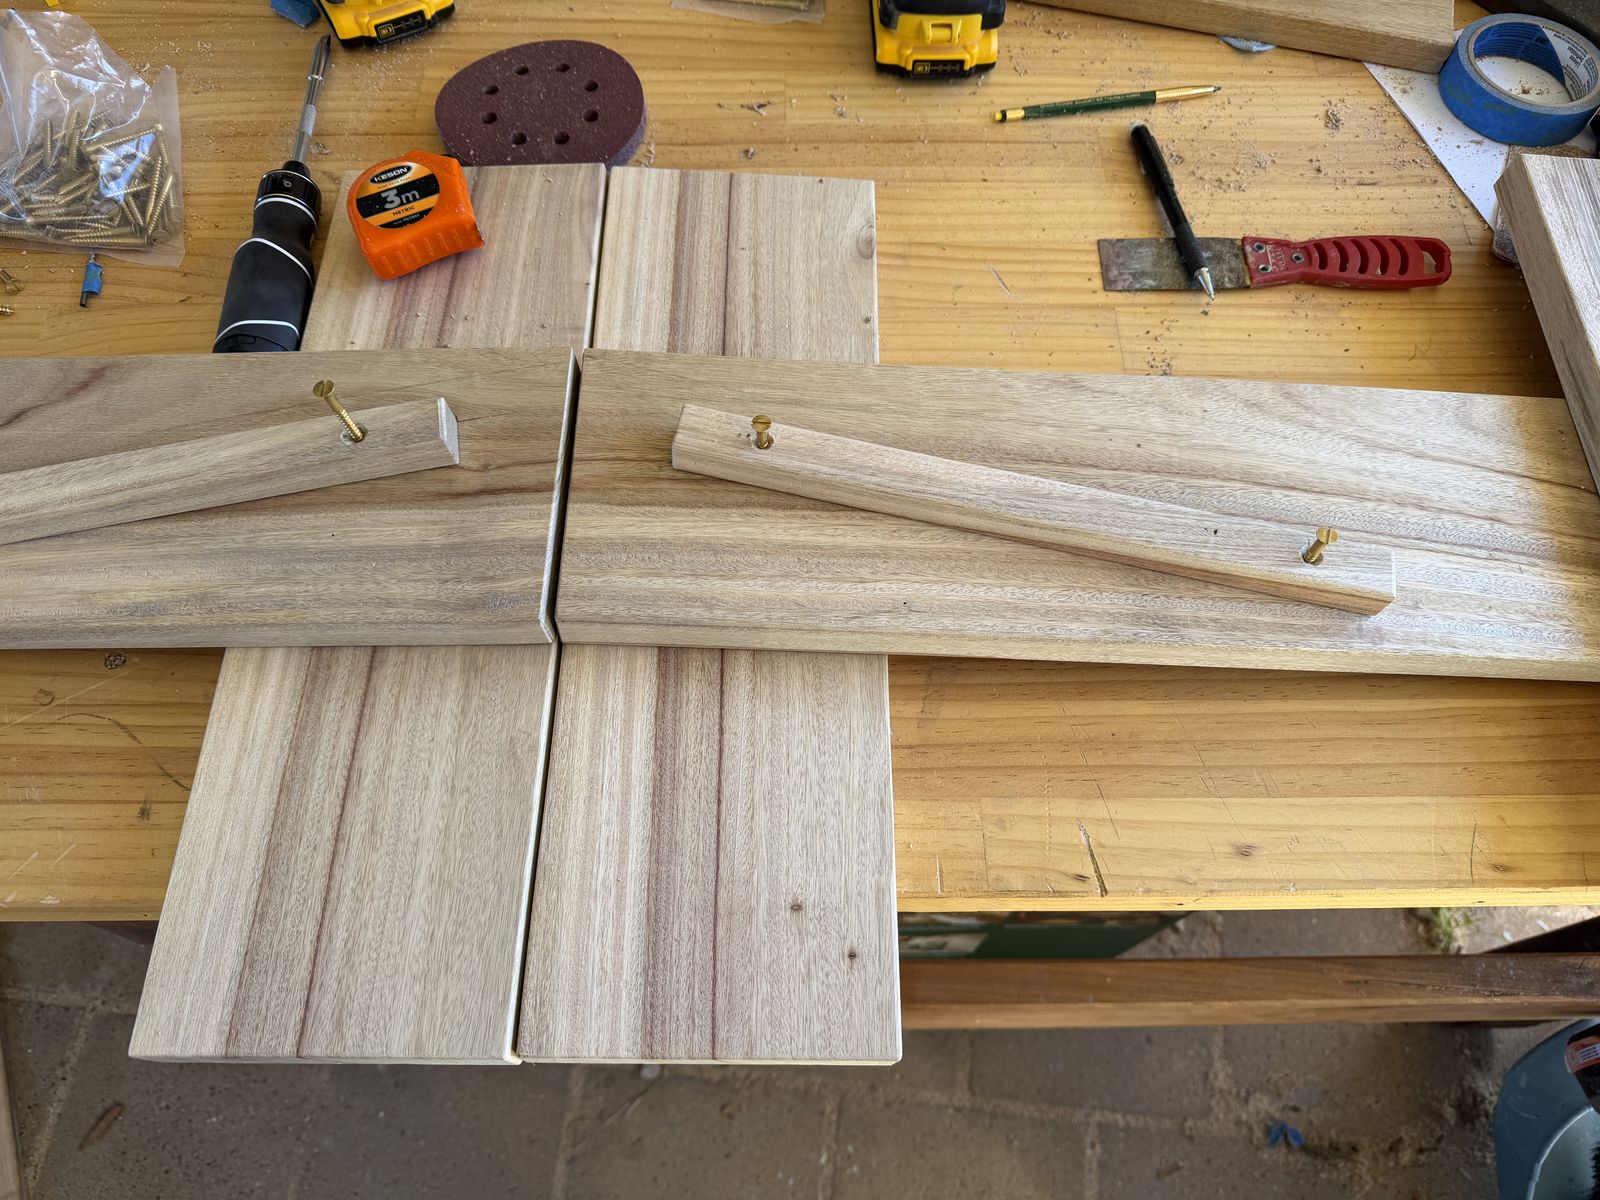
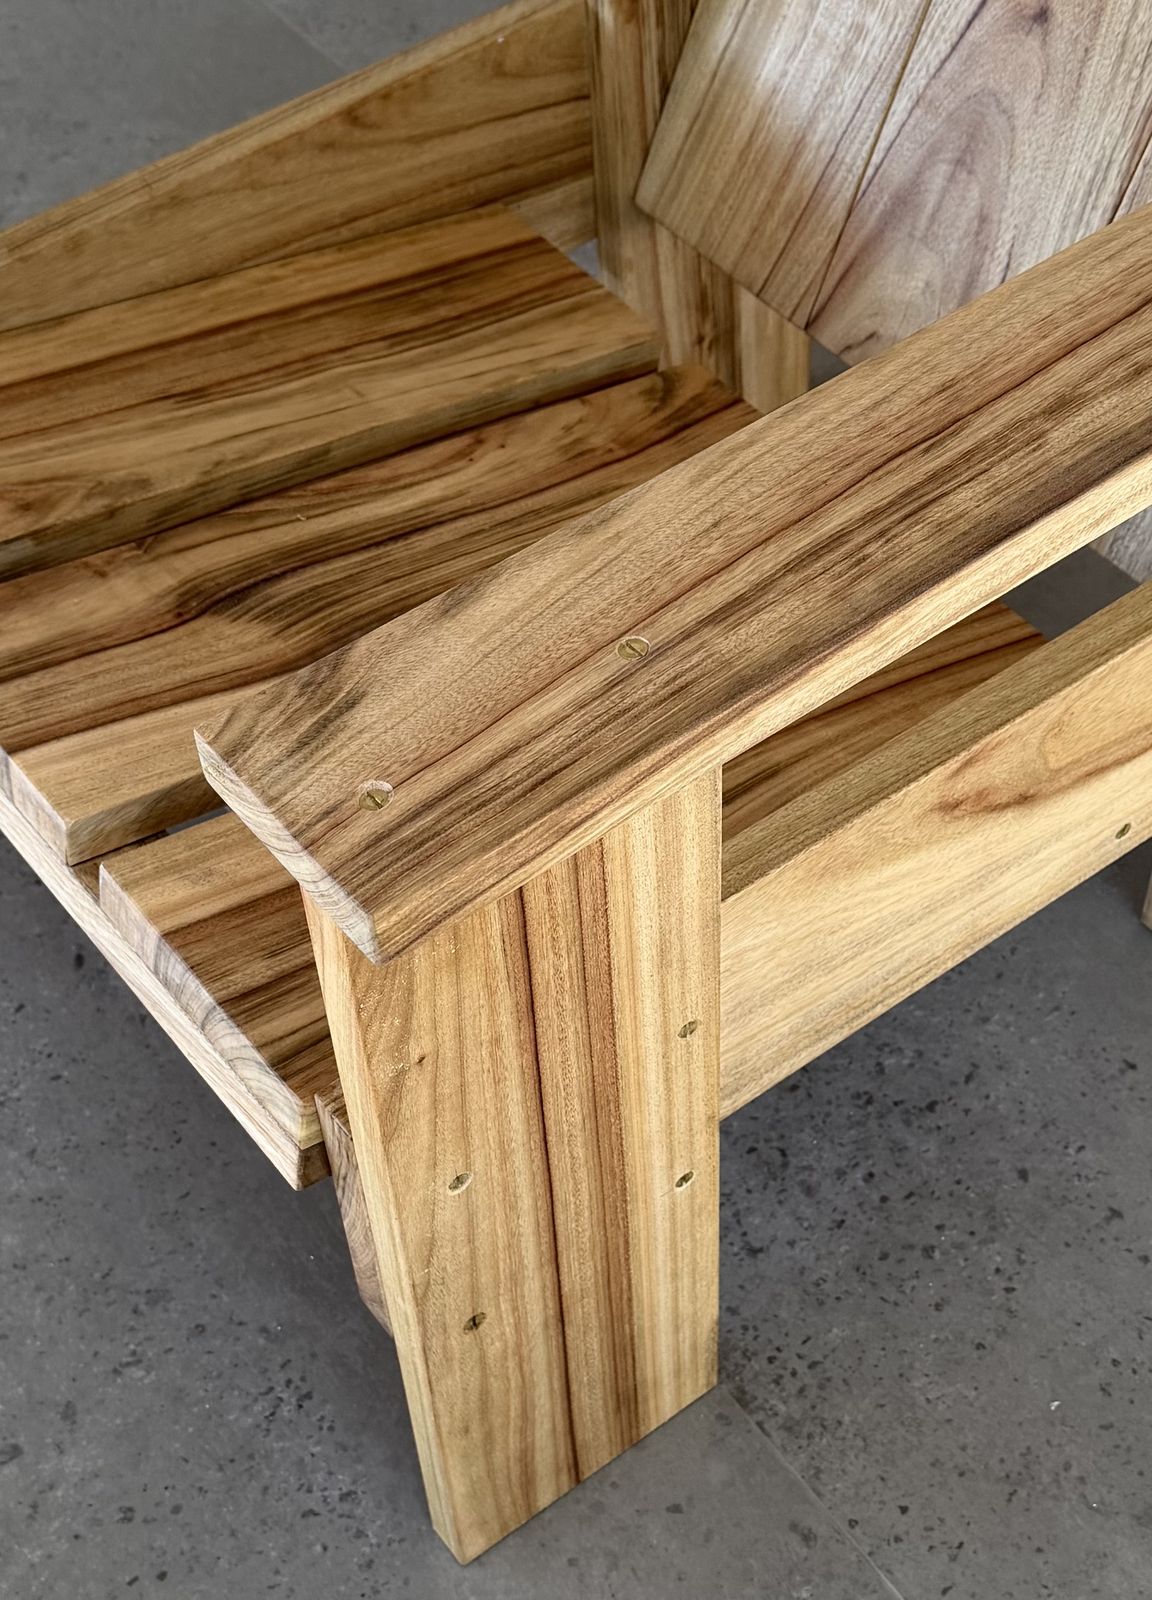
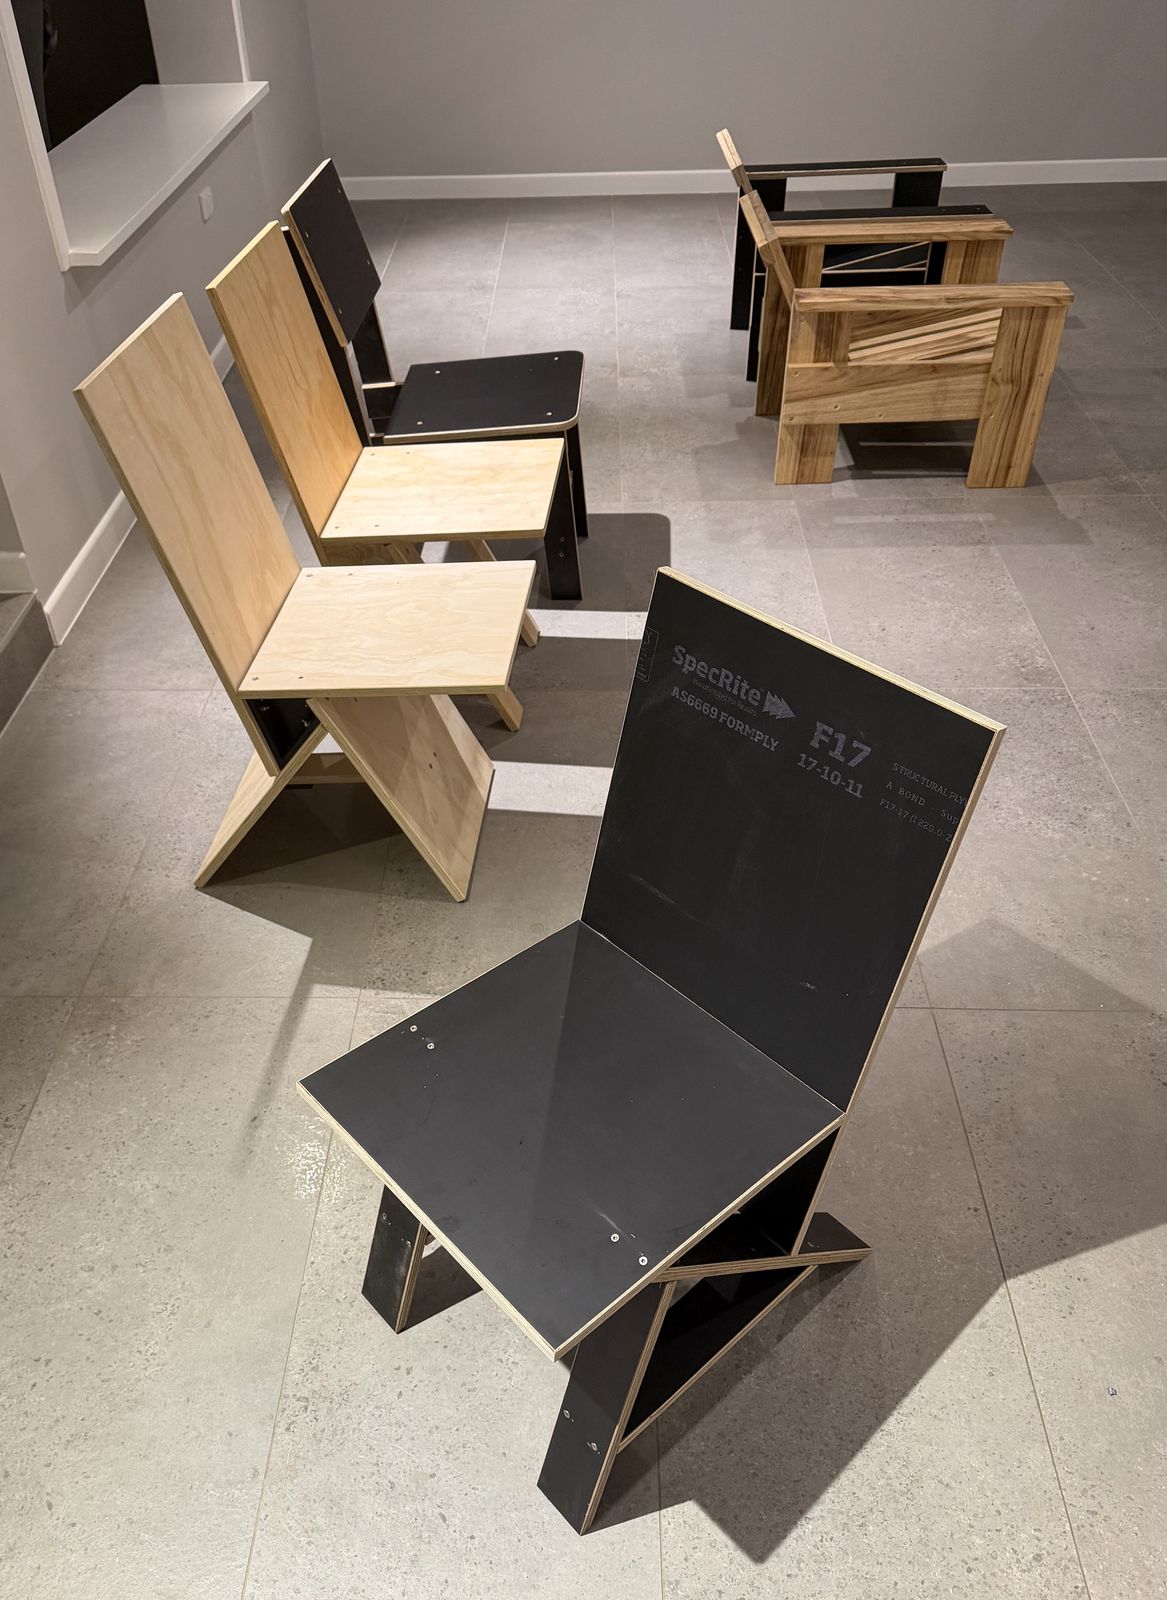
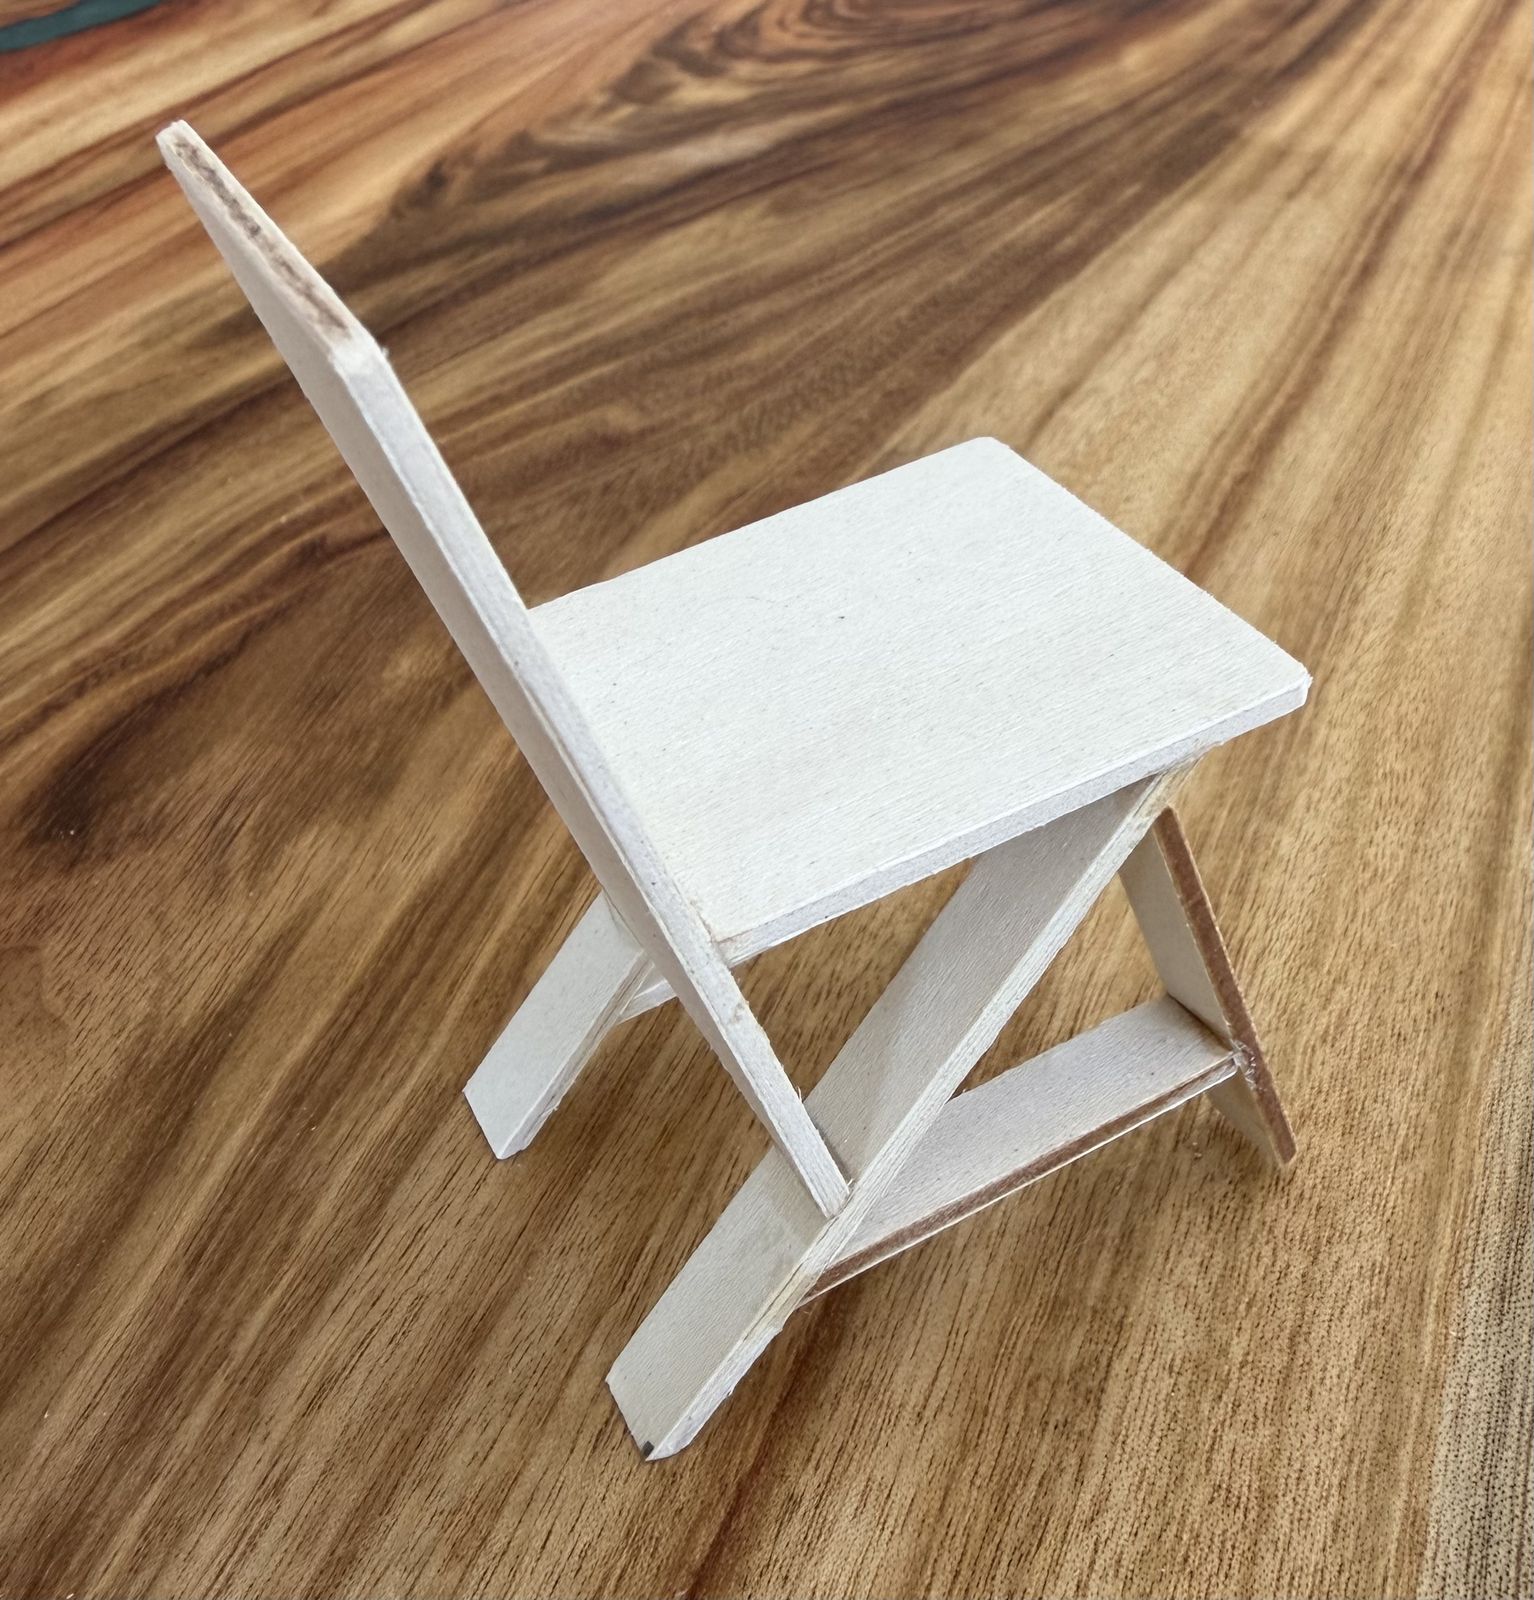
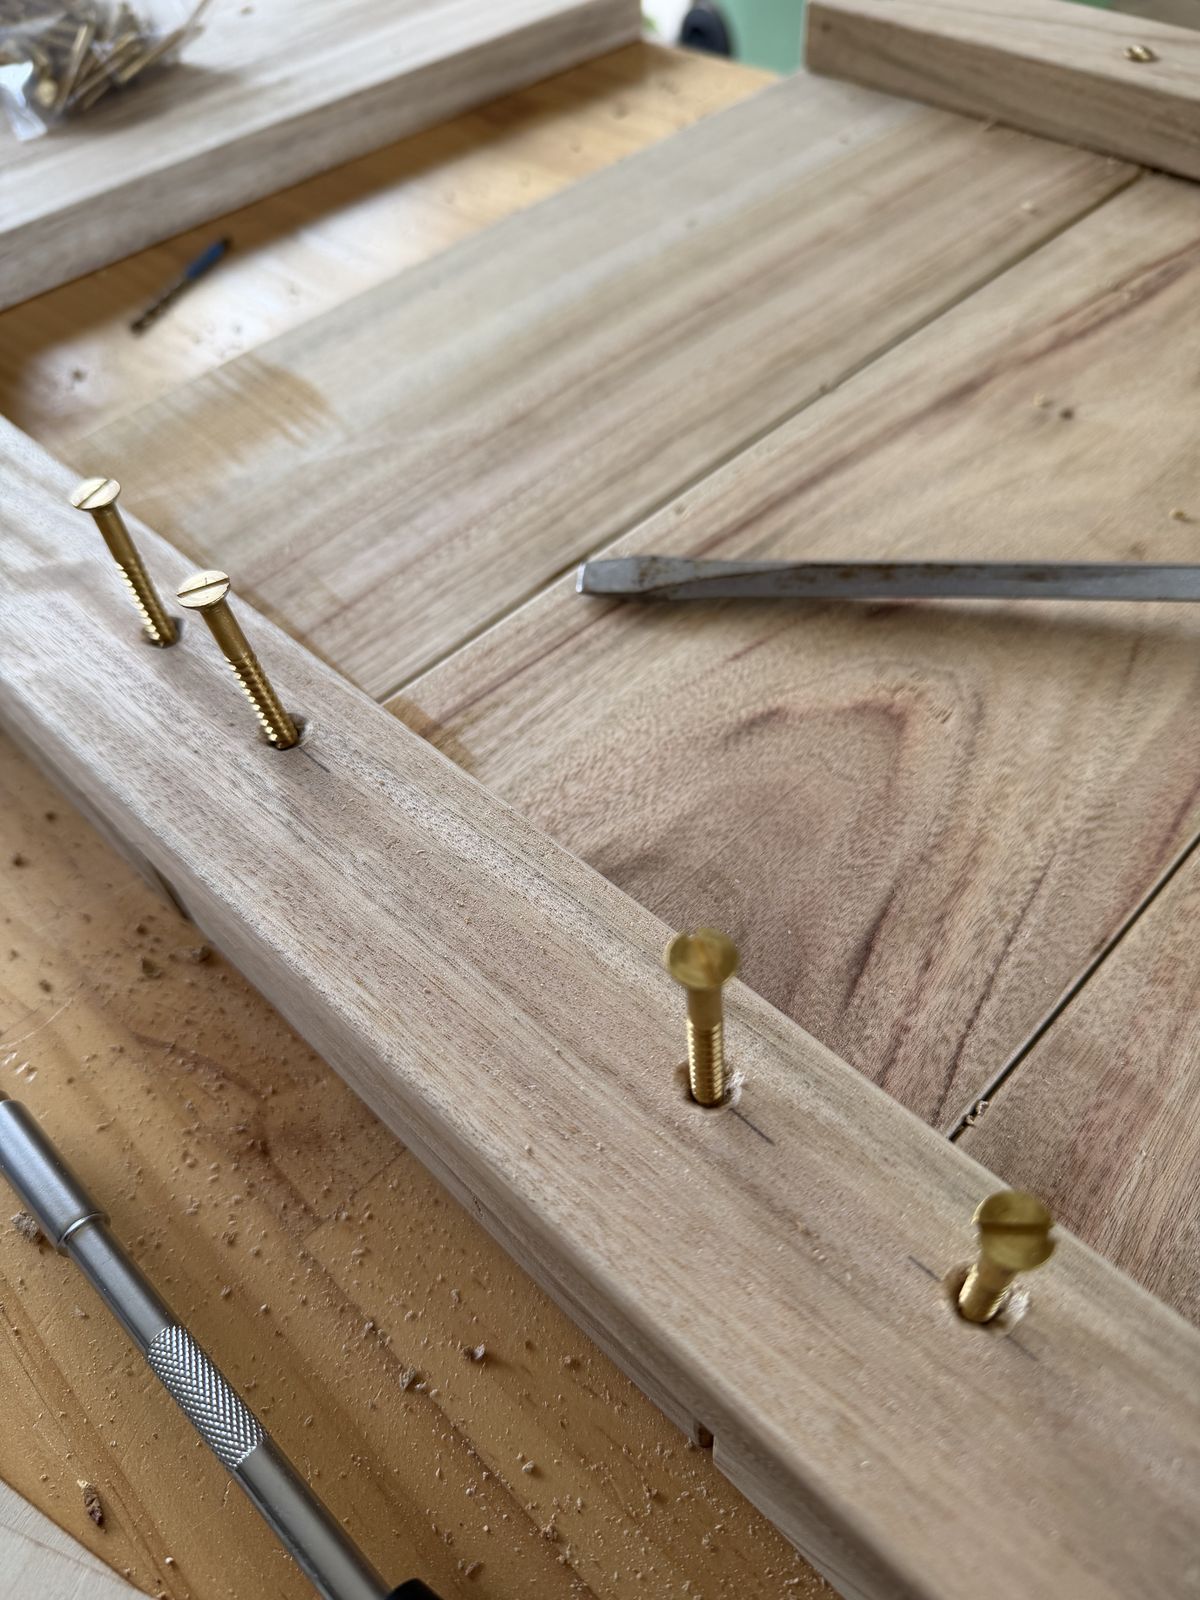
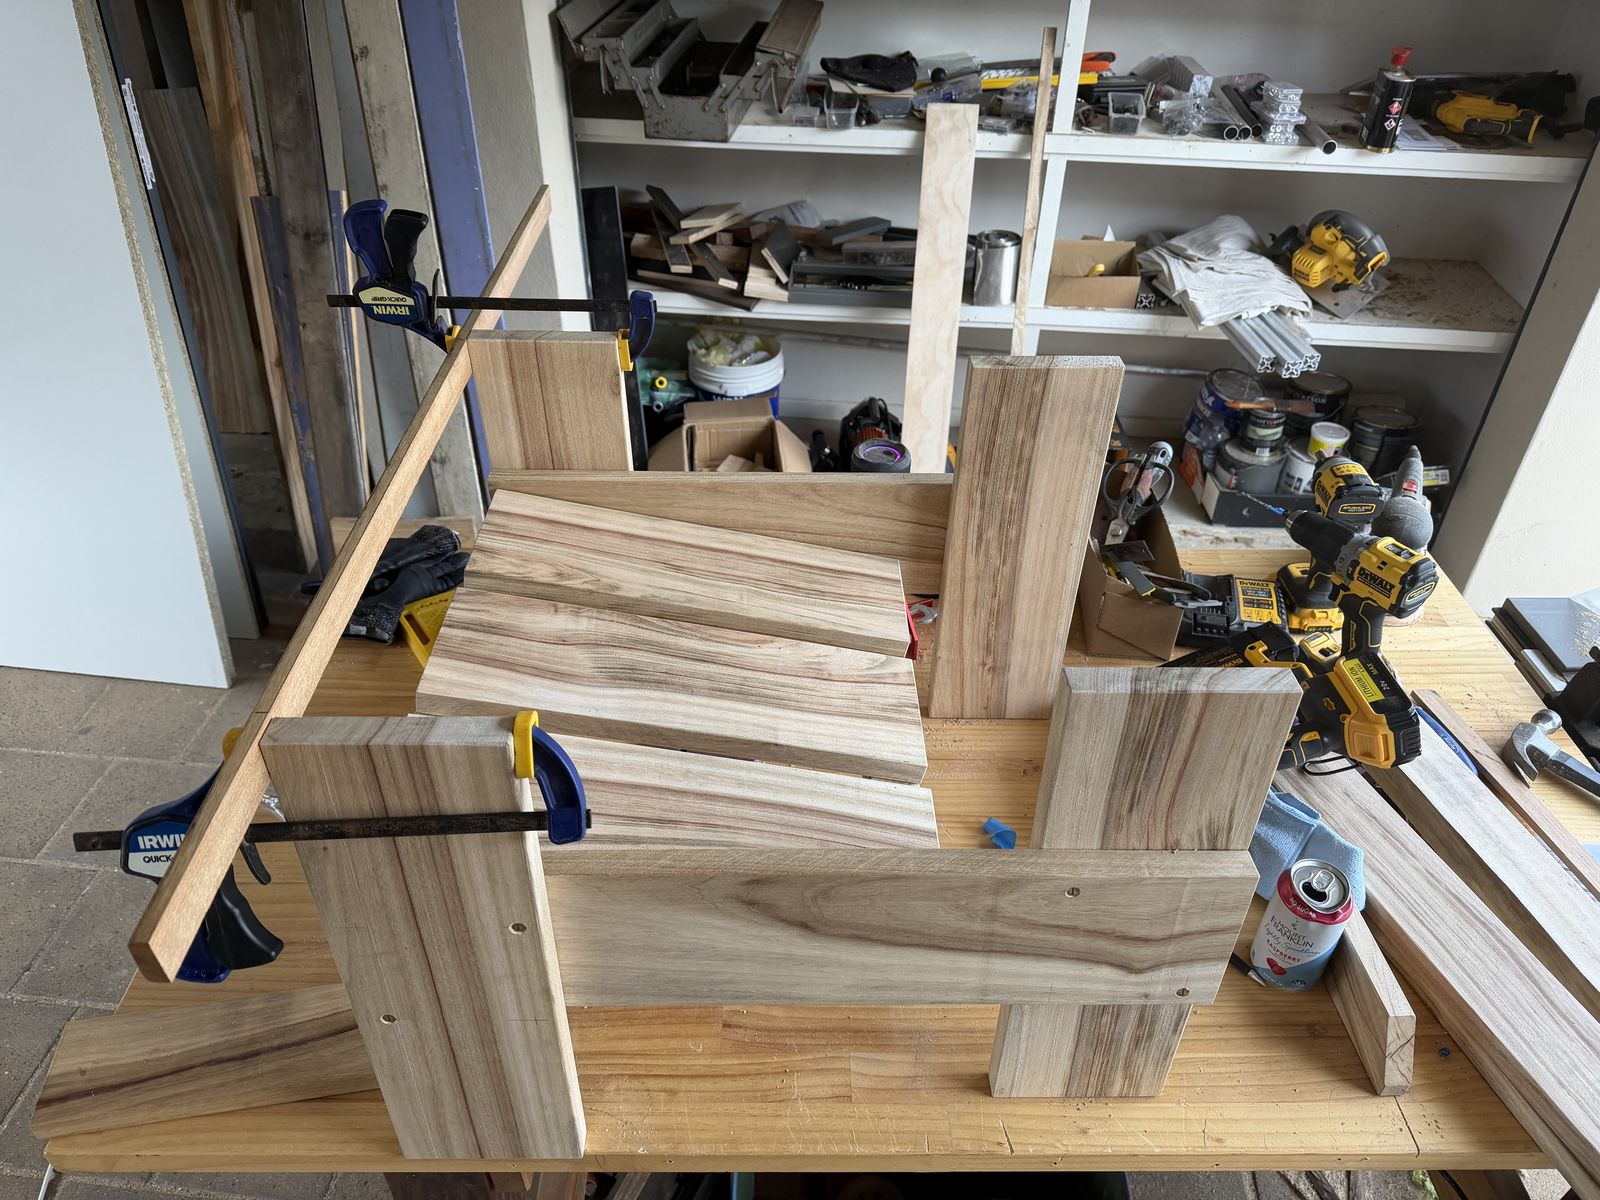
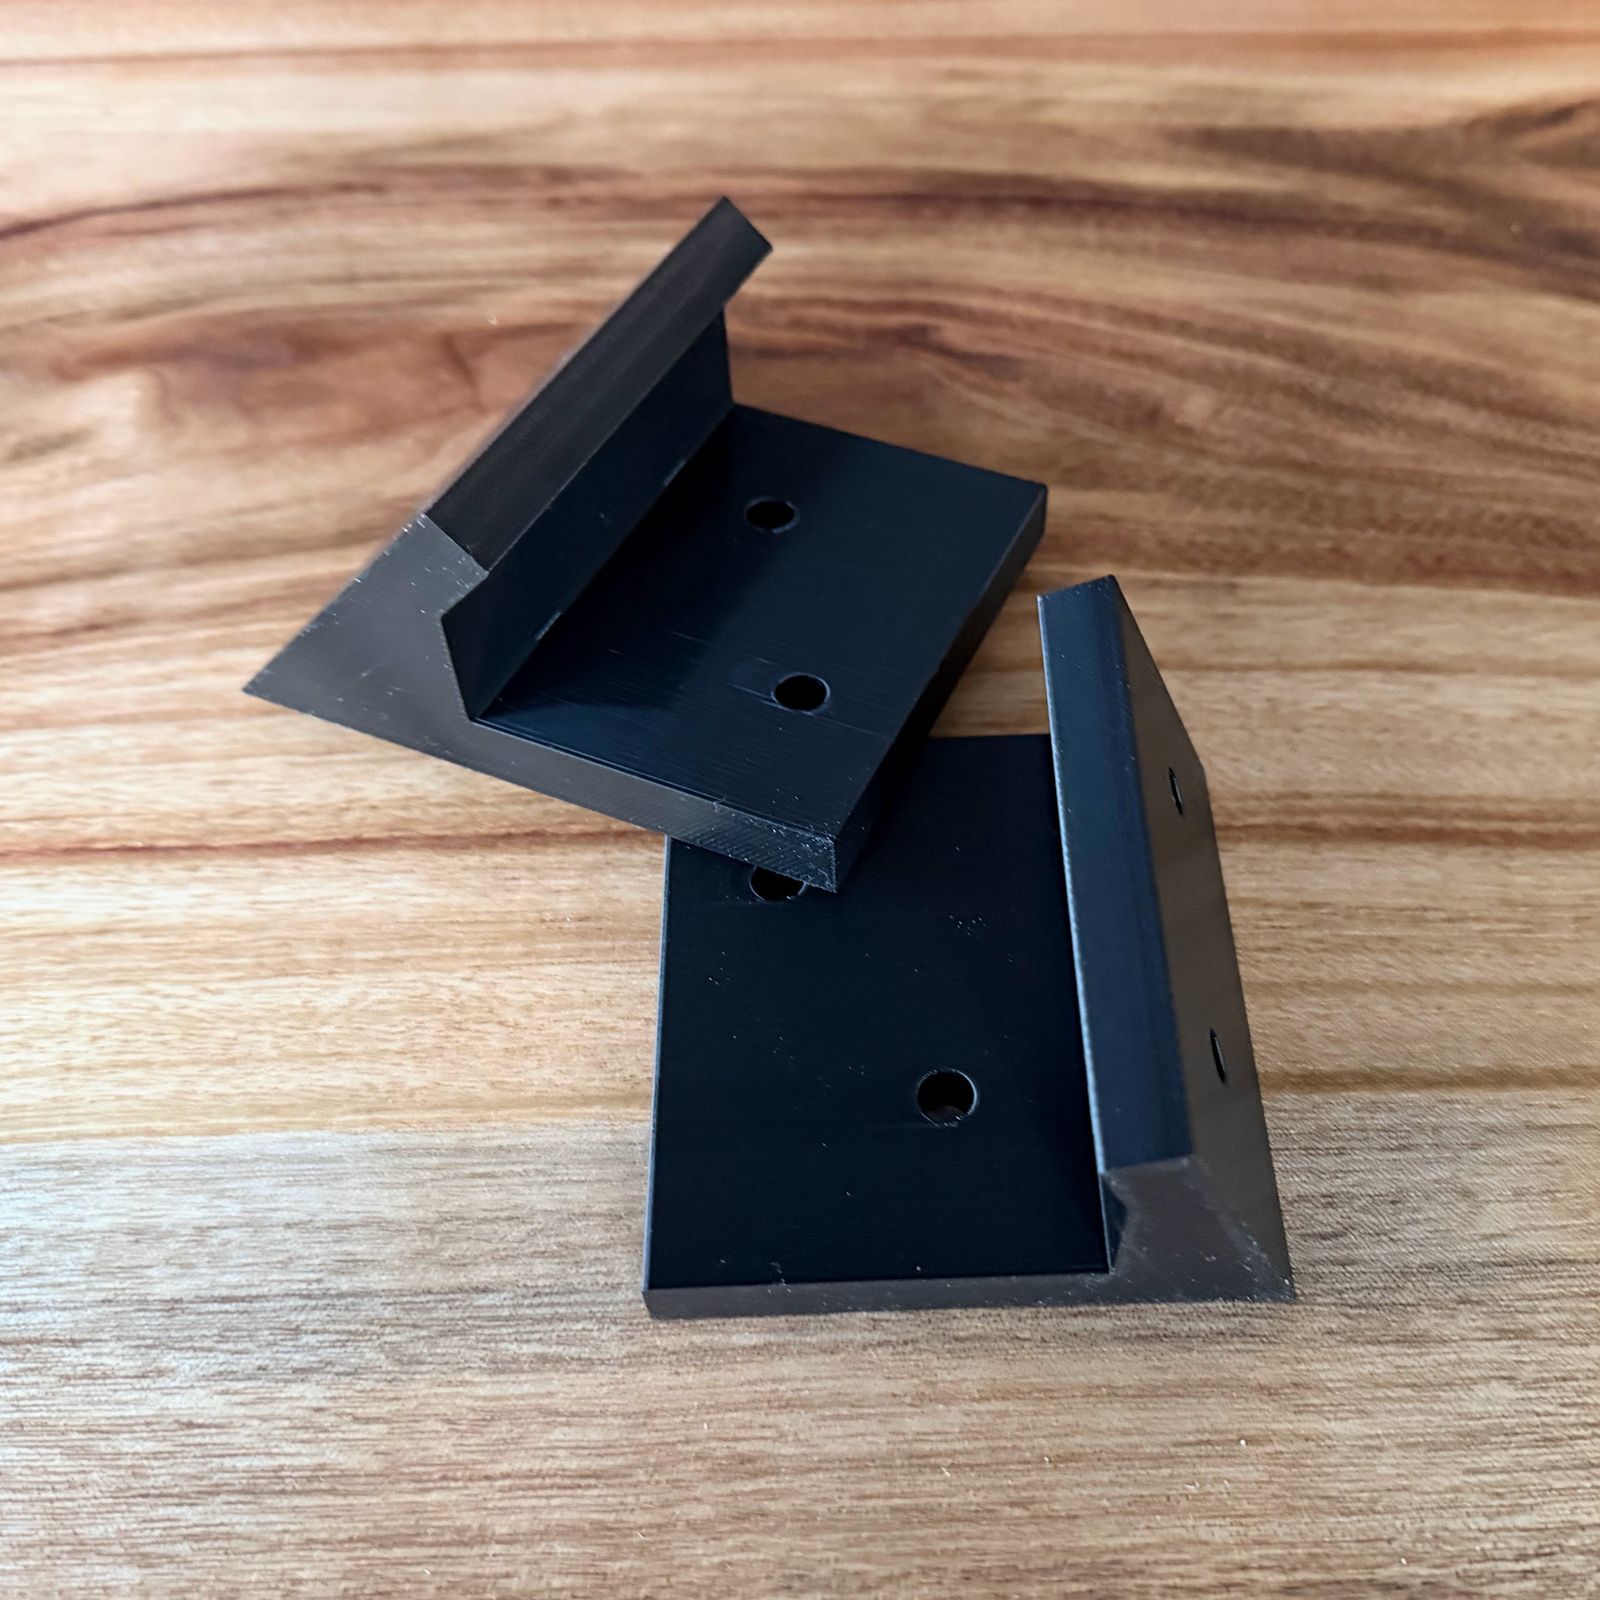
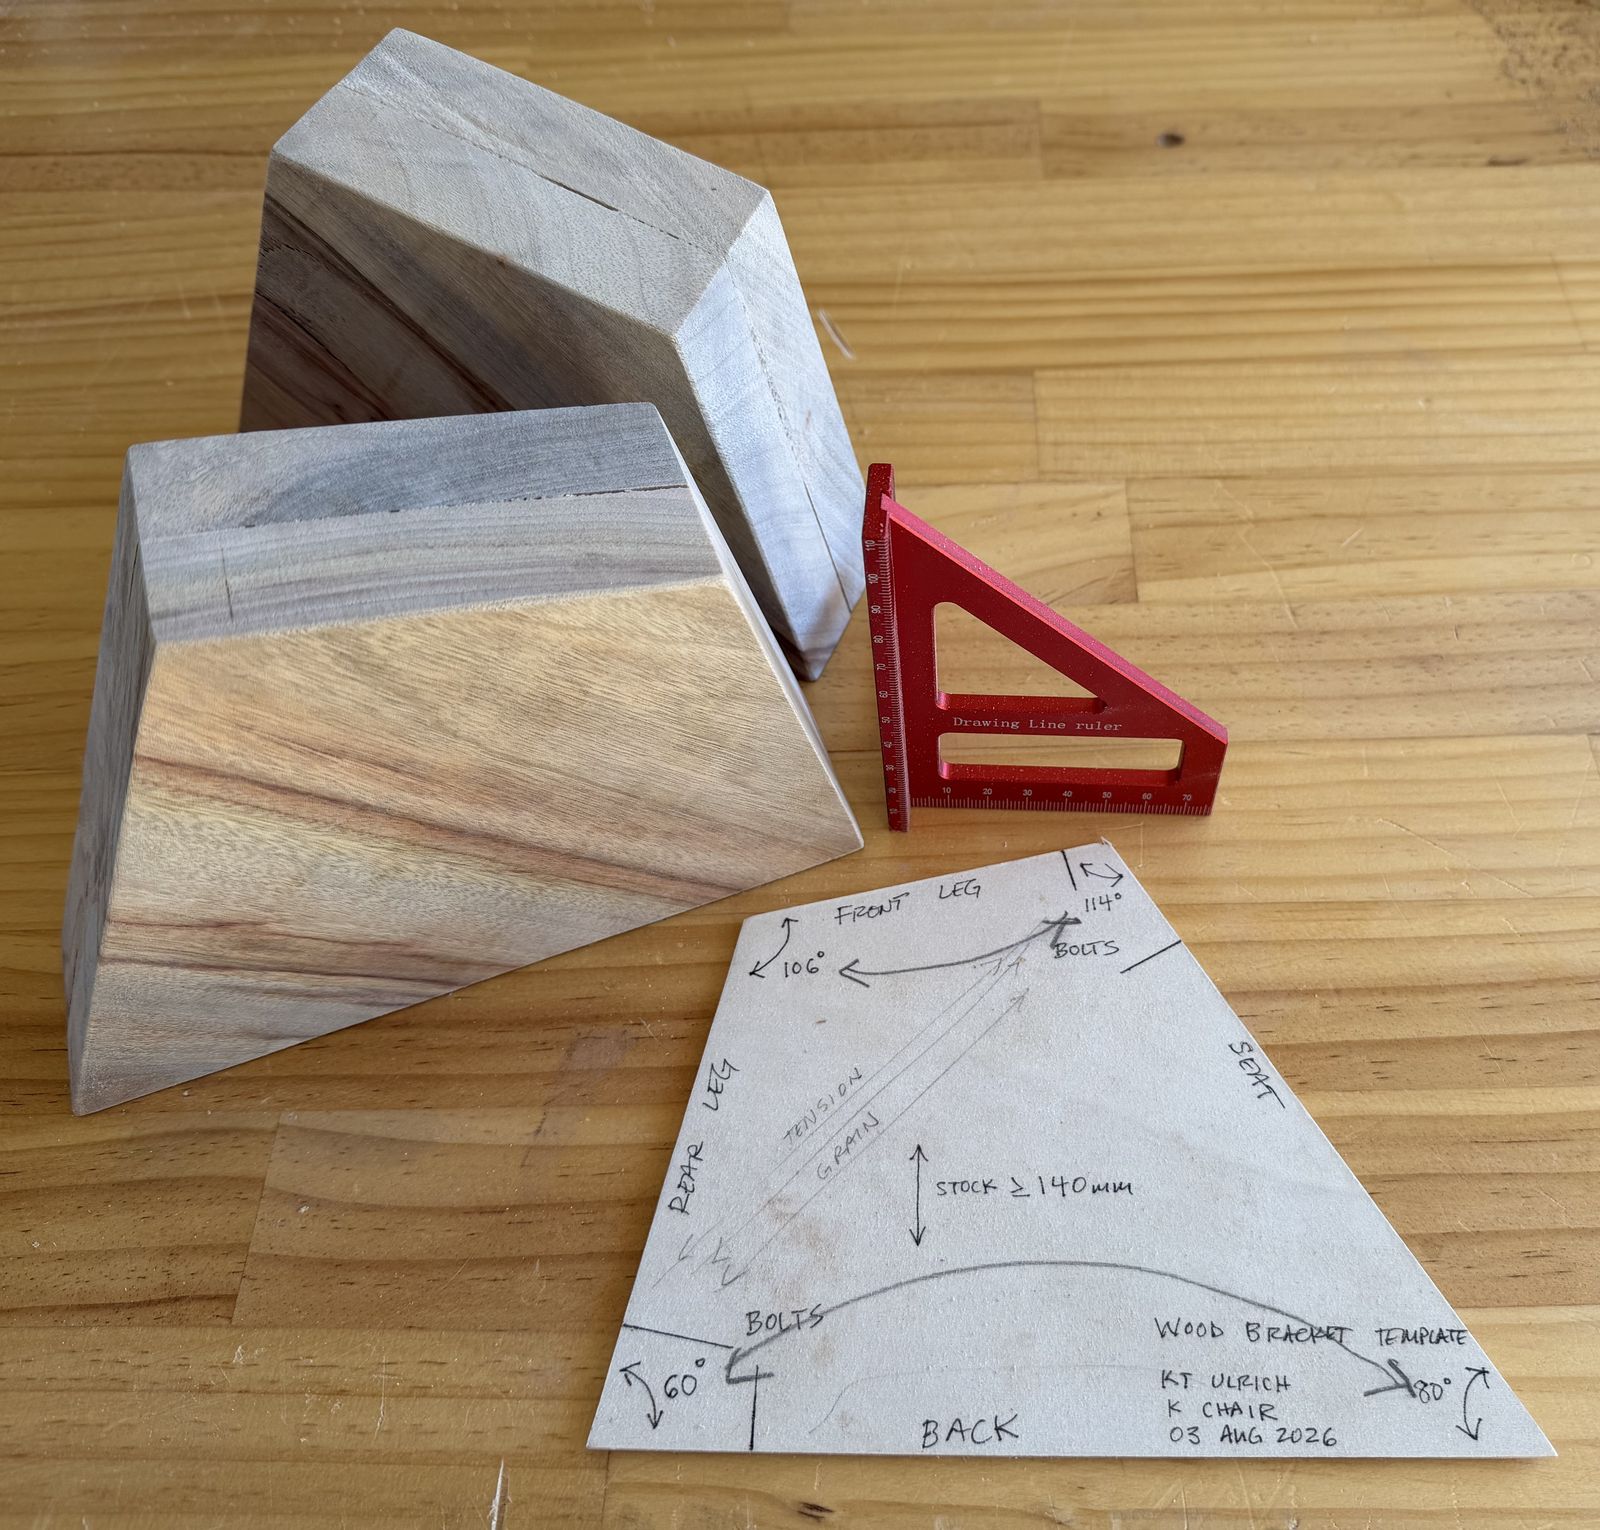
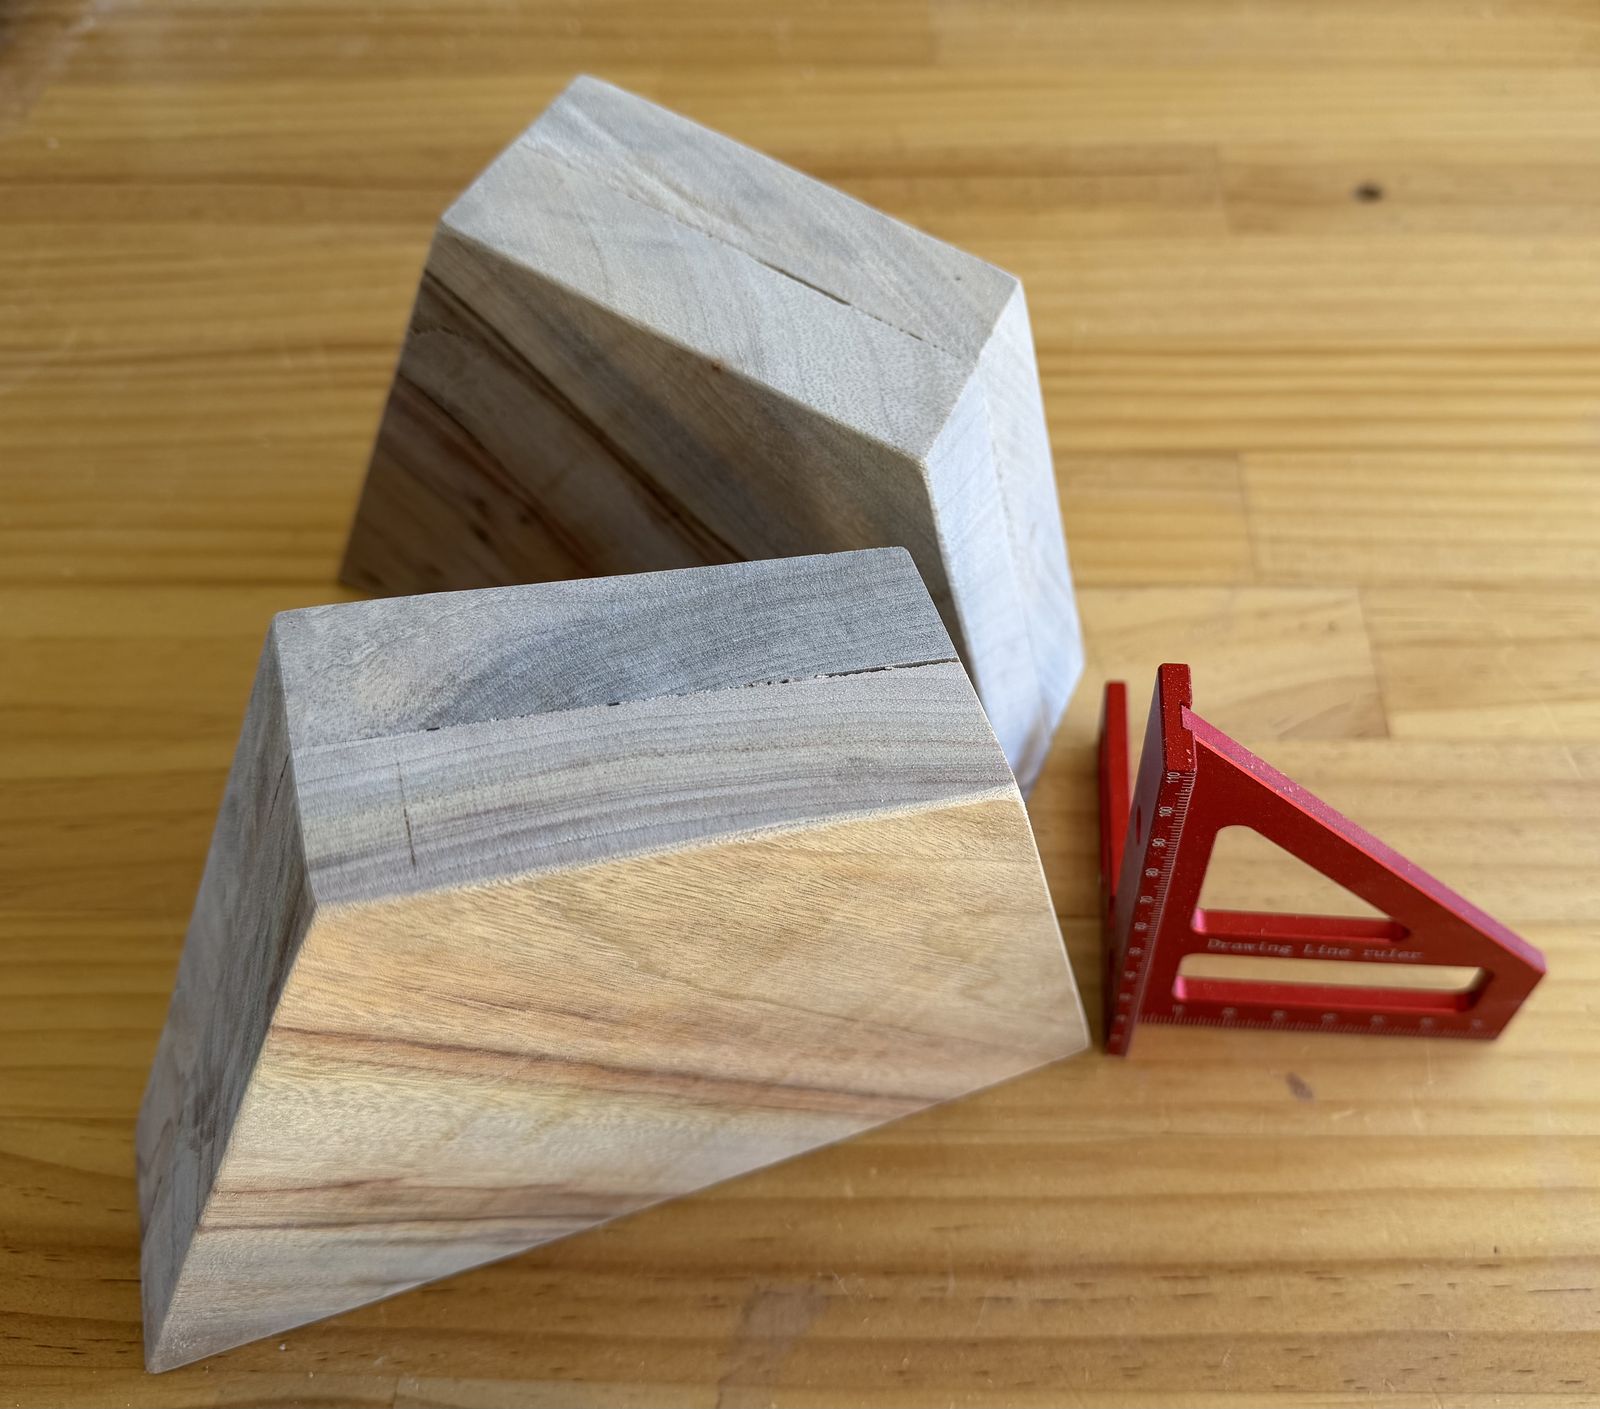
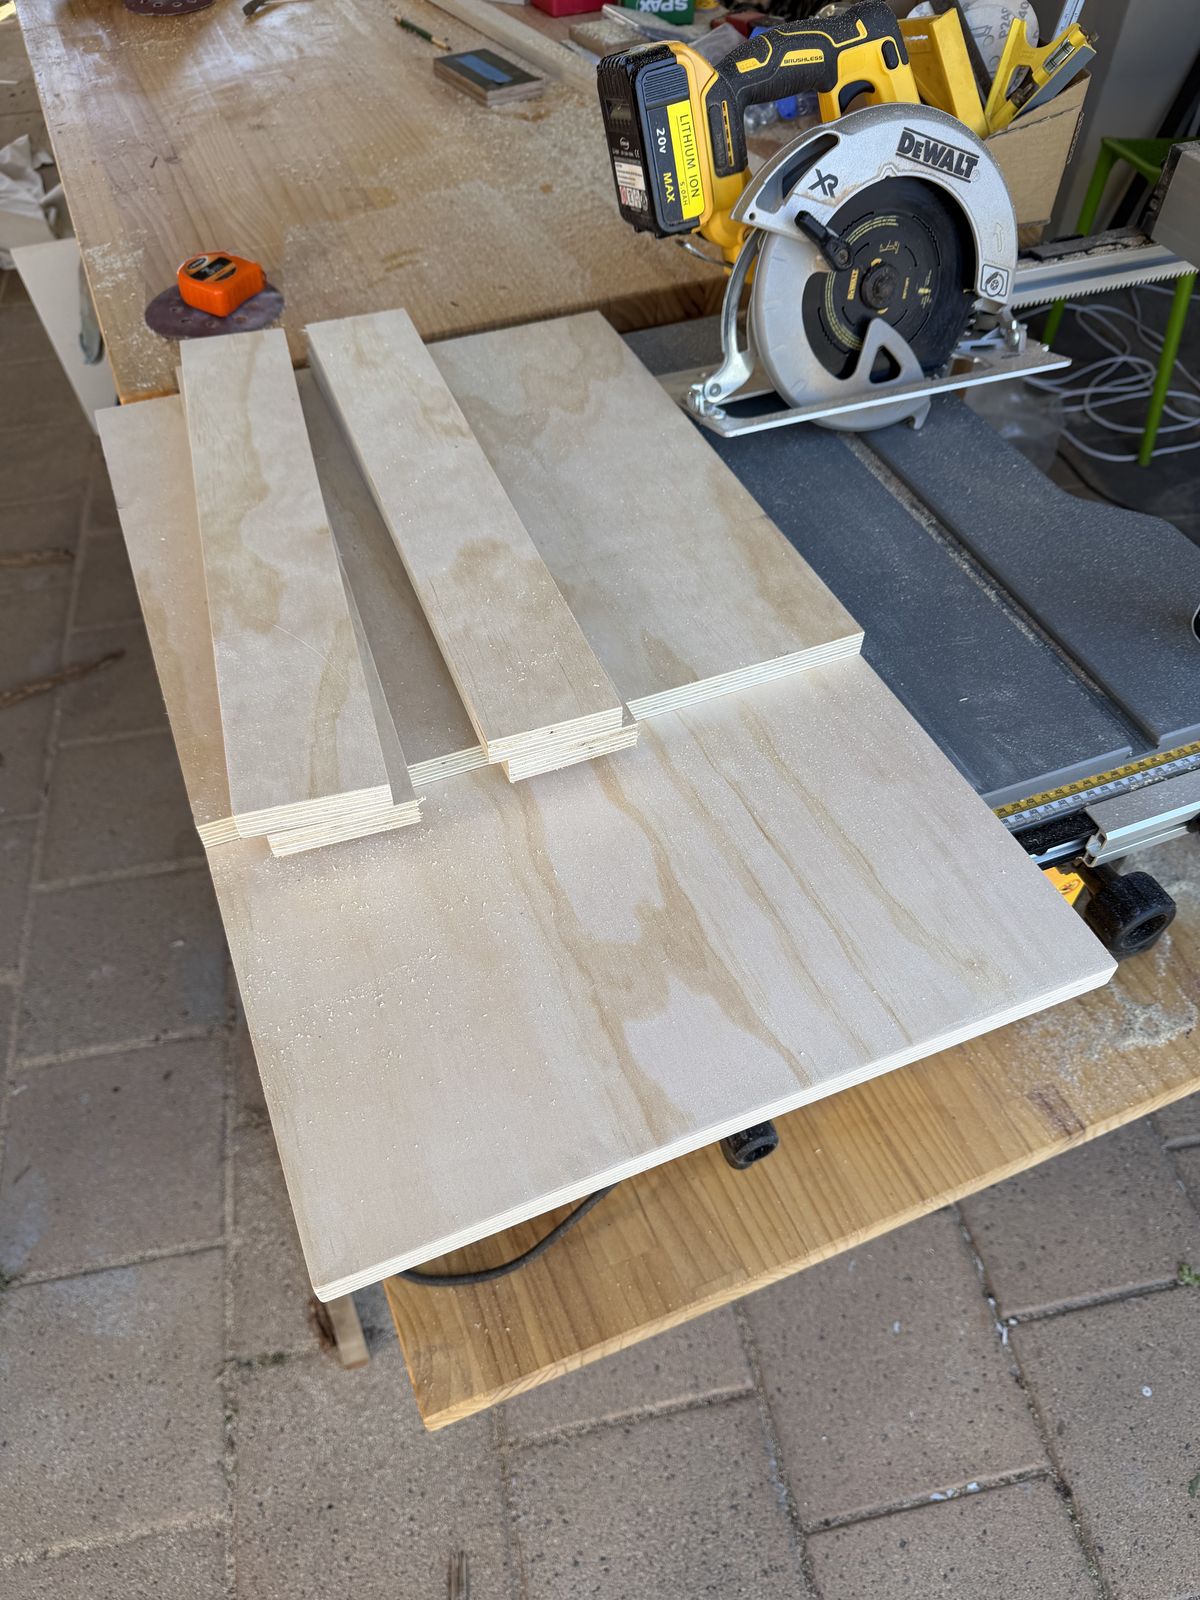
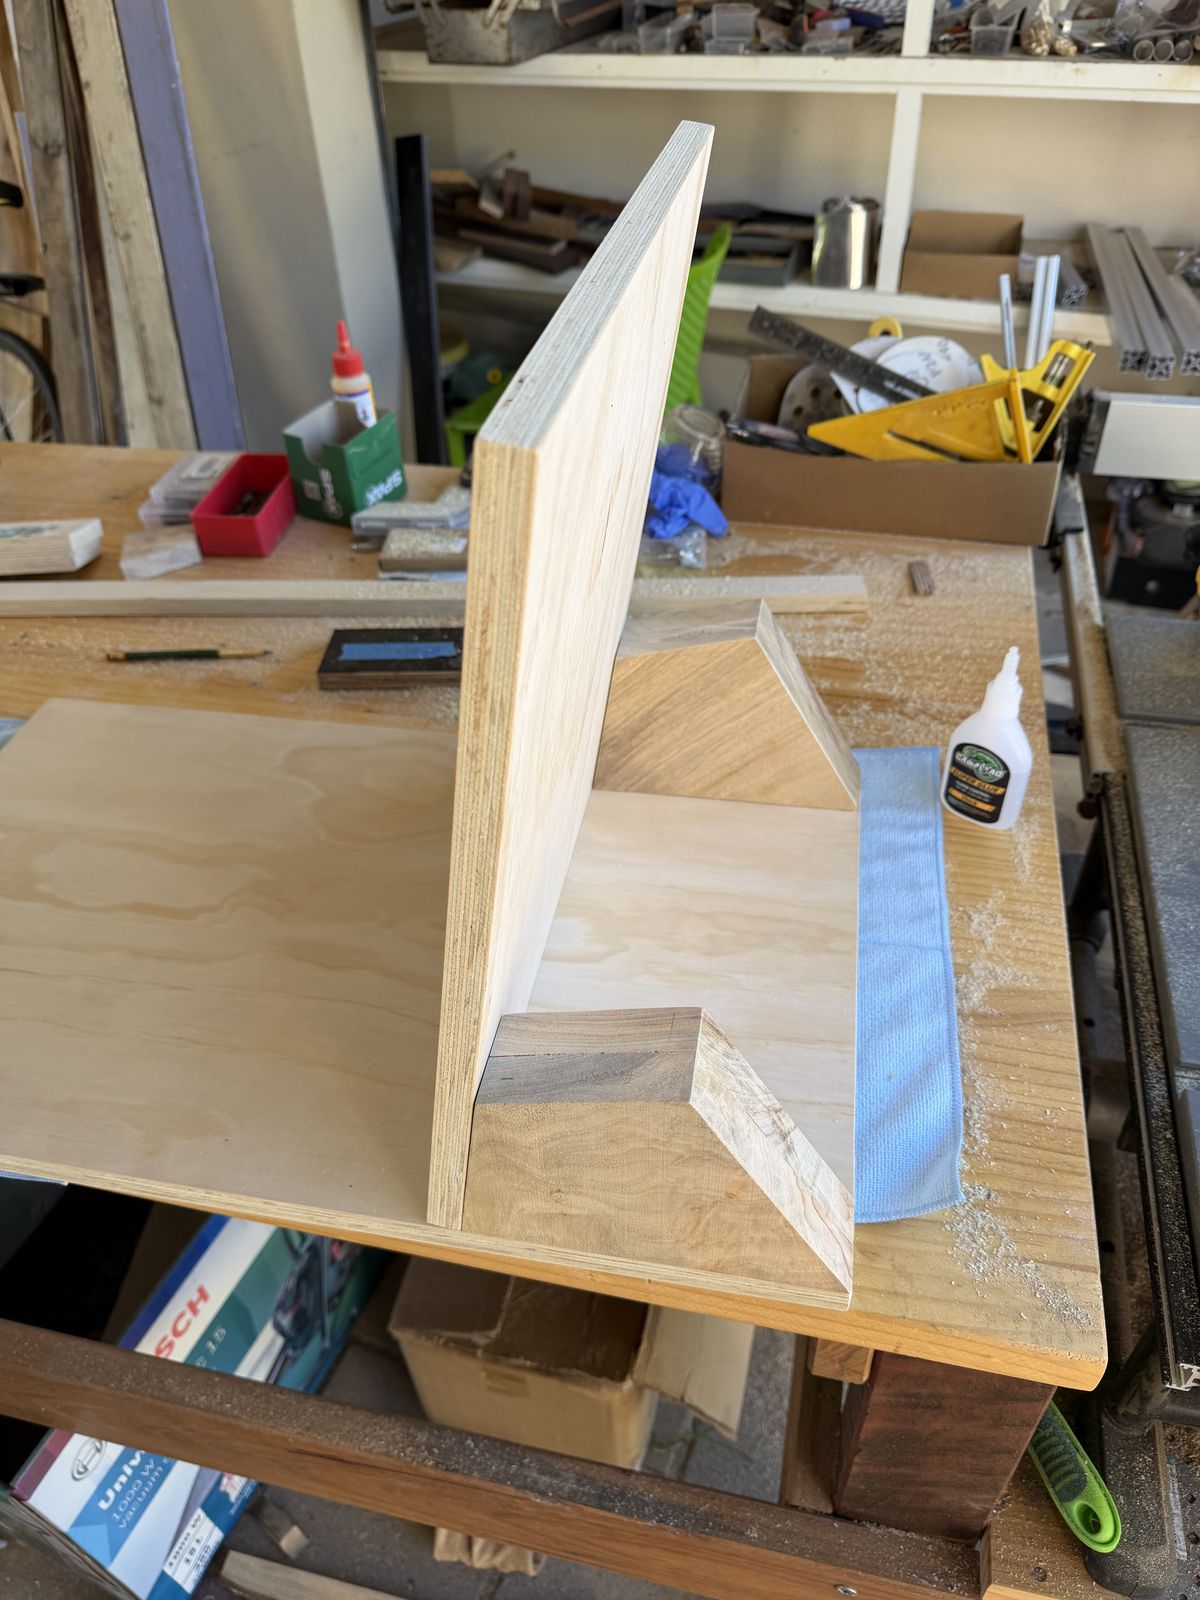
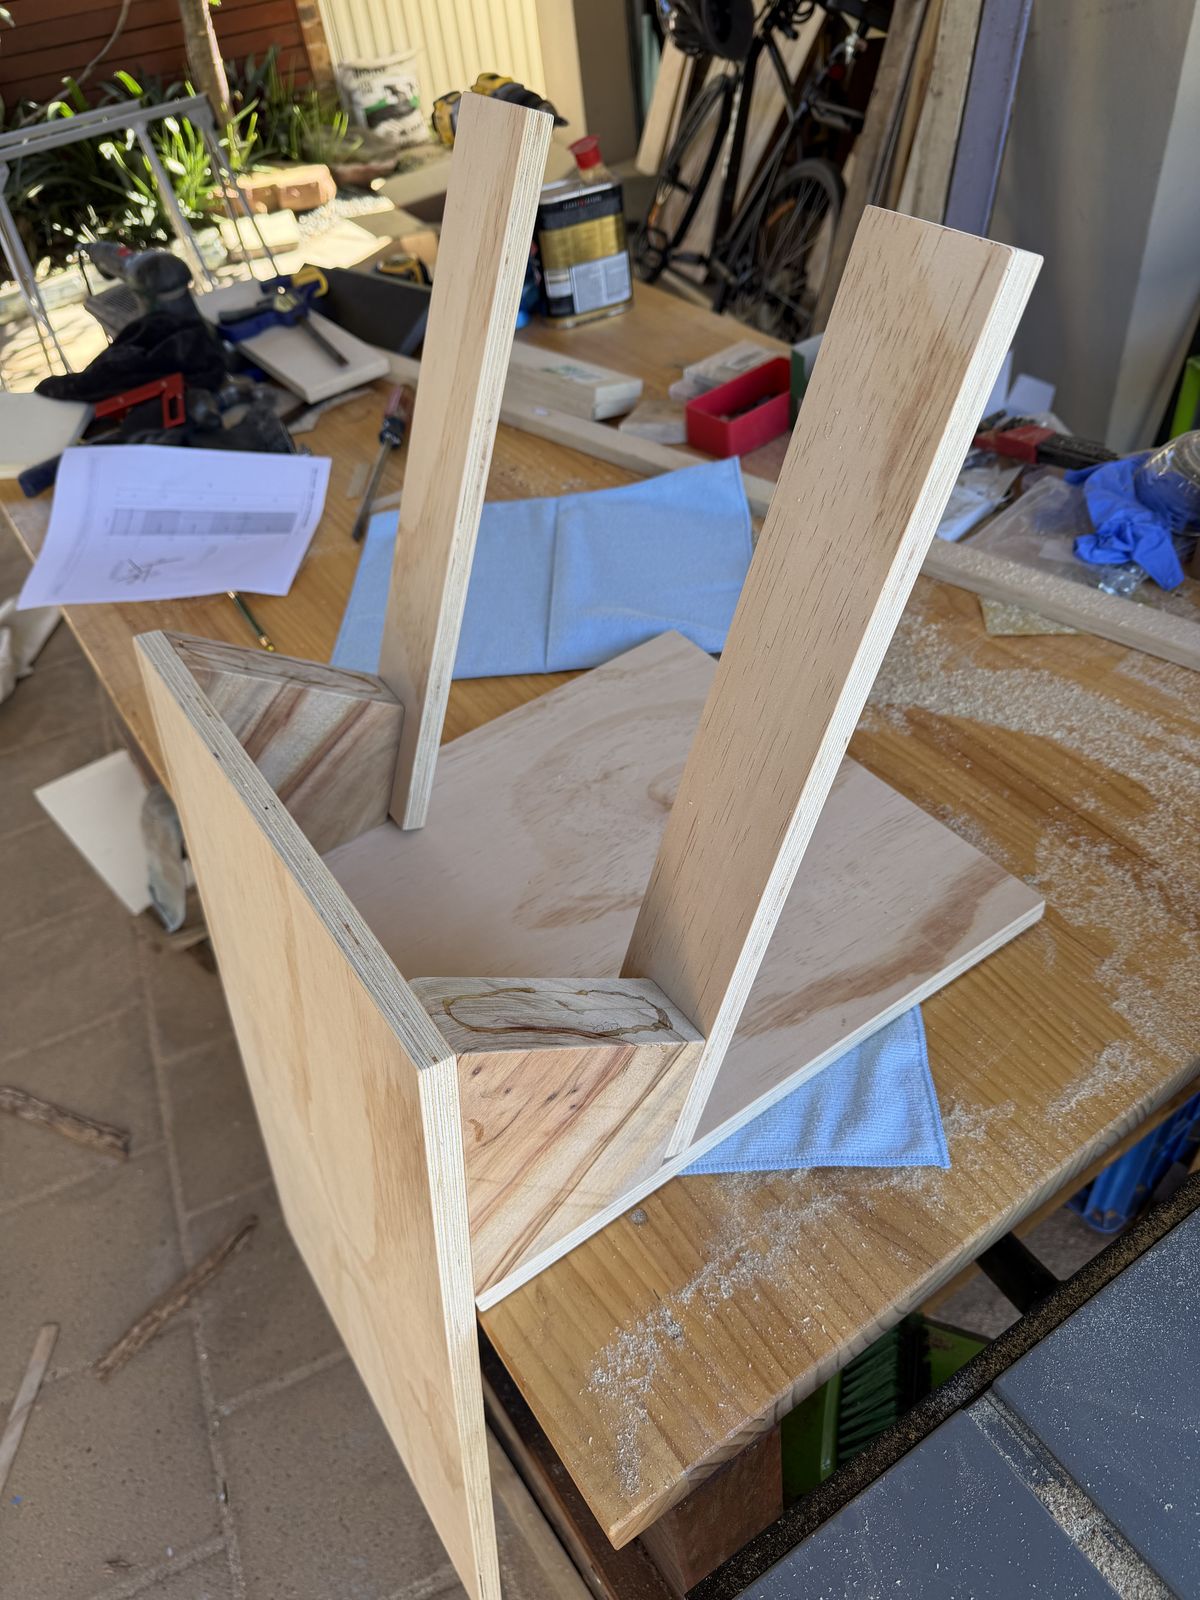
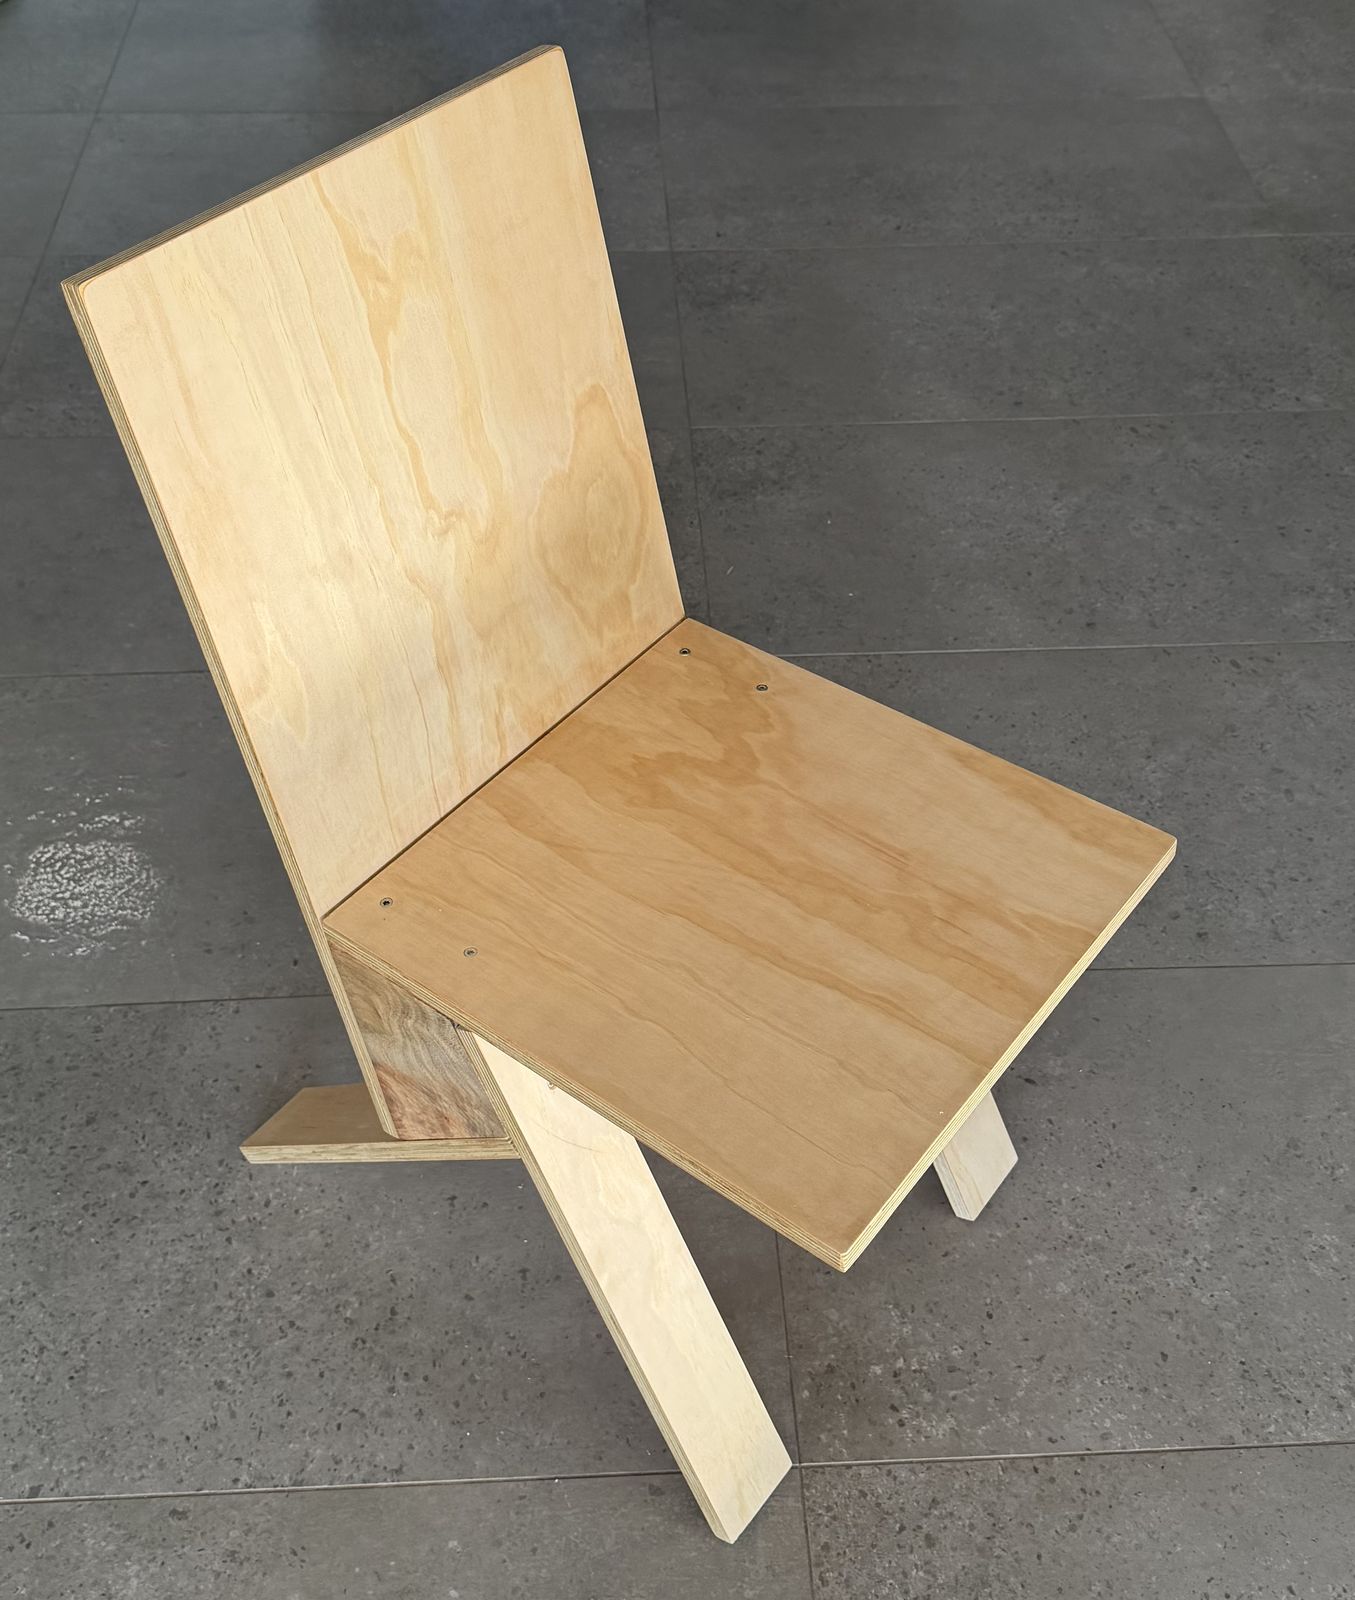
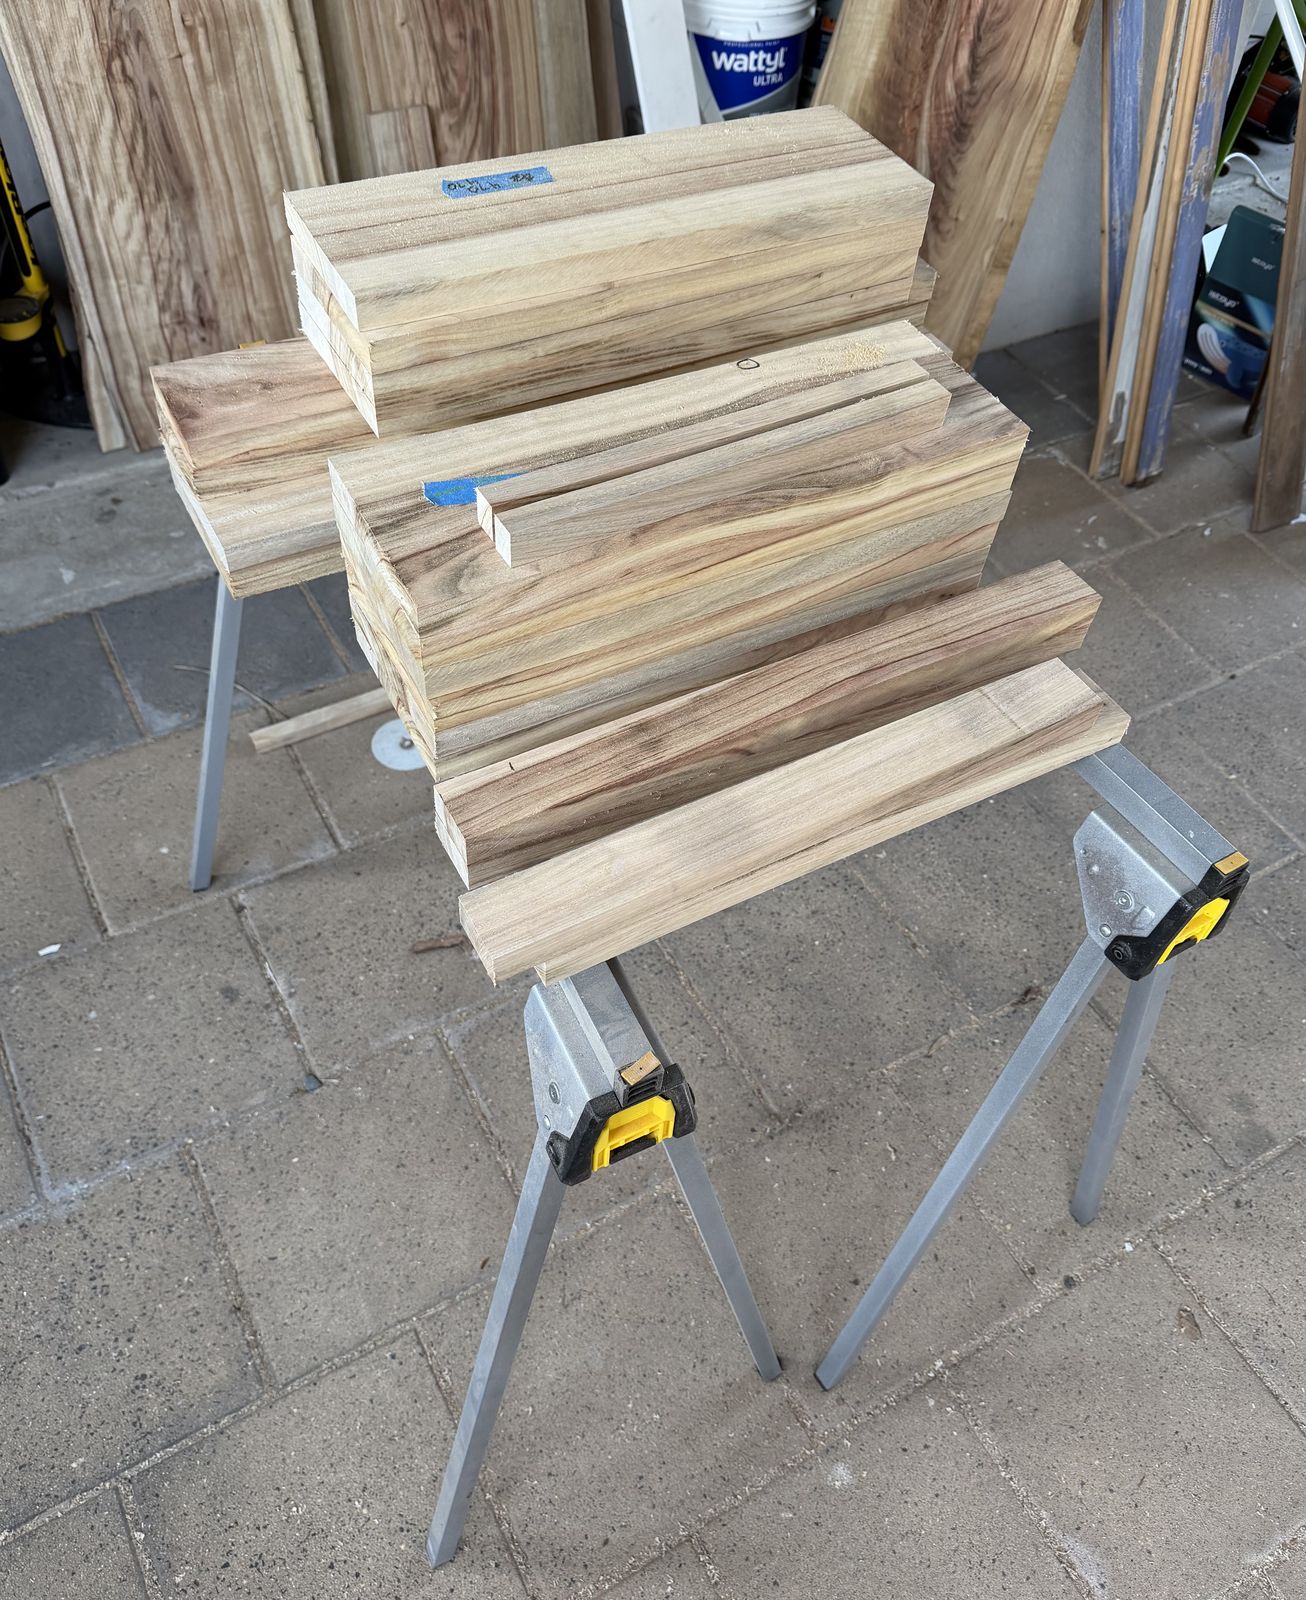
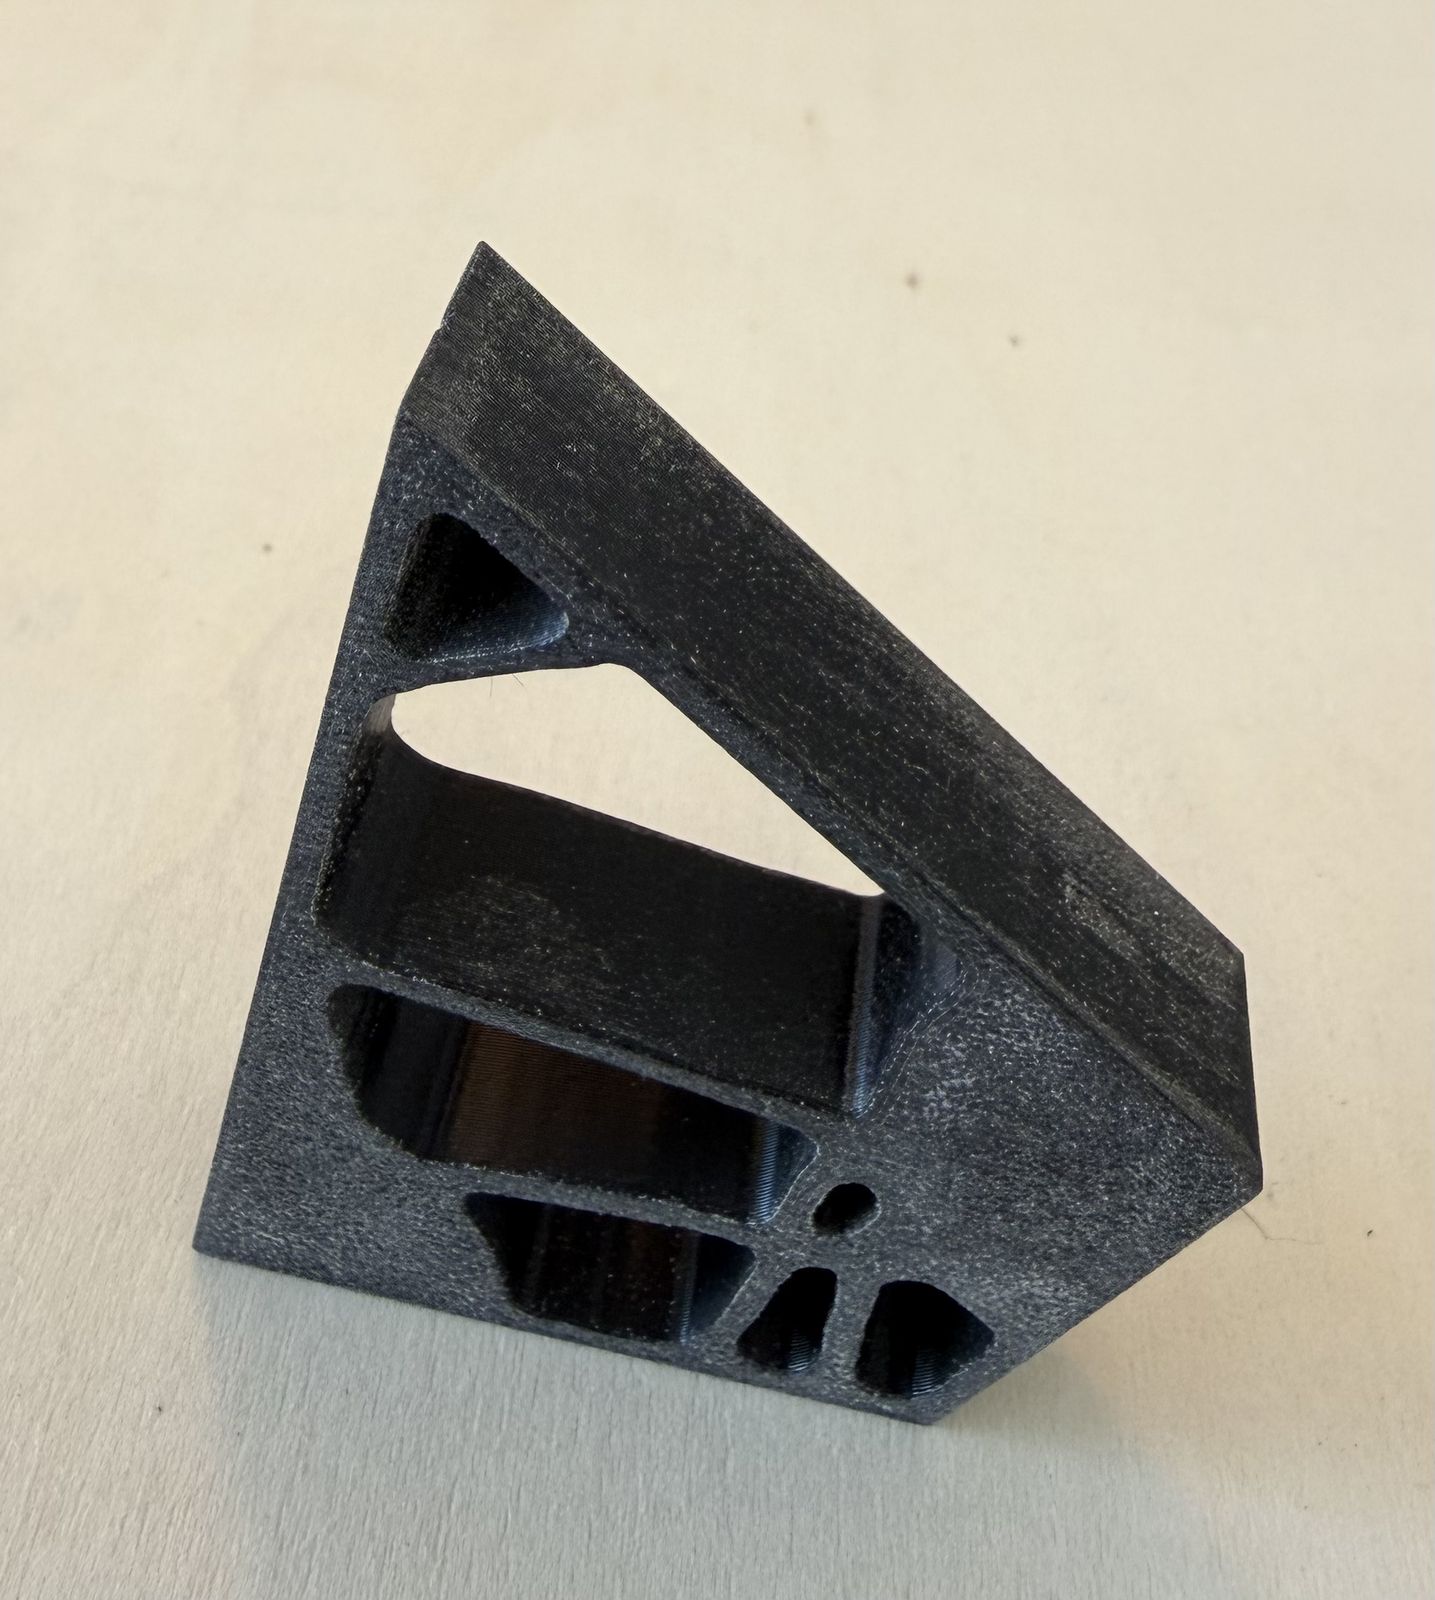
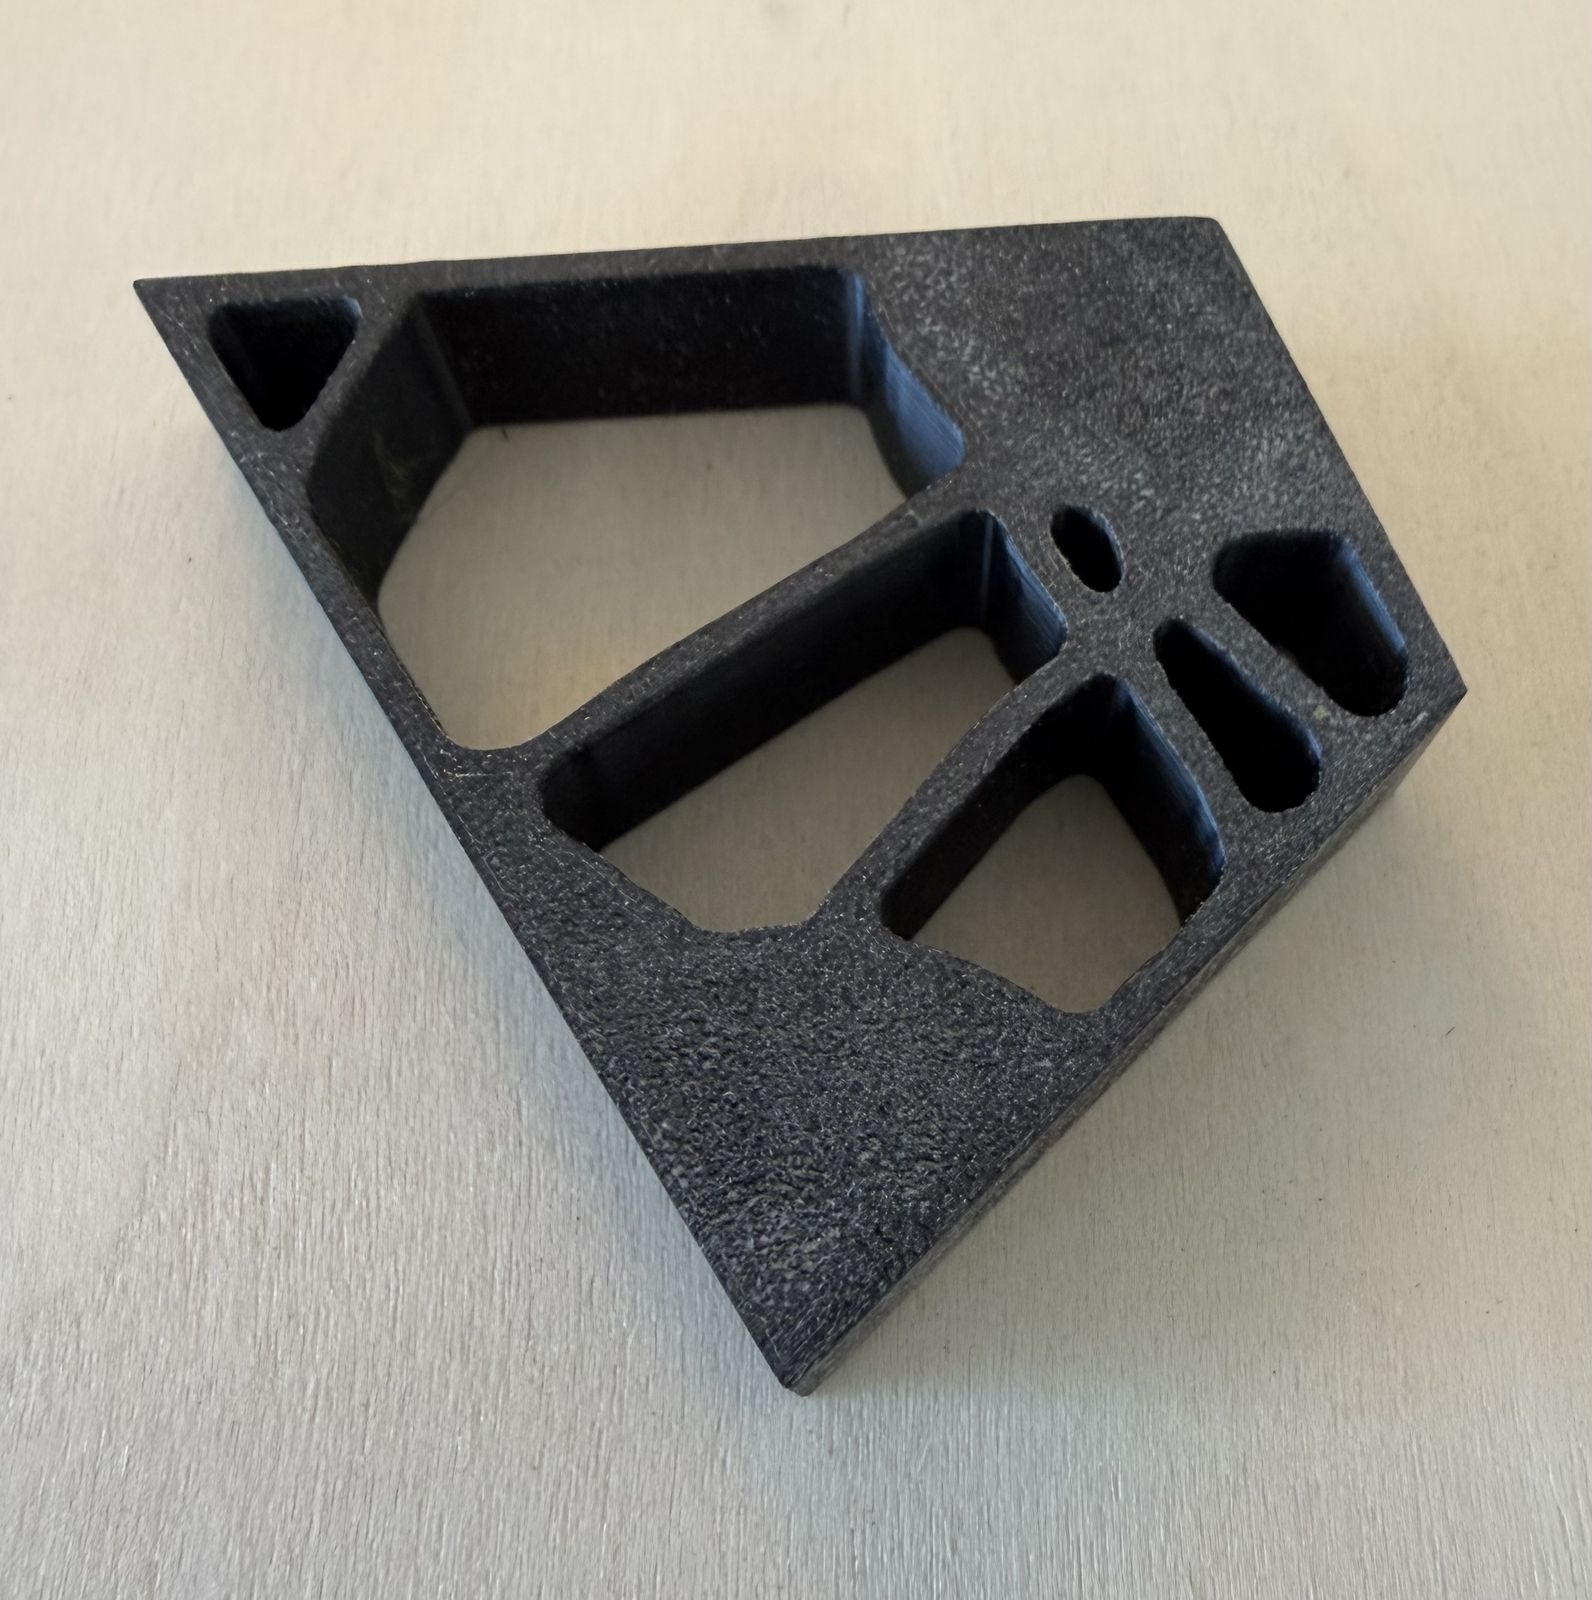
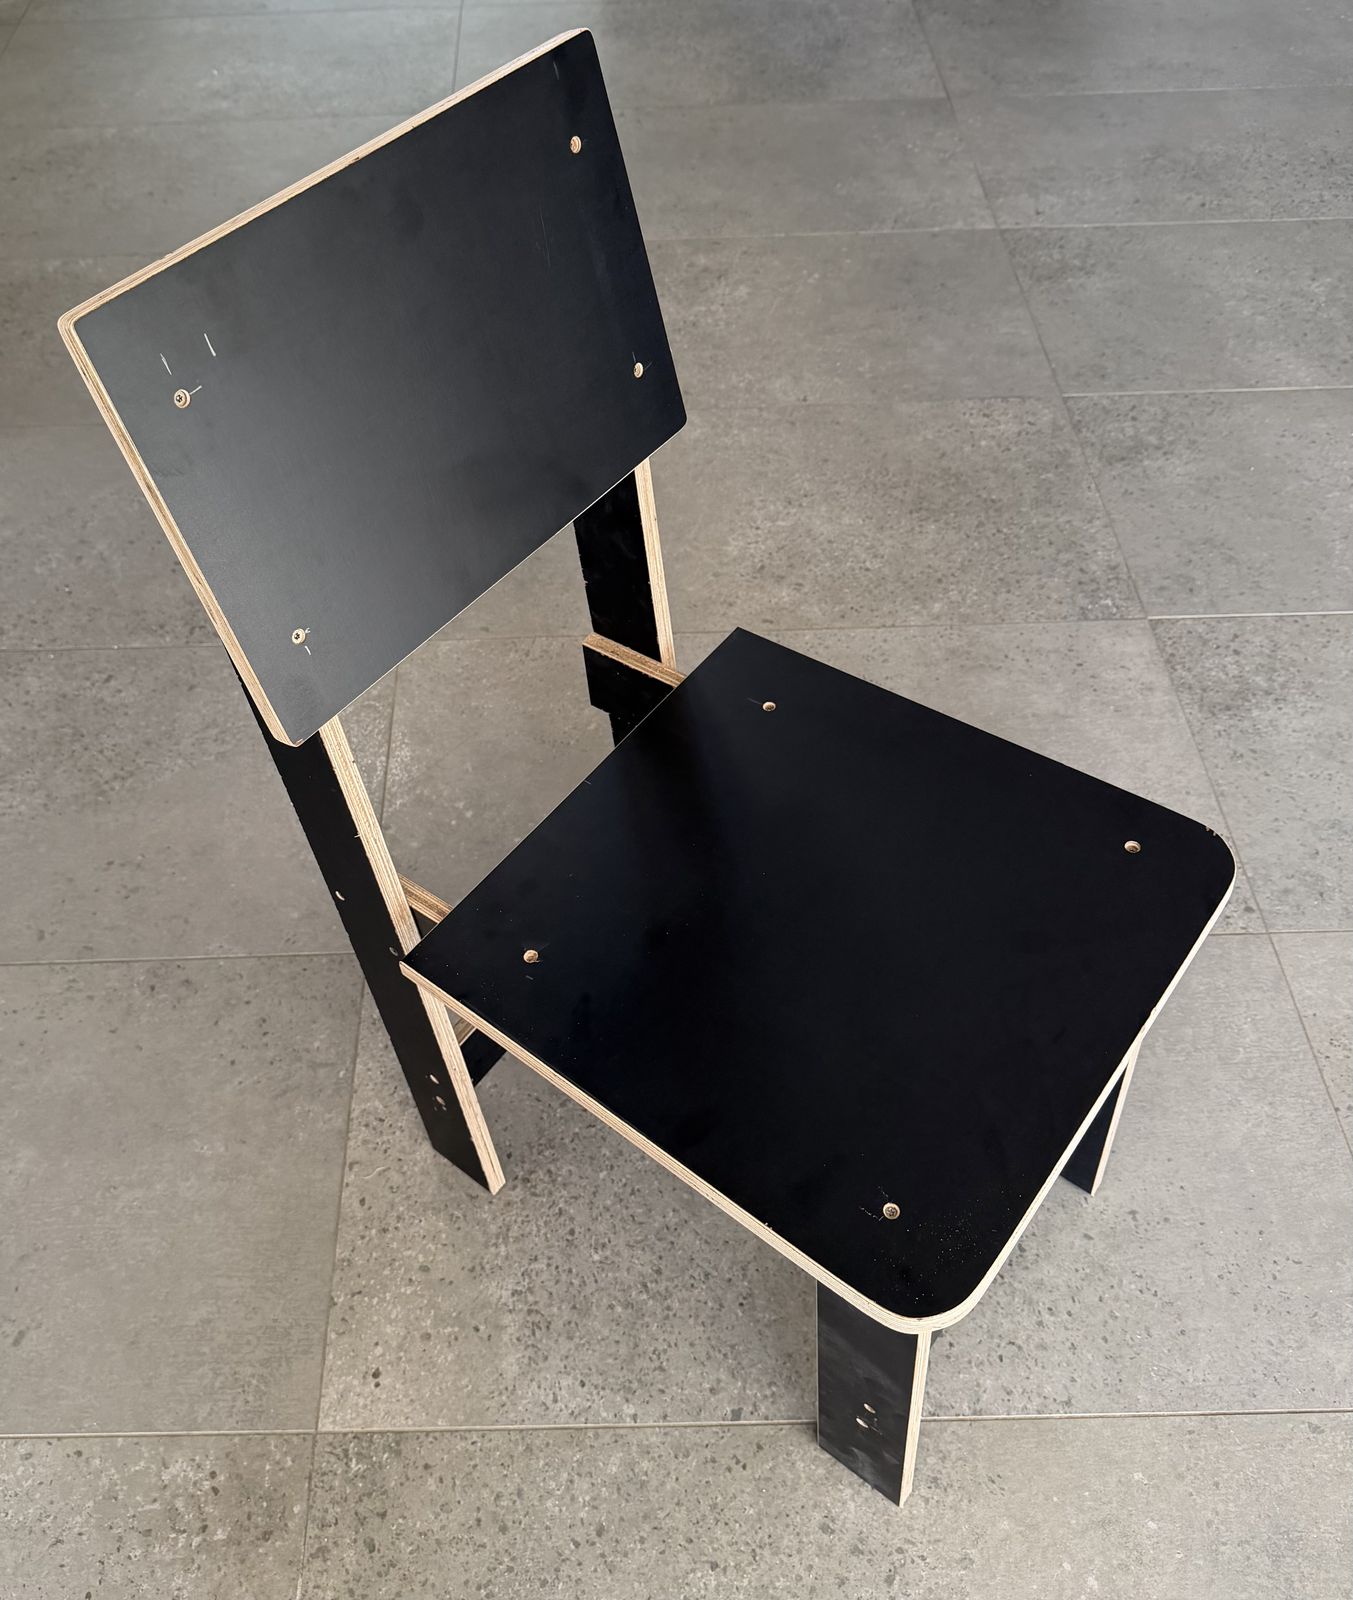
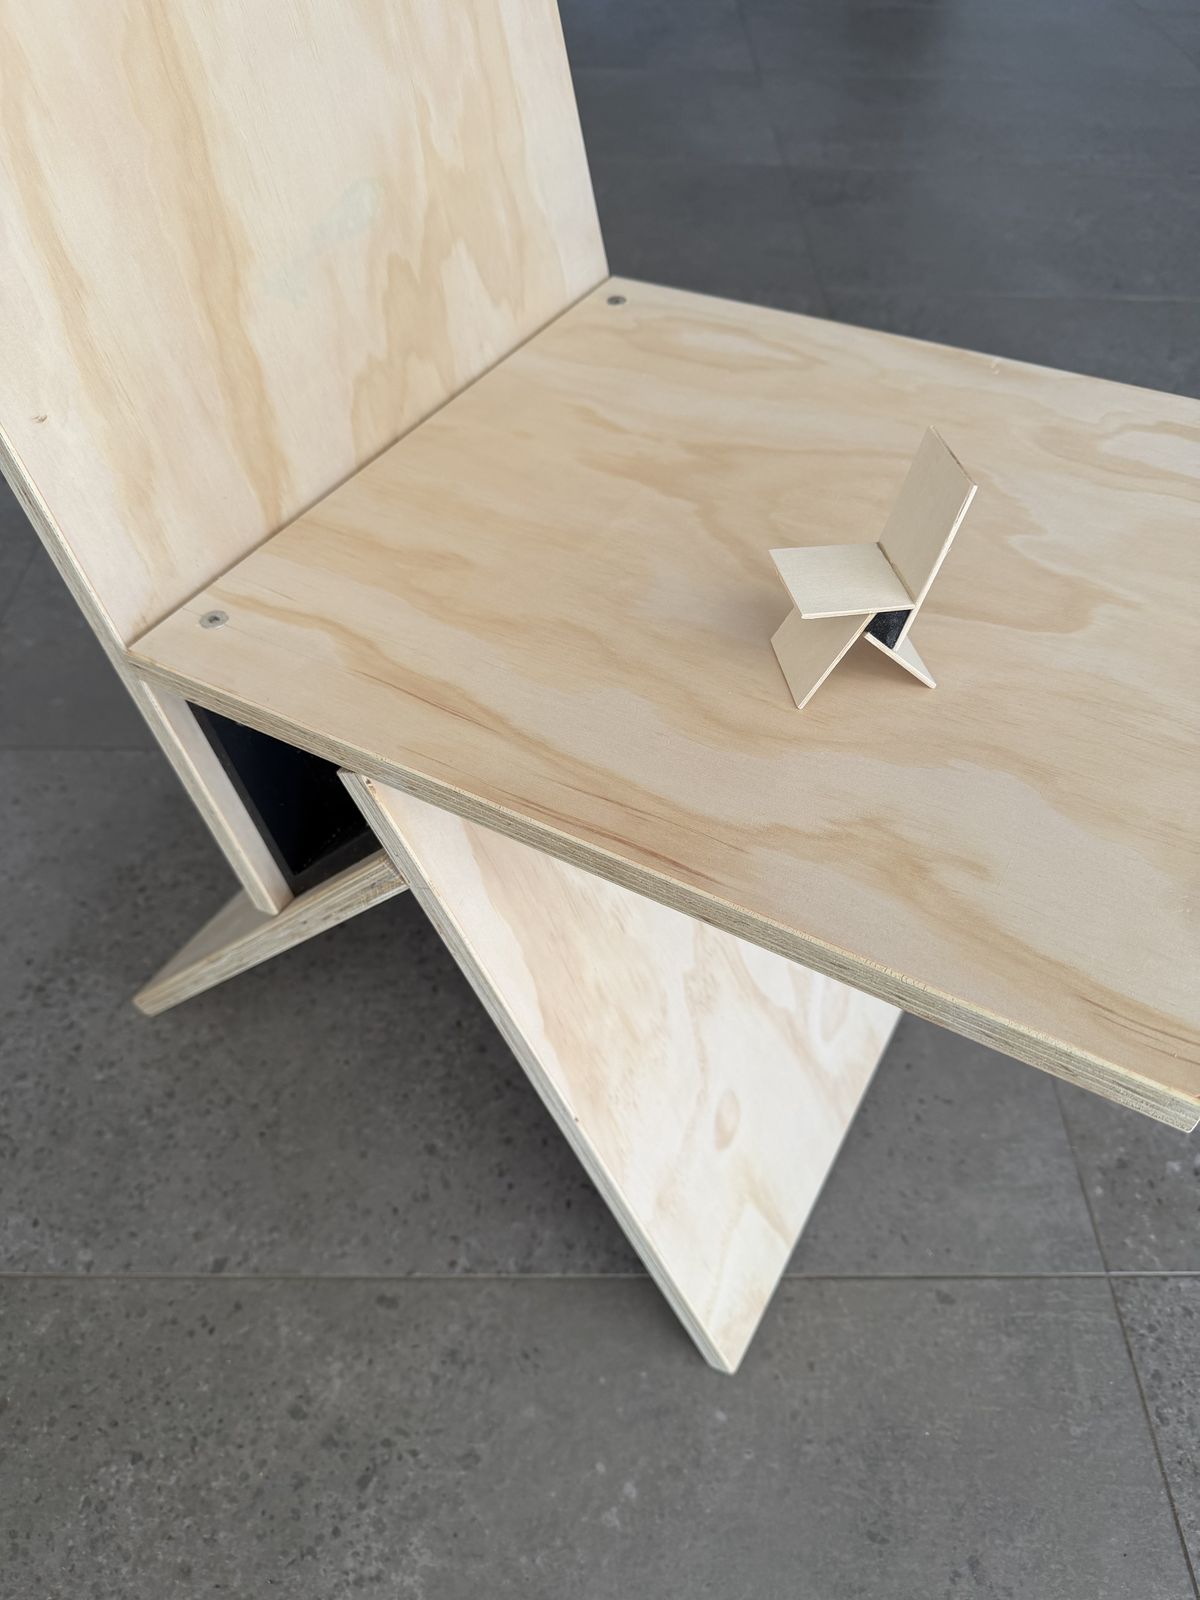
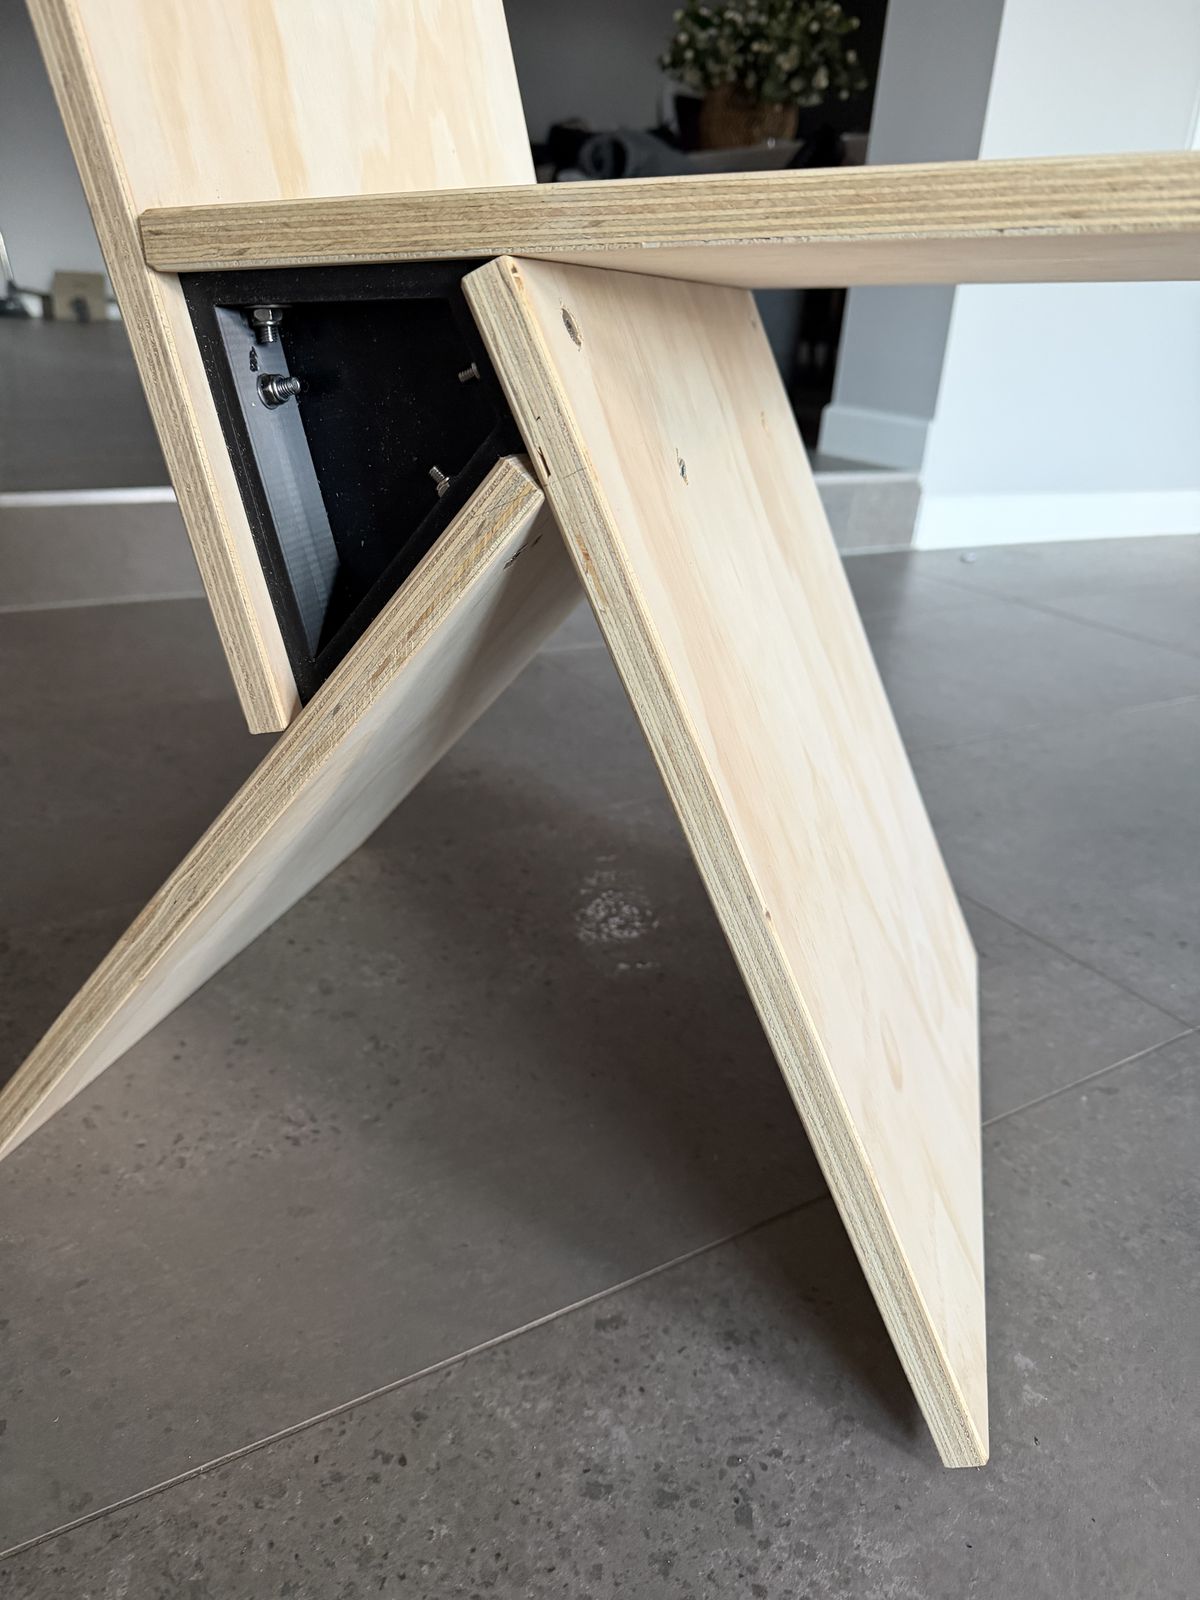
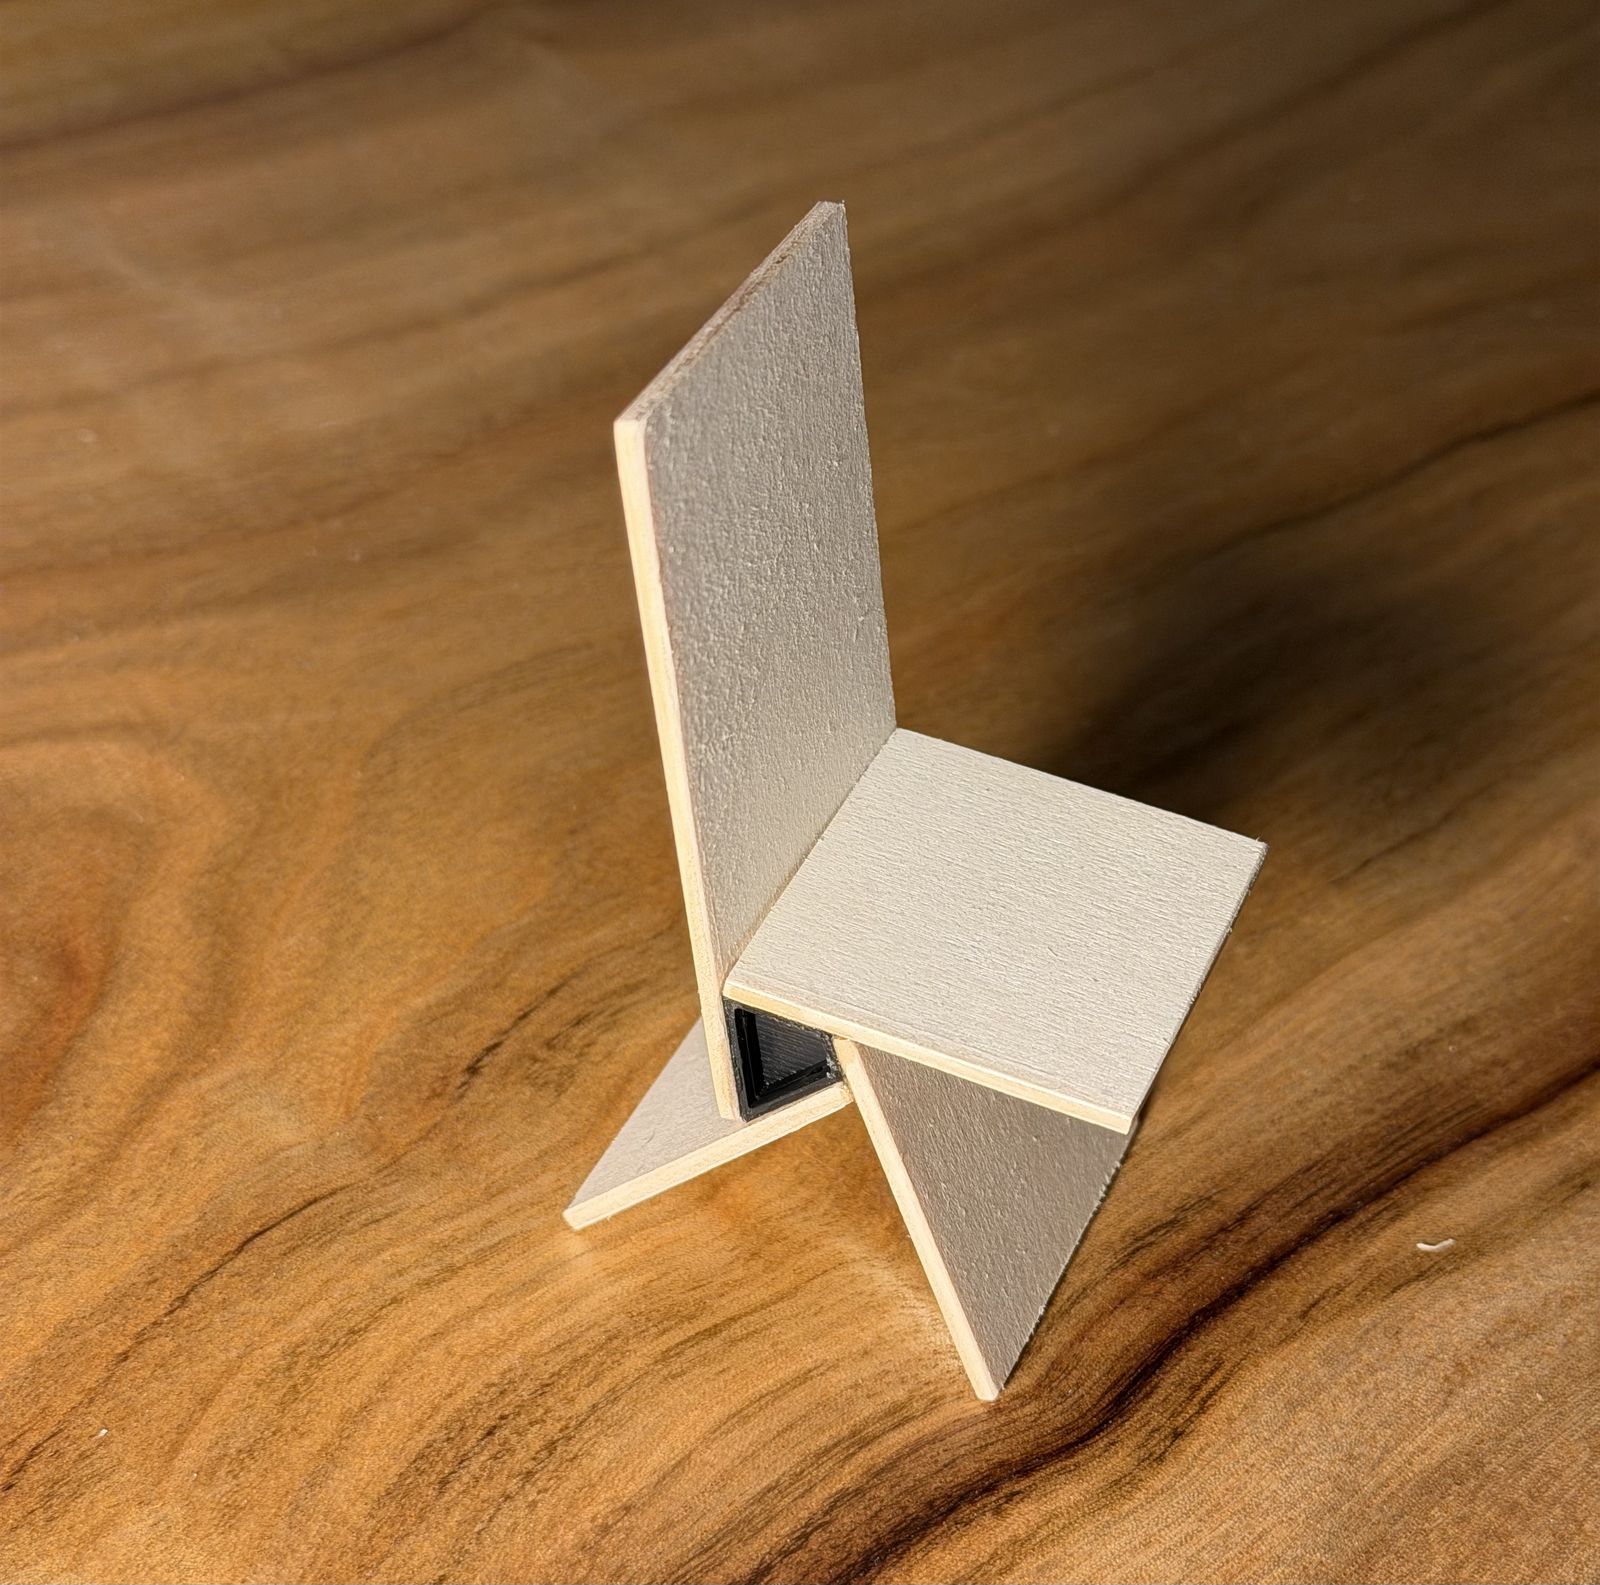
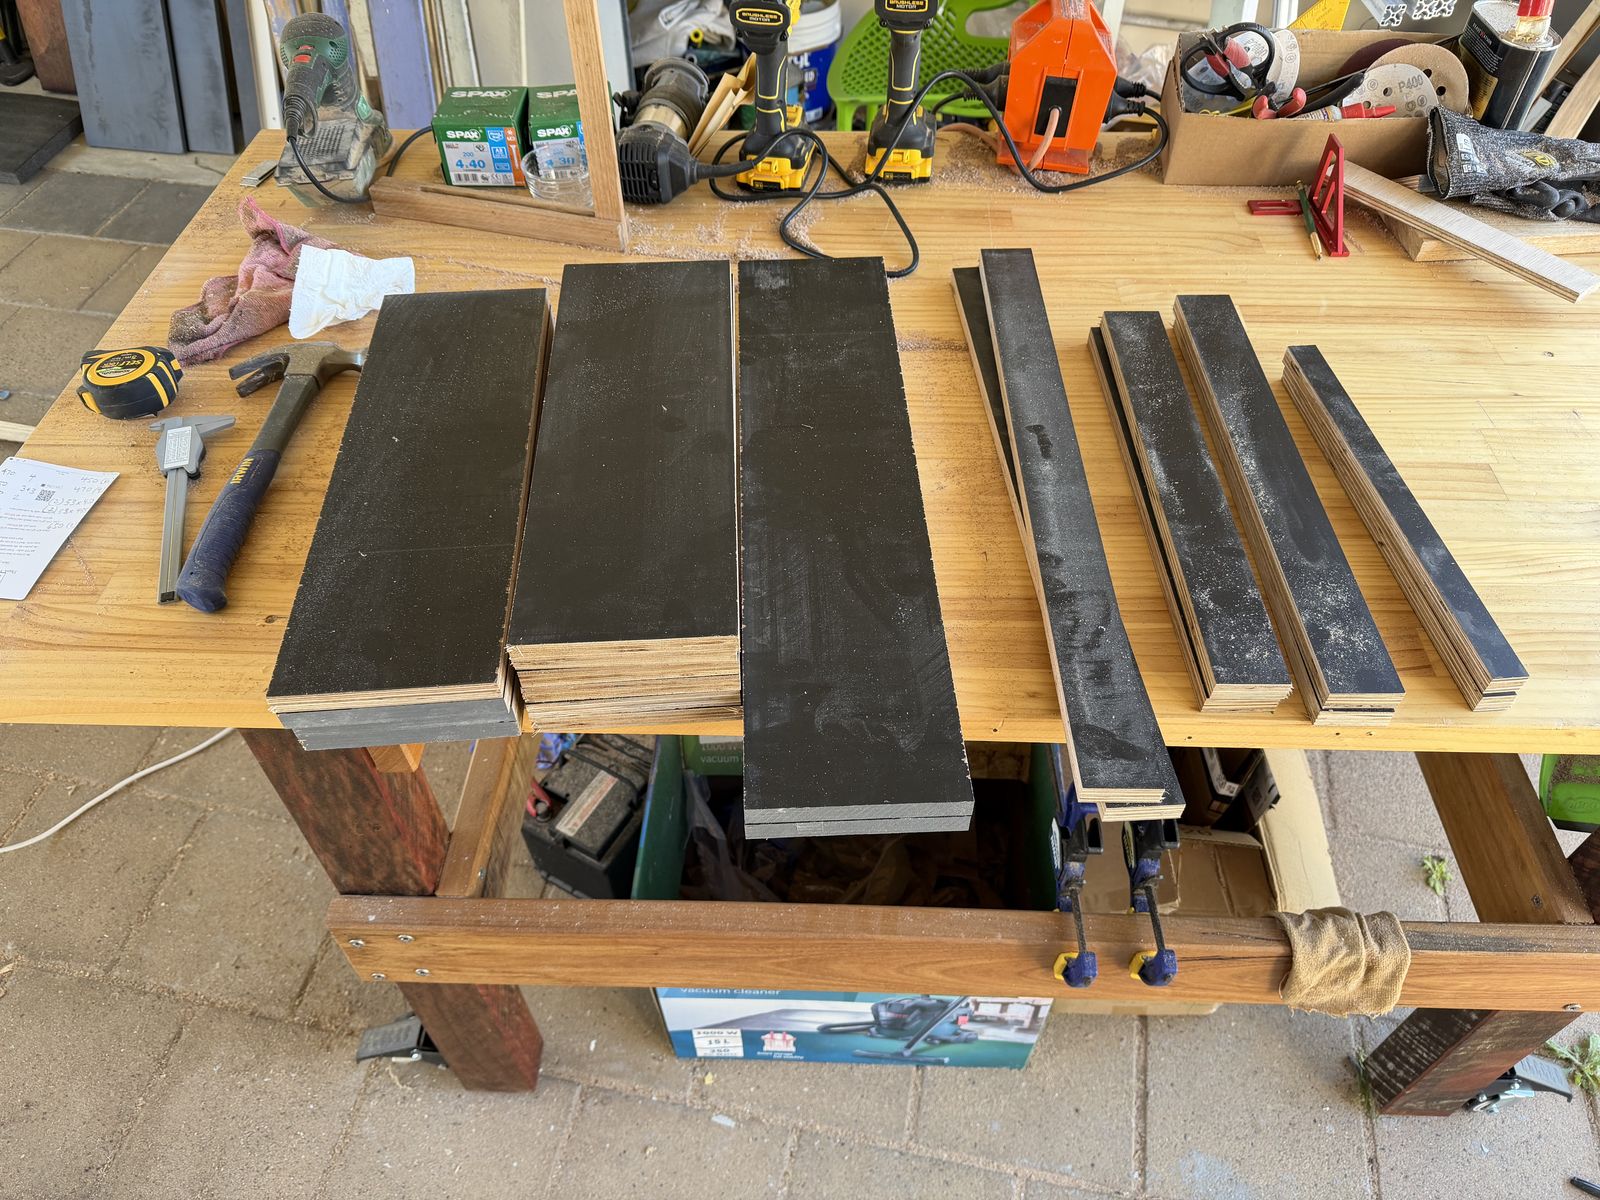
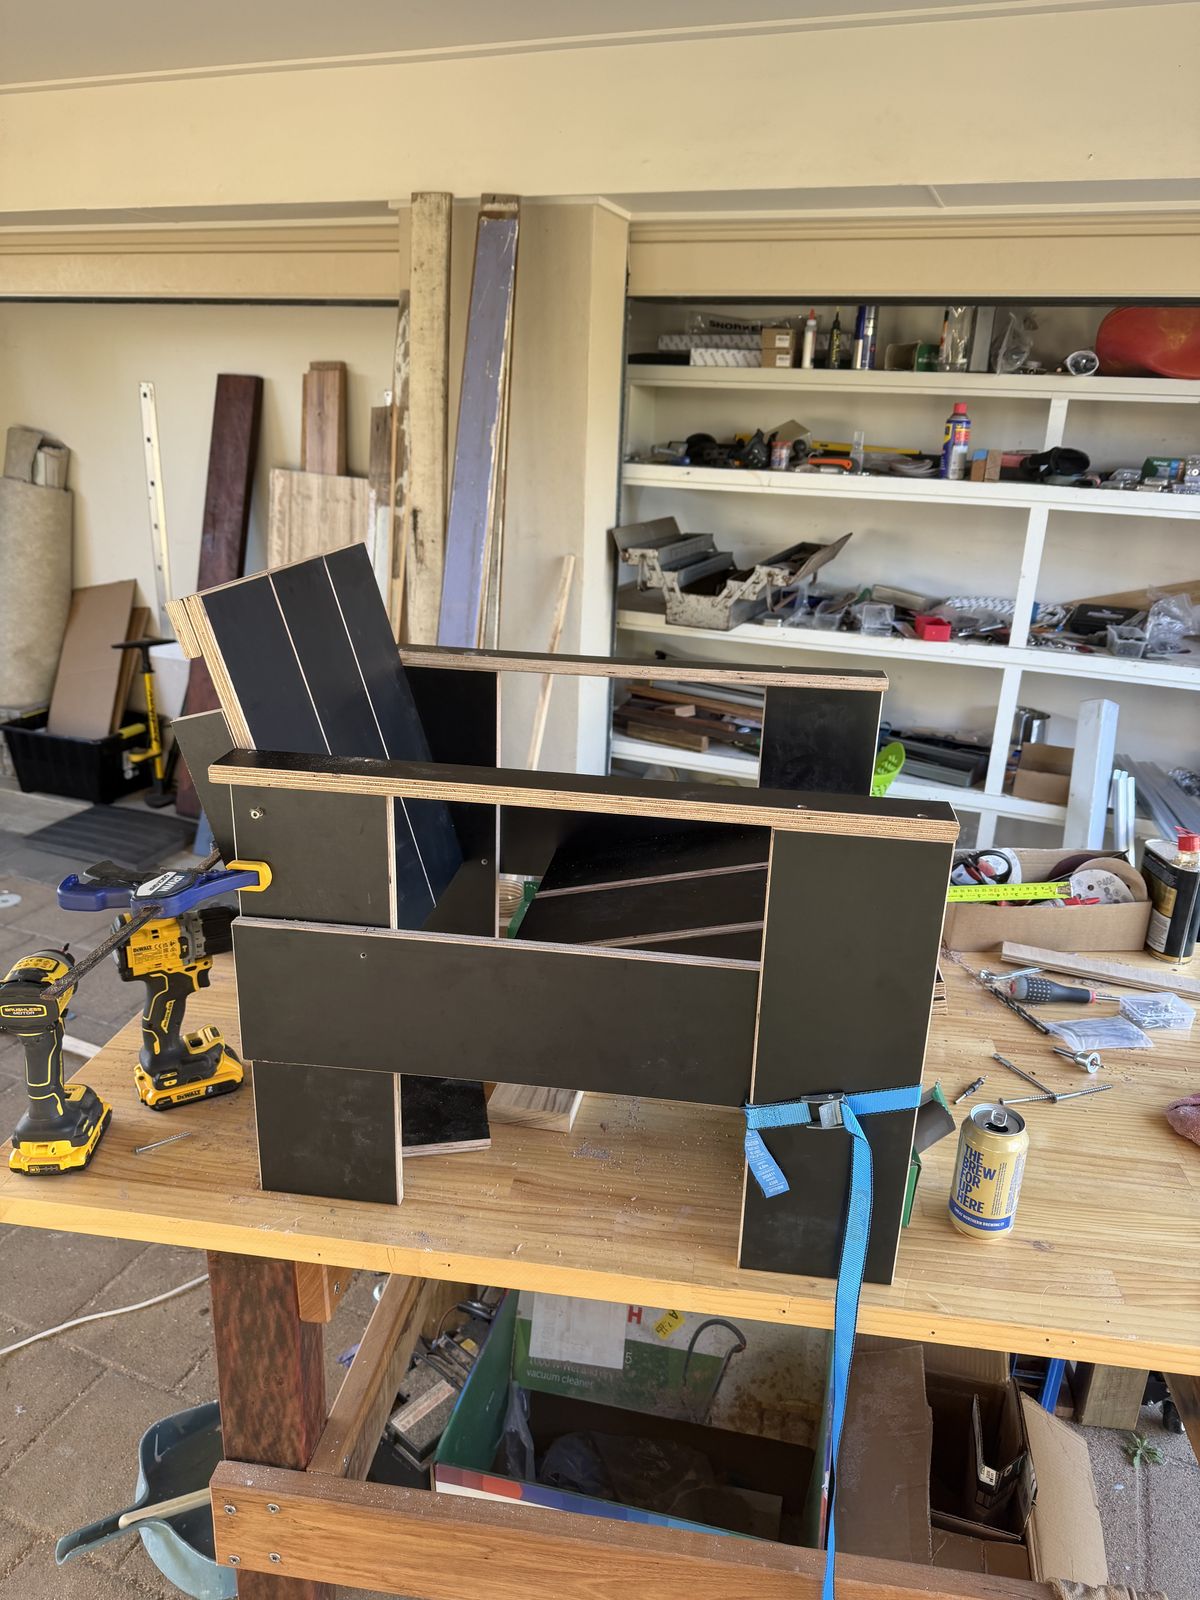
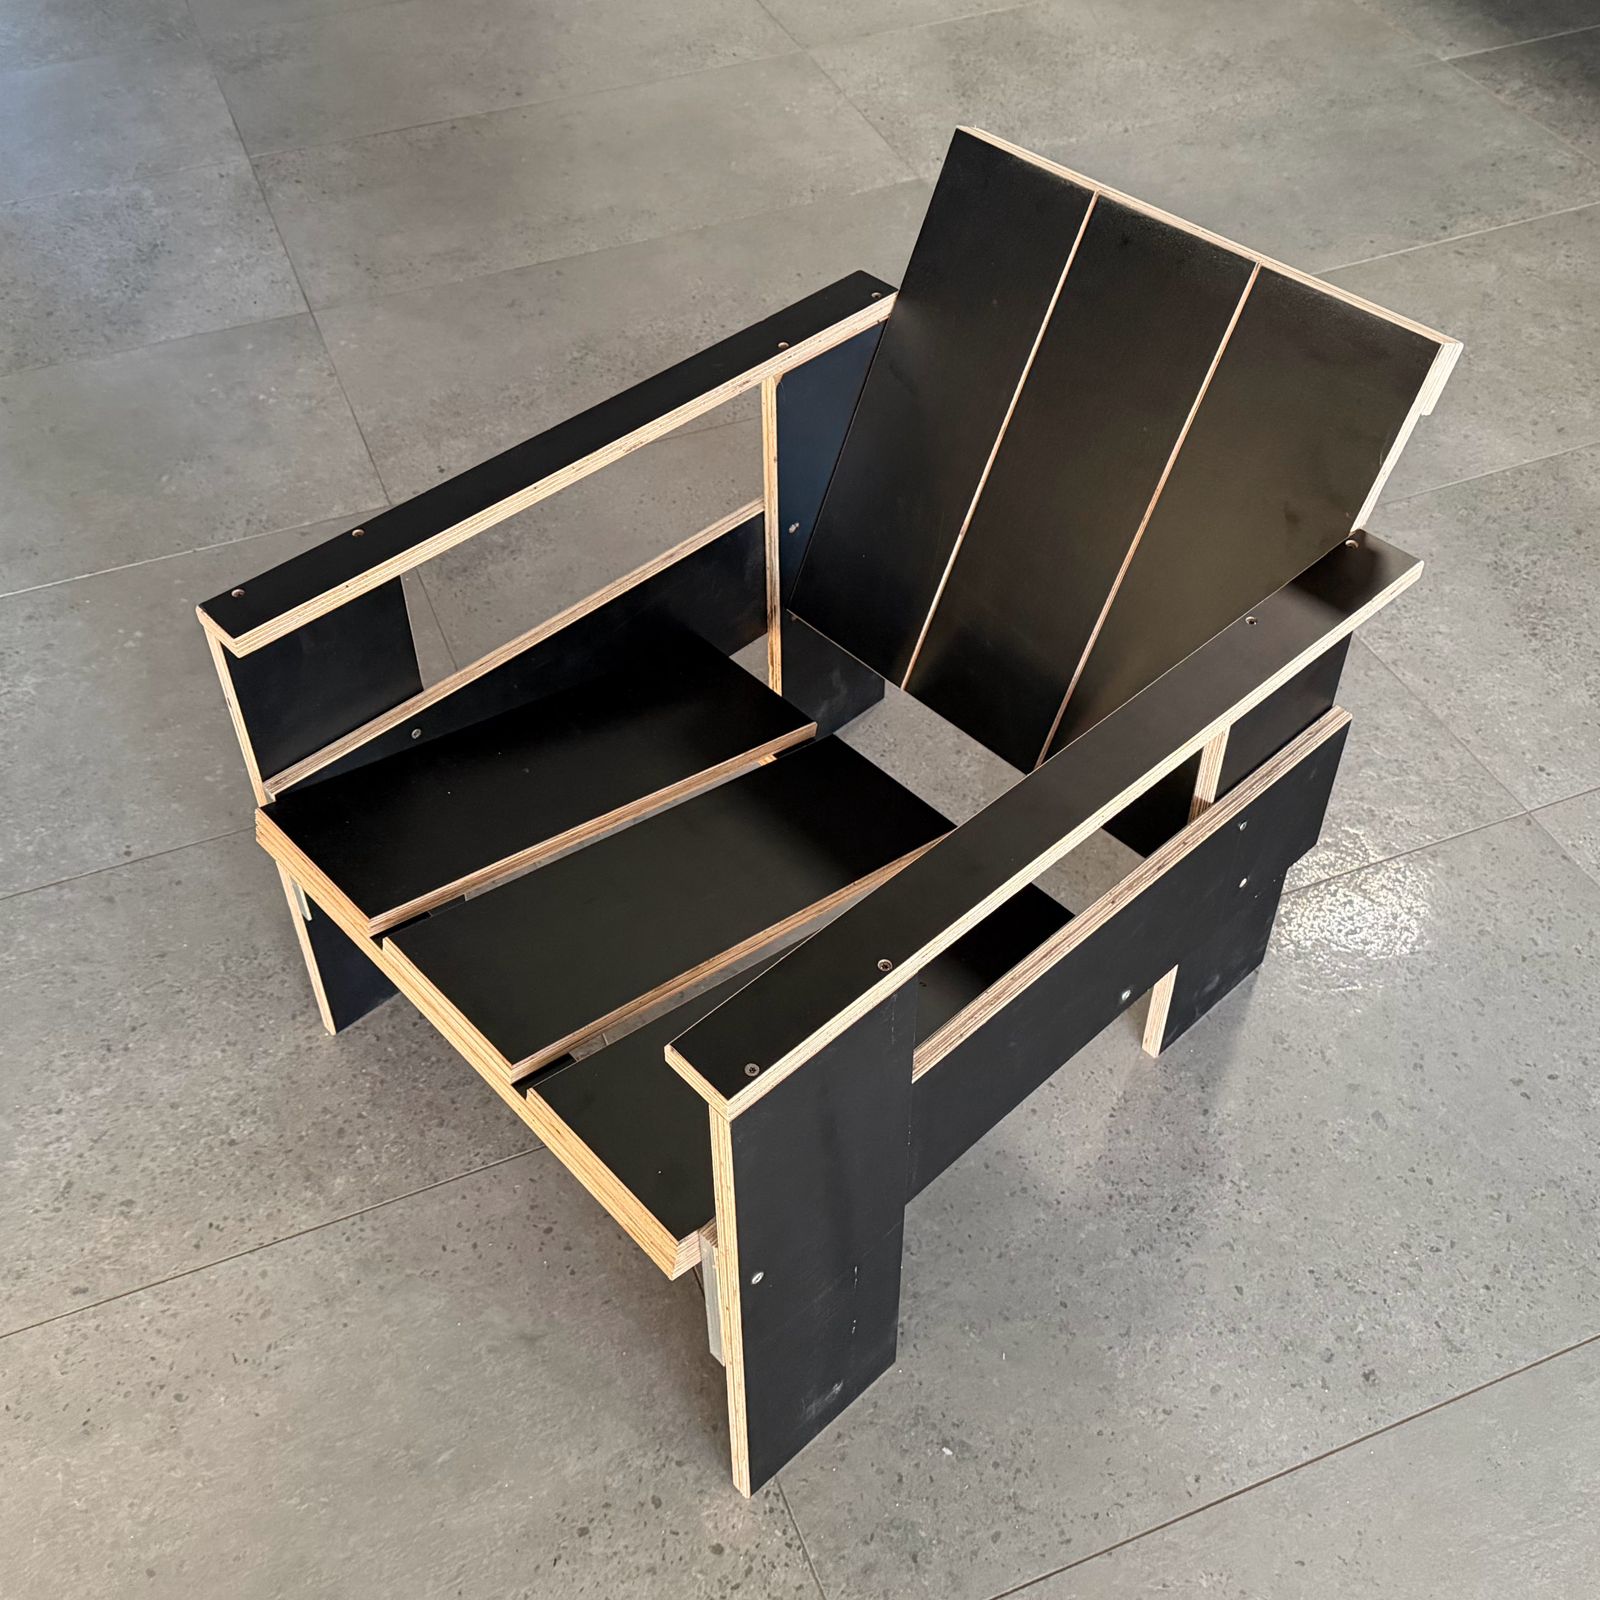
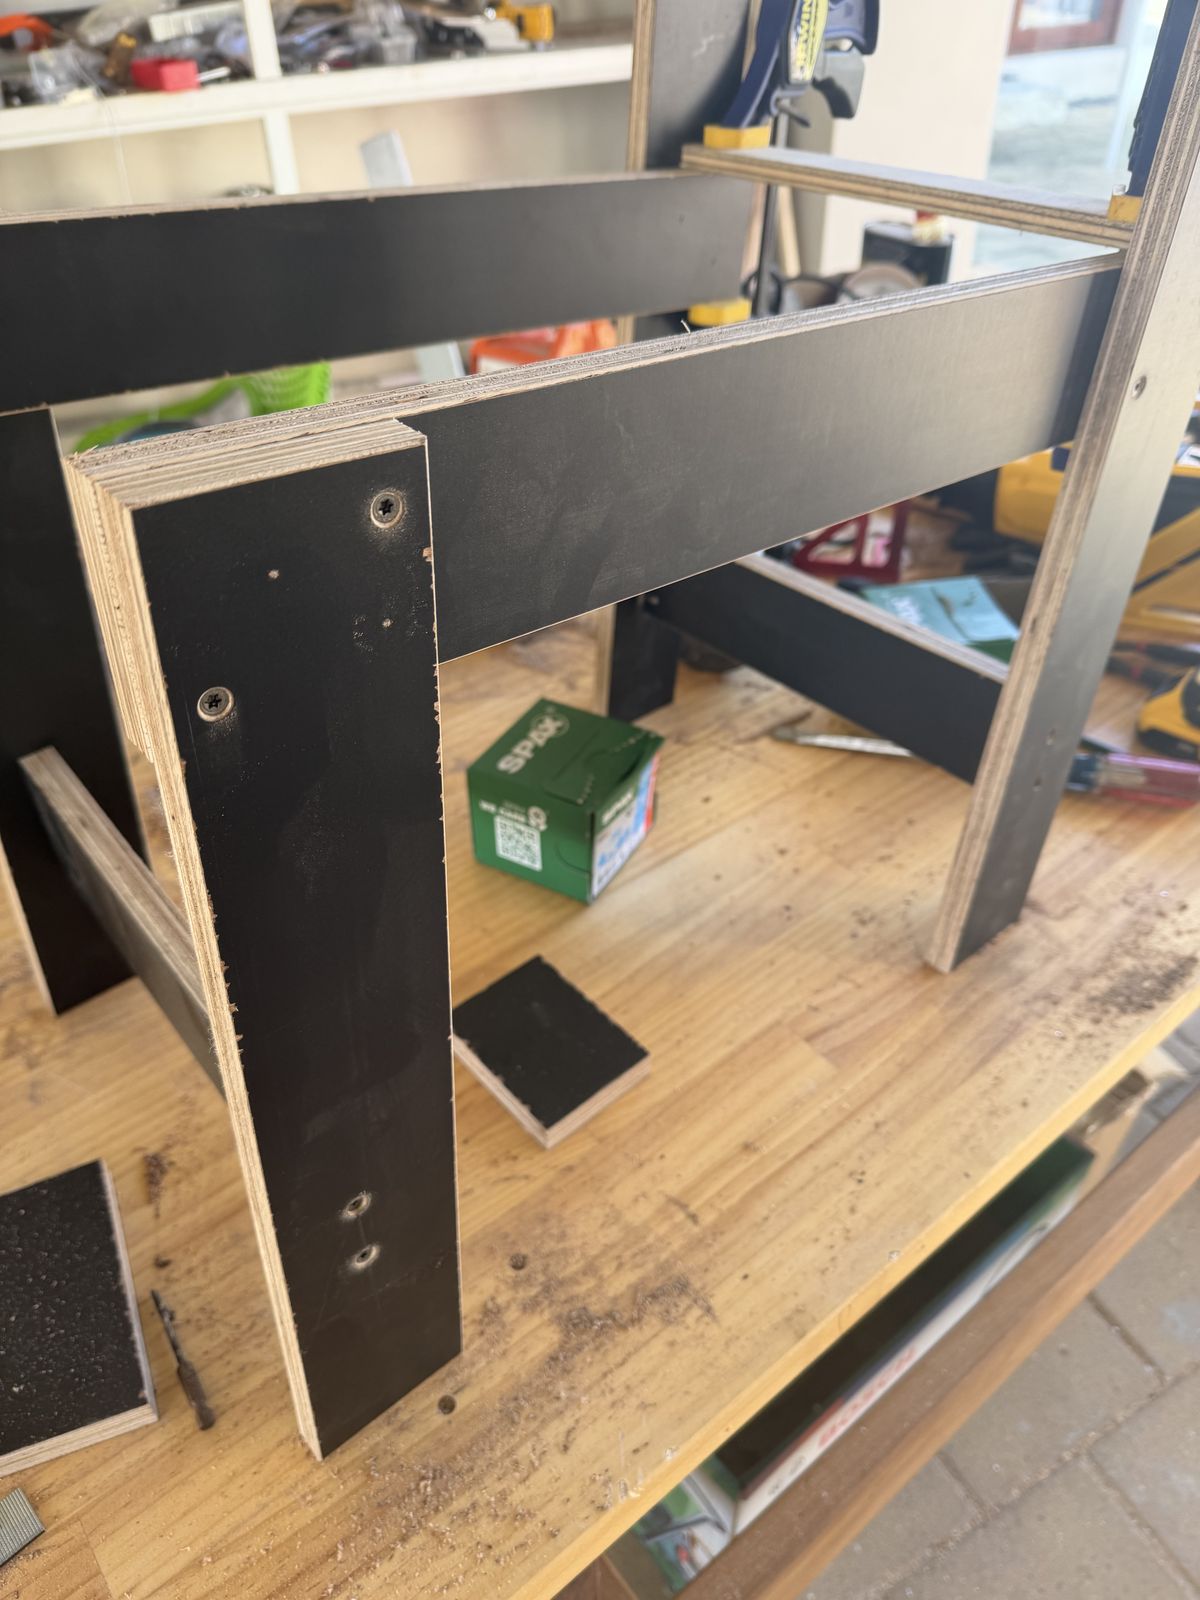
The K2-Keel in true side elevation: two congruent triangles sharing a salvaged hardwood keel. The drawing, standing up.The family in one room: the K2-Keel in front, the scrapwood and plank builds behind, the two Krat lounges holding the far wall.The first hardwood keel chair, structural ply on a salvaged eucalypt spine, the day it was built.Over the shoulder: the keel runs past the seat to its foot, and every panel lands on a fish mouth.A fish mouth doing its work: the seat bearing on the keel's shelf. The structural stamp stays visible; the chair wears its grade.Front on, the chair closes ranks: panels flush with the keels, nothing wider than 400.Straight from behind: the A bond, F17 stamp worn openly, two keel feet on the floor.Rear quarter: back and seat sharing the two keels, the tie low behind the front.Under the seat: keel, front and tie meeting. The frame solve says the tie is the only member in tension; four screws hold it.Ripping cleat stock on the table saw: the first of the two angled rips, 40 degrees. May need a sacrificial board at fence to protect fence from blade.Stock and fence set for the second rip.Chopping the ripped strip into cleats. Stop set at 75mm, the width of the staves.Forty cleats in under an hour, straight off the saws.Pre-drilling: 2.7mm pilot full depth, then clearance and countersink. The wood never threatened to split. Note that full depth is probably not consistent with your intuition about pre-drilling. Full depth means drill past the overall length of the fastener.Driving 4 x 40s into glued cleats. Two per joint felt right.The cleat chair assembled from painted salvage boards: glued blocks, screwed joints, no glue in the final assembly.Joint detail: the cleat backs the square end, the screws hold, and the whole thing comes apart in two minutes.The printed barrel nut holder with its bolt: easy to install, but PETG is not strong enough to be in the preload path. This is a "looks like" prototype.The barrel nut holder set into a plywood member.The two-piece printed frame at a corner: the easiest assembly of the four methods.Prototypes of three joint methods.The printed triangle bolted up: solid, and good looking. In production they want tapped aluminium, not captive nuts.Triangle detail: two bolts and nyloc nuts per corner.Twelve brackets printing on one plate.Twelve off the plate: the conformance cohort.Painted salvage boards become a panel: the cheapest stock yet.A batch of sawn corner blocks, straight off the saw. In this first version, bracket was just 35mm wide.Printed corner sockets beside the sawn block they replace.The scrap chair goes together: paint history included.The lineup, newest at the front.The scrap chair: salvage boards, old paint, new geometry.K2 in branded form ply, front elevation. The stencil stays: the material is the provenance.K2 in form ply, three quarter view.K2 in form ply from behind: the truss does the arguing.Modified K with large wood bracket, three quarter view.K2 in pine plywood.K2 with printed bracket in plywood.The ten dollar replica, sitting for its portrait.The crate chair again, this time in camphor laurel, an invasive species in Australia.The hardwood crate chair from behind.The pair: hardwood and form ply builds of the same 1934 drawing.The hardwood crate chair, front on.The family so far, plus a bench that volunteered.Printed brackets inside the seat to back joint.The batten seats in printed saddles: position by bracket, load by wood.Tapered cleats in matched pairs.The hardwood crate chair: corner detail, screws displayed, nothing hidden.Three generations on one floor.Study model at one tenth scale.Trial fit of brass wood screws.Hardwood glue up, clamps doing the counting.Printed stiffener brackets, a pair.The wood bracket template and the first blanks: the bracket as a sawn block.Two bracket blanks, square checked. (Not square of course.)Ripping panel stock for the bracket chair.Seat meets back on sawn wooden blocks, glue and clamps.The carcass from above: wedge blocks own the corners.The wood bracket chair stands.Milled camphor laurel hardwood on the sawhorses, the next chair still inside it.The bone bracket: a printed corner block that keeps only the material the loads use.The bone bracket, other face.The first scrap-ply chair build in salvage form ply.The one tenth model sits in for scale on the full size build.Underside of the first K build: printed brackets between seat and leg.The first k-chair study at one tenth scale.
July 2026
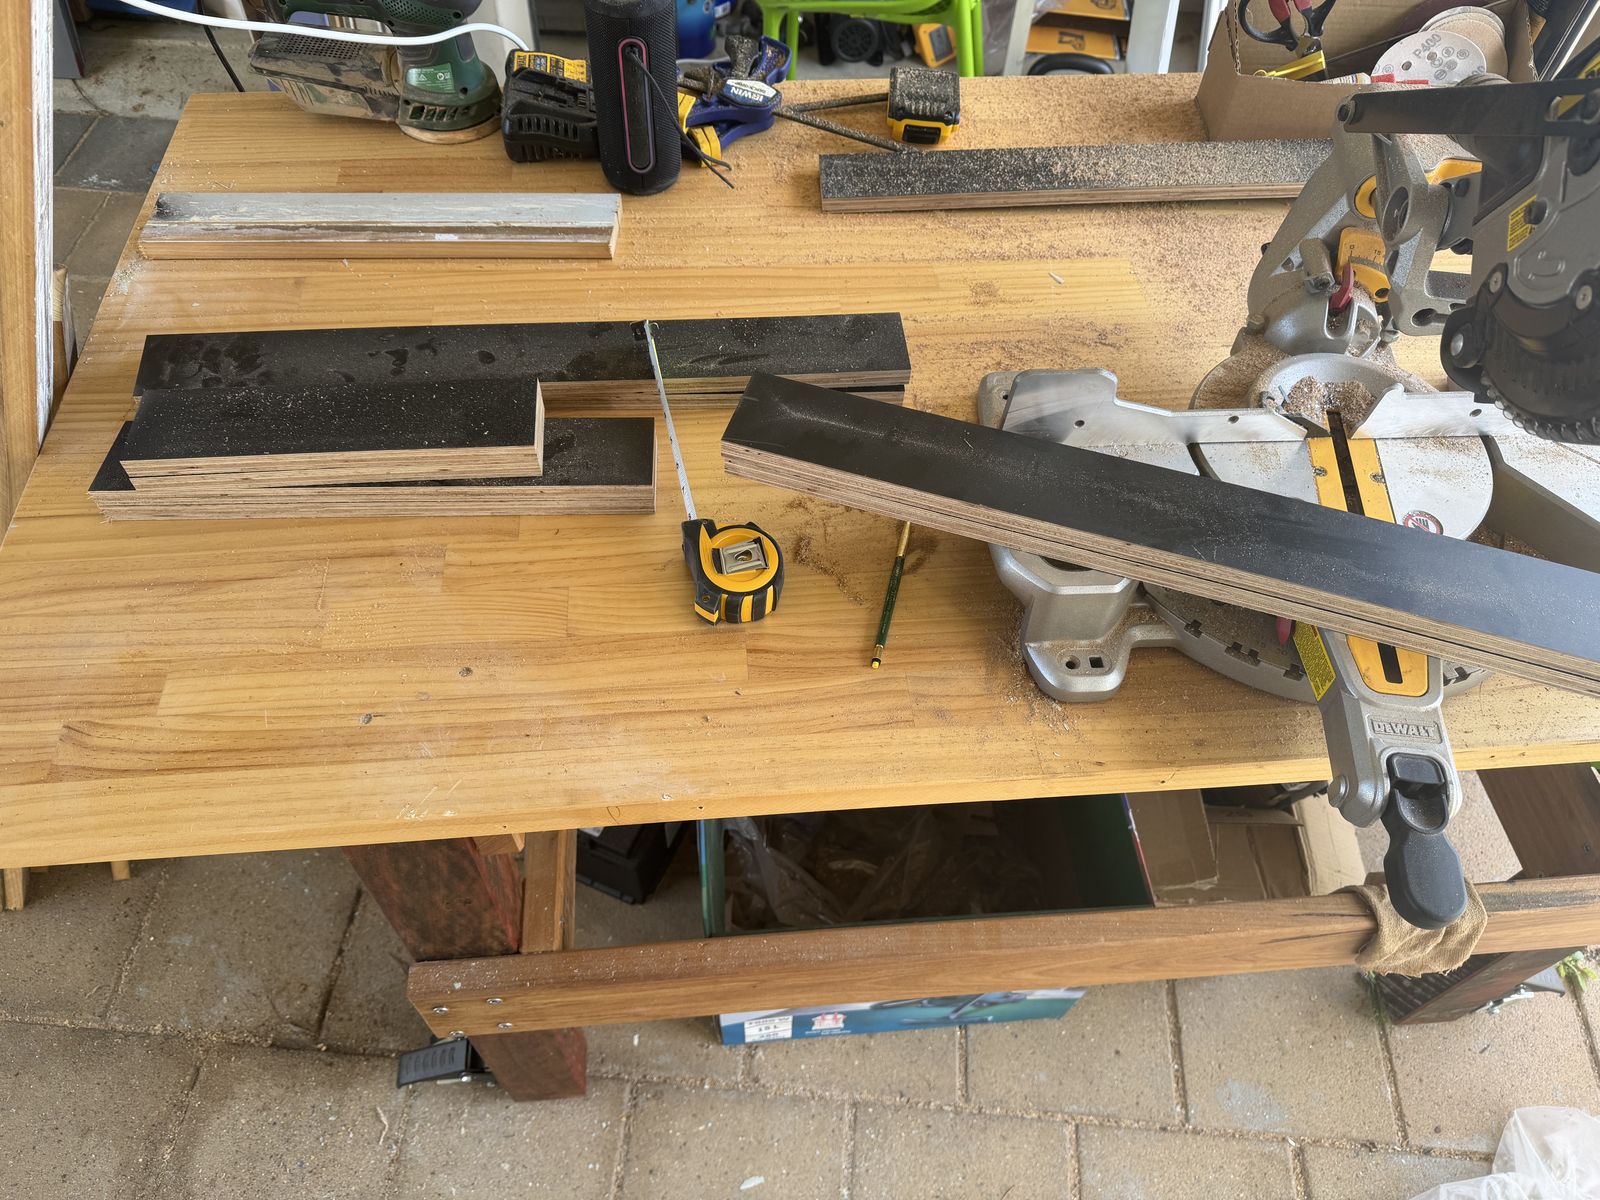
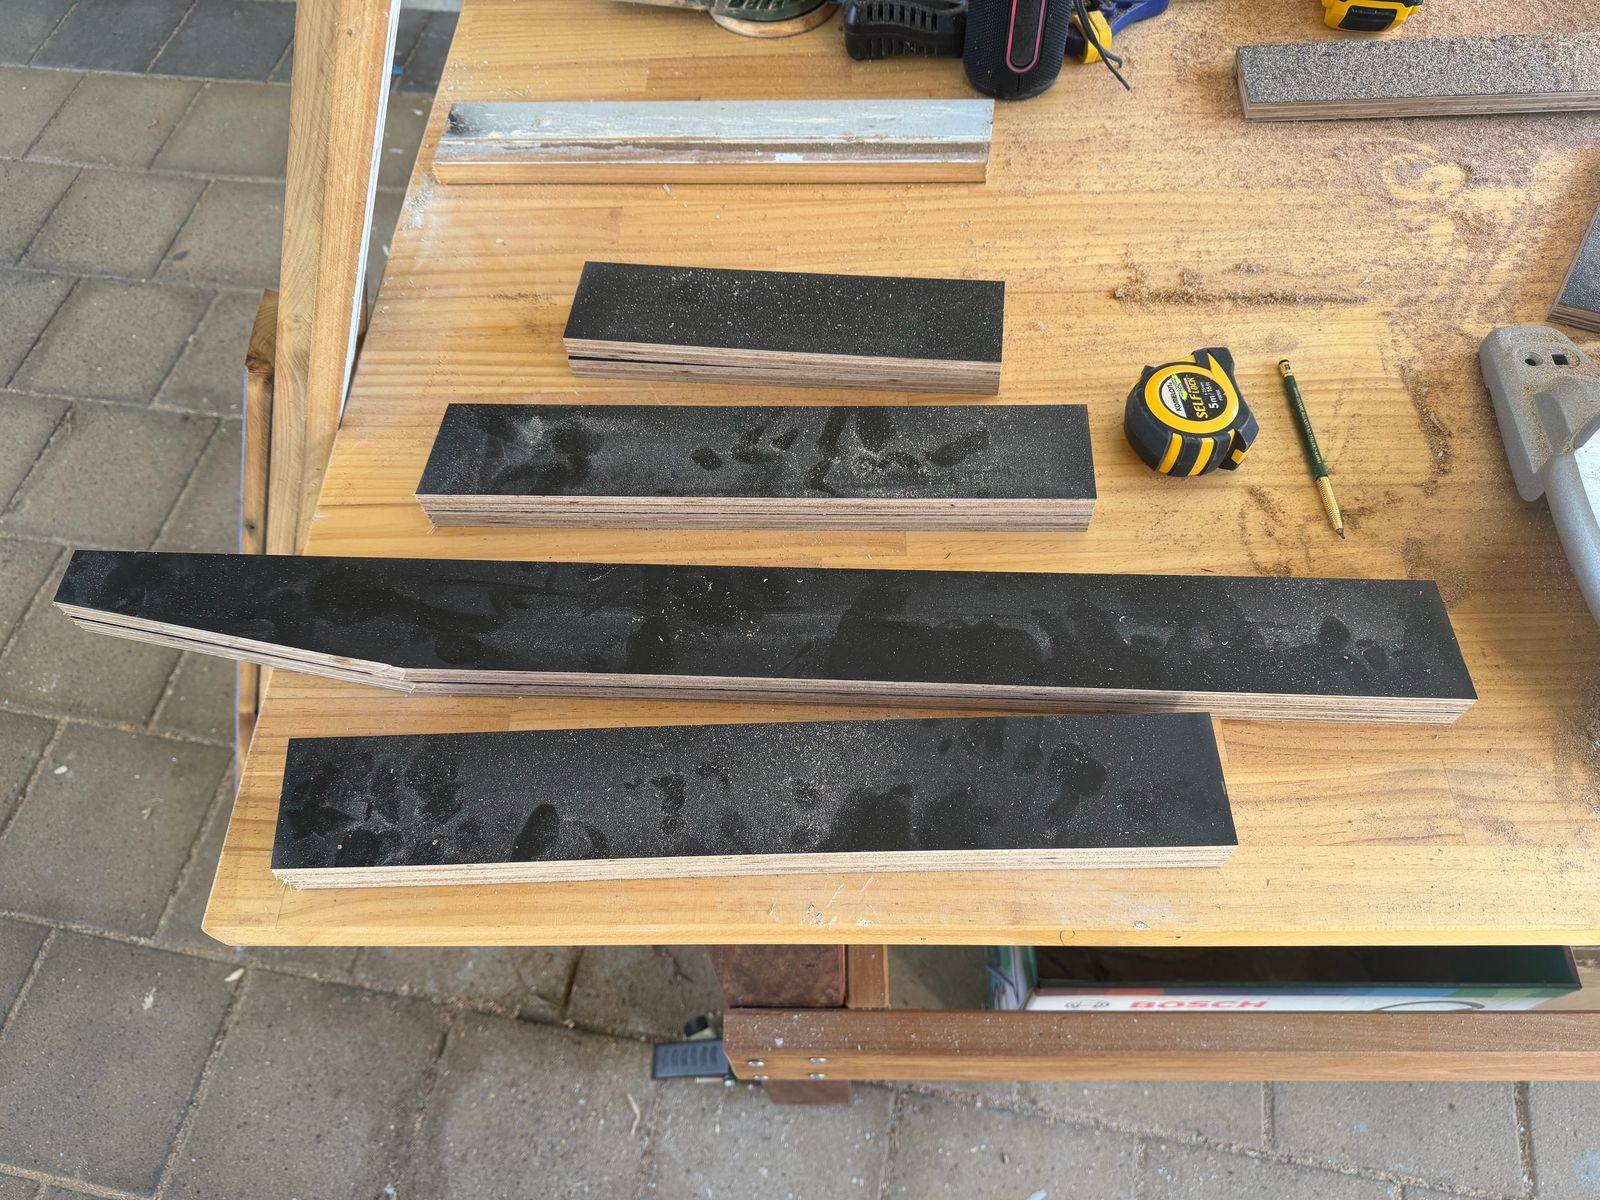
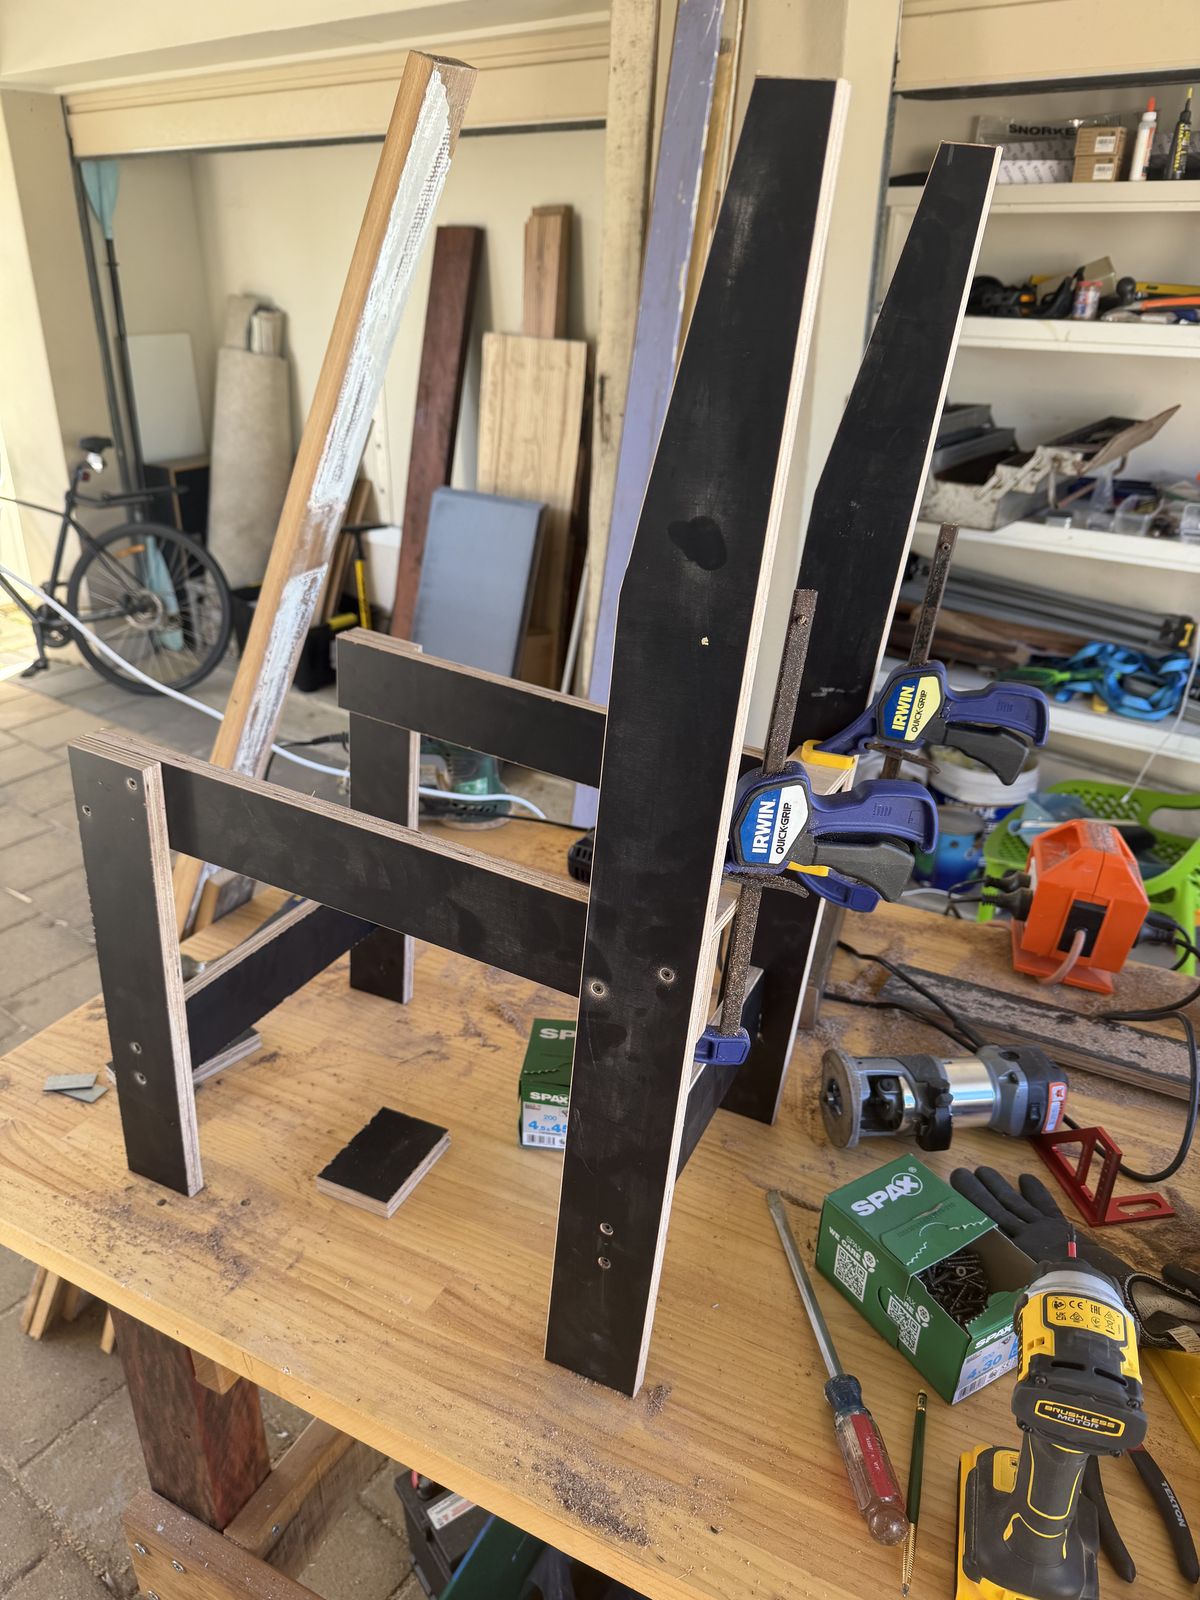
Seat boards and battens for the Rietveld Krate chair laid out against the 1934 sheet.Assembly: clamps and a strap where Rietveld assumed a helper.The ten dollar replica complete: Rietveld's 1934 crate chair in salvage form ply, ten dollars of material. (Note 60mm wide arms. Original had 100mm arms, but split in use.)Cutting parts for the first scrap ply chair.Parts for the scrap-ply chair, cut from salvage black film faced form ply.Scrap ply chair. First lap joints go together.Scrap ply side frames standing on the bench.
All photographs by Karl T. Ulrich, licensed
CC BY-NC-ND 4.0:
share with attribution, no commercial use, no derivatives. For book, press, or commercial
use, ask. · hundredyearchair.com